Create a New Load Balancer
Step 1: Go to the Load Balancer Management page and click Create.
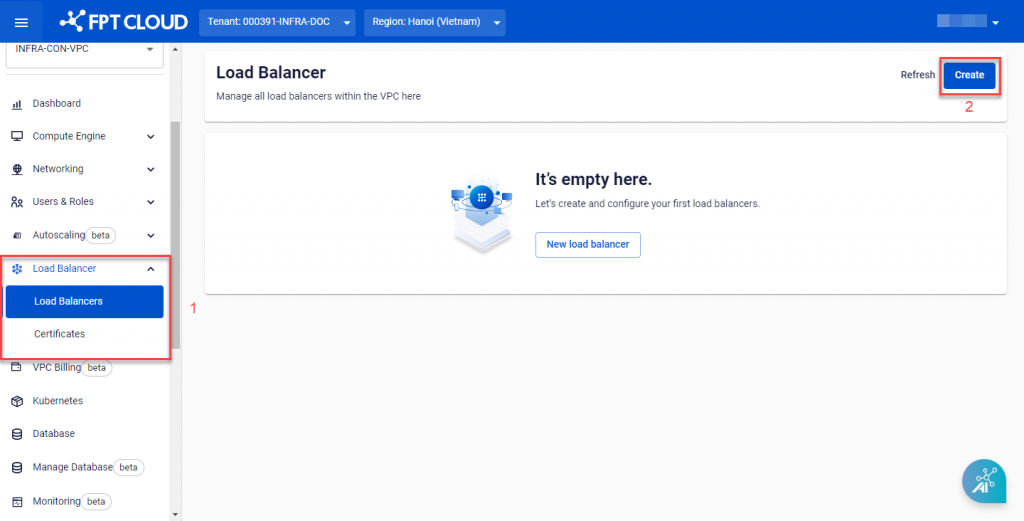
A new dialog appears to guide you through the next steps.
Step 2: Configure the Load Balancer with the following options:
| Field | Description |
|---|---|
| Name | Enter a name for the Load Balancer. |
| Size | Select the size that best suits your needs. FPT Cloud currently offers 4 different sizes from Basic to Premium. |
| Public IP | Select a Public IP in the VPC to assign to the Load Balancer. Leave empty if you only need internal access and do not require internet access (Internal Load Balancer). To obtain additional Public IPs, follow the Floating IP management guide. |
| Instances | Select the endpoint virtual machines for load balancing. Currently only virtual machines in the same VPC can be selected. |
| Rules | Define how traffic is routed from the Load Balancer to virtual machines. Currently only one rule per Load Balancer is supported. |
| Certificate | If you select HTTPS, a Certificate must be configured for the Load Balancer. You can select an existing certificate or add a new one. |
| Settings | Additional settings for the Load Balancer. FPT Cloud suggests common settings as defaults. Select Edit Setting to change them. Algorithm: The load balancing algorithm. FPT Load Balancer provides Round Robin and Least Connections. Sticky Session: Enable or disable sticky session. Health check: The Load Balancer periodically checks server health, immediately routing queries to other servers if a server does not respond. FPT Load Balancer supports checks via HTTP, TCP, and PING. |
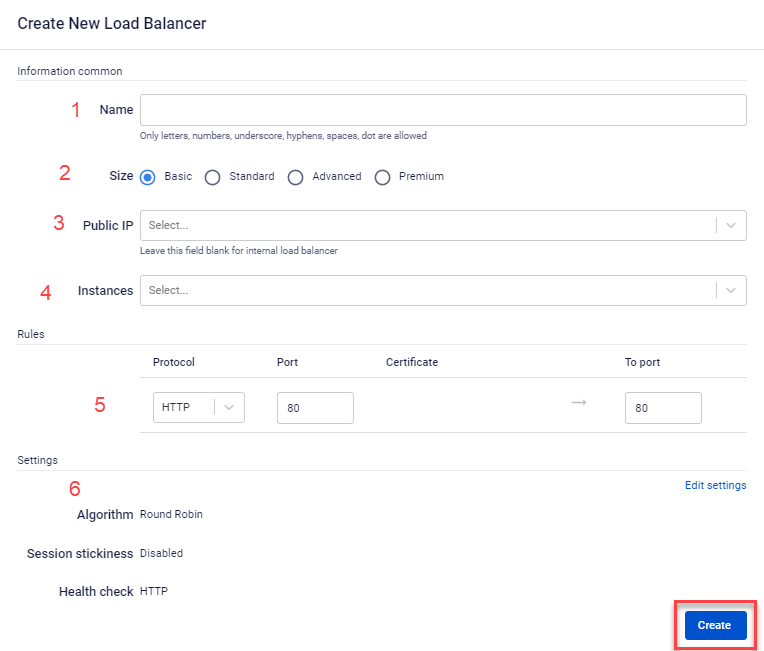
Step 3: Click Create to create the Load Balancer. The system will verify resources, begin the creation process, and notify you of the processing status.
After successful creation, you can see the new Load Balancer and its operating status in the management dashboard.
