Create a VPC
You must sign in with Tenant Owner permission to create a new VPC.
-
Select VPCs → Create VPC.

-
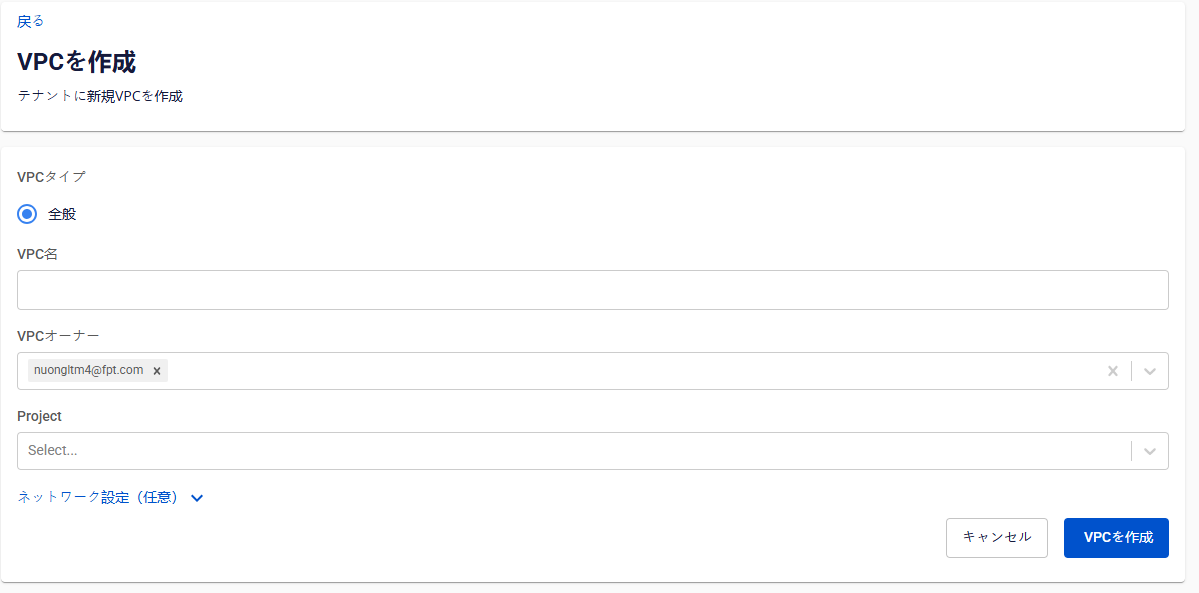
Enter the following information:
- VPC Name: Name of the VPC. Between 10 and 50 characters. Can contain uppercase letters, numbers, dashes, and underscores. Lowercase letters are automatically converted to uppercase.
- VPC owner: Select the account to grant VPC Owner permission. The current account is selected by default.
- Network setting (optional): Configure Subnet information. This can also be configured after the VPC is created.
- Name: Name of the Subnet.
- Type: Currently supports two types — Routed and Isolated.
- Network Address (CIDR): Enter a valid CIDR.
- Gateway IP: Enter a valid gateway IP address.
- Static IP Pool (optional): Enter the IP range to use. If left blank, all IPs from the CIDR are used.
-
Click Create VPC. The system initializes and notifies you of the result.
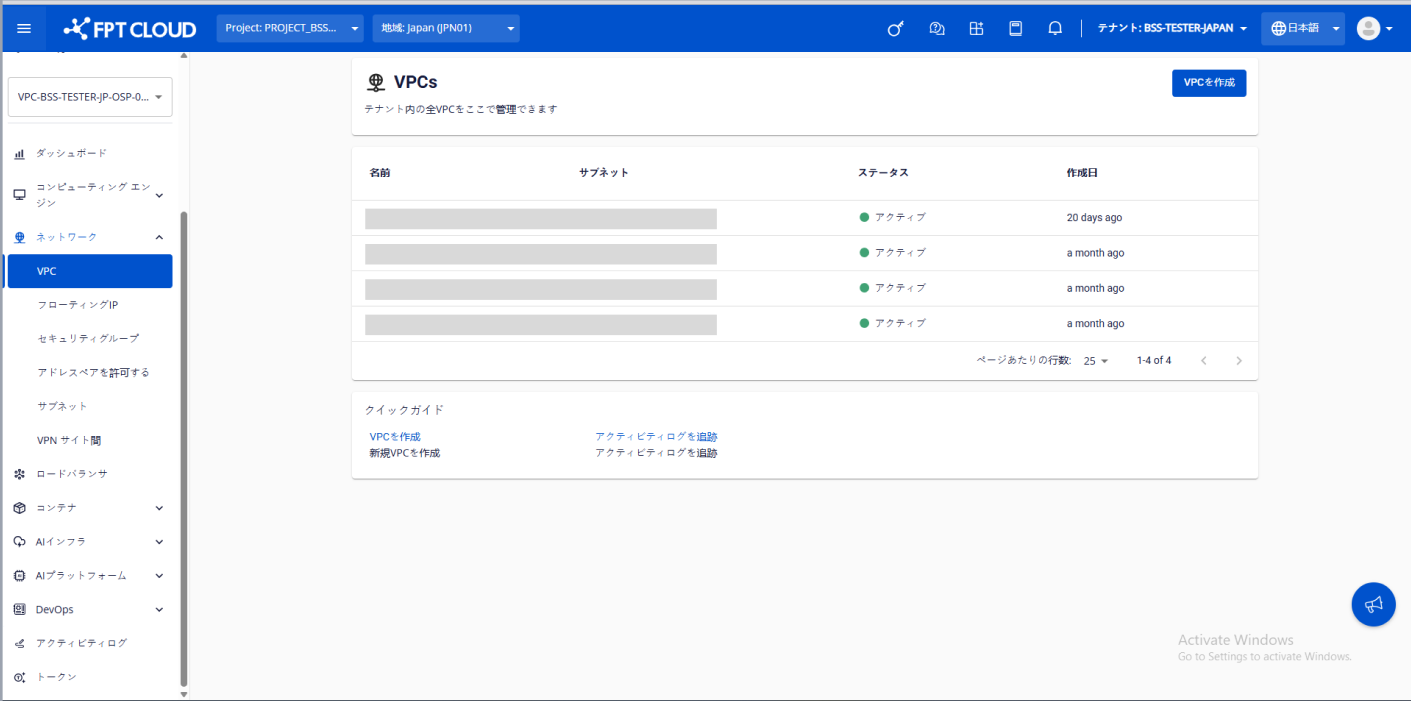
The new VPC appears on the VPCs page.