Create A Gpu Vm
Overview
GPU Virtual Machines (VMs) are Linux-based virtual machines that run on top of virtualized hardware with high-end GPUs. Each VM you create is a new virtual server that you can use either standalone or as part of a larger, cloud-based infrastructure.
Step 1: Open Instance Management
In the side menu, go to Compute Engine > Instance Management, then click Create Instance.
Step 2: Configure the Instance
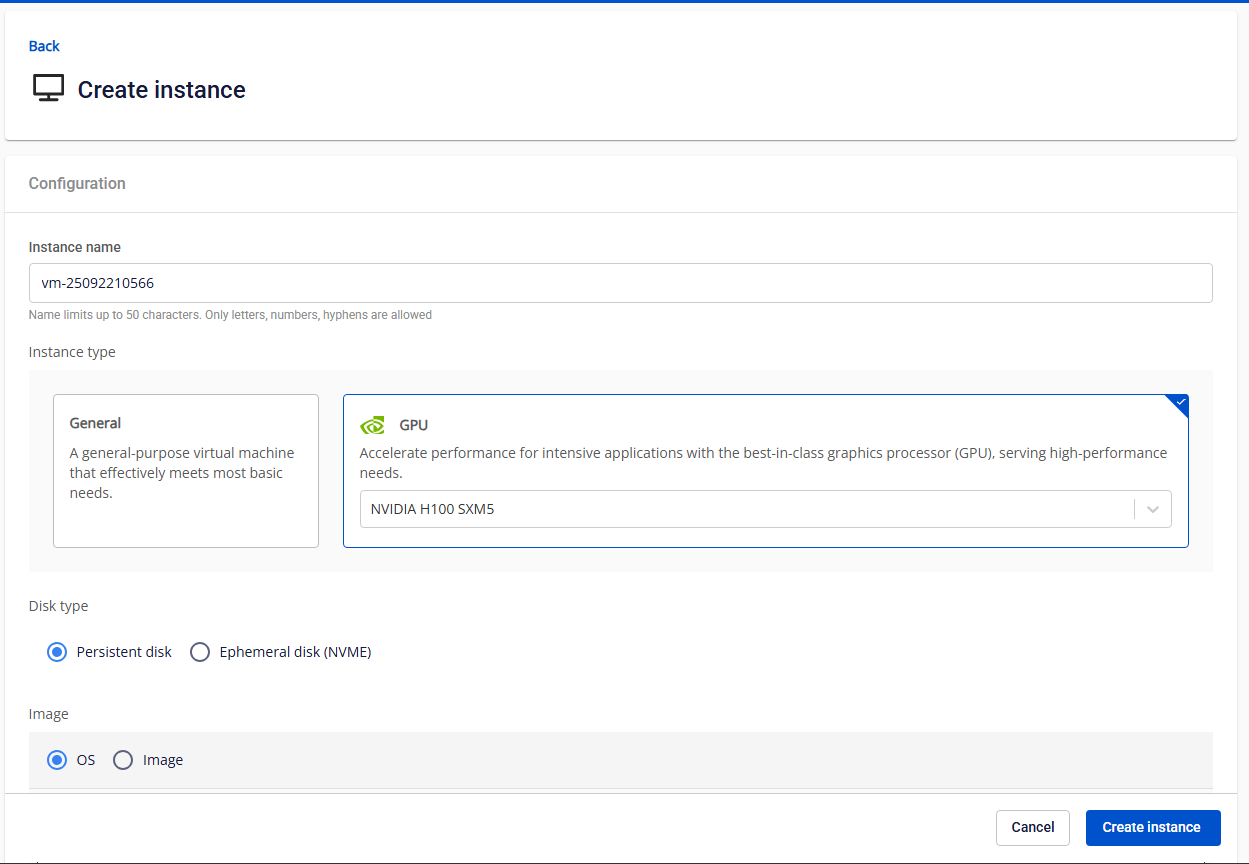
- Instance Name: Enter a unique name for your GPU virtual machine.
- Instance Type: Select the type of instance. GPU: Optimized for high-performance computing, machine learning, and other intensive tasks. Currently supported GPUs: NVIDIA H100 SXM5 and NVIDIA H200 SXM.
- Disk Type: Only one disk type can be selected during GPU VM creation: Ephemeral Disk (NVMe) or Persistent Disk (Block Storage)
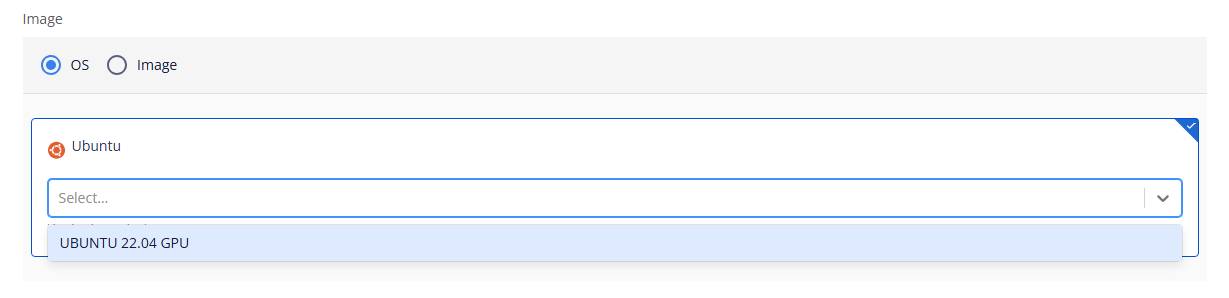
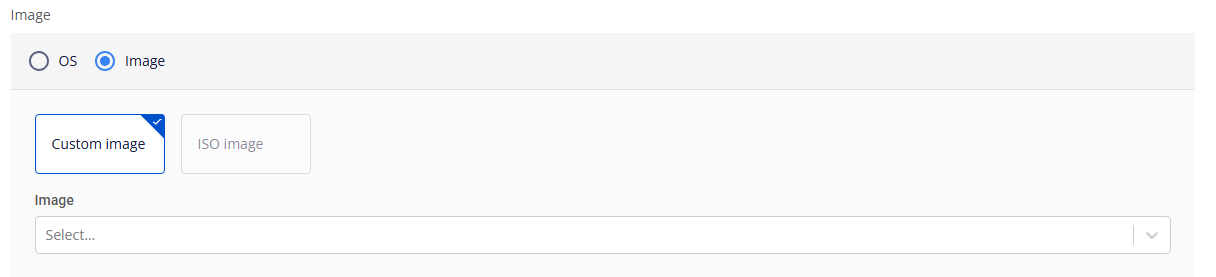
- Image: You can use either the default Ubuntu base image or your own custom image.
- OS: Currently supports Ubuntu 22.04 GPU.
- Custom image: Upload your image under Custom Images (file type: QCOW). It will then appear in the image selection list.
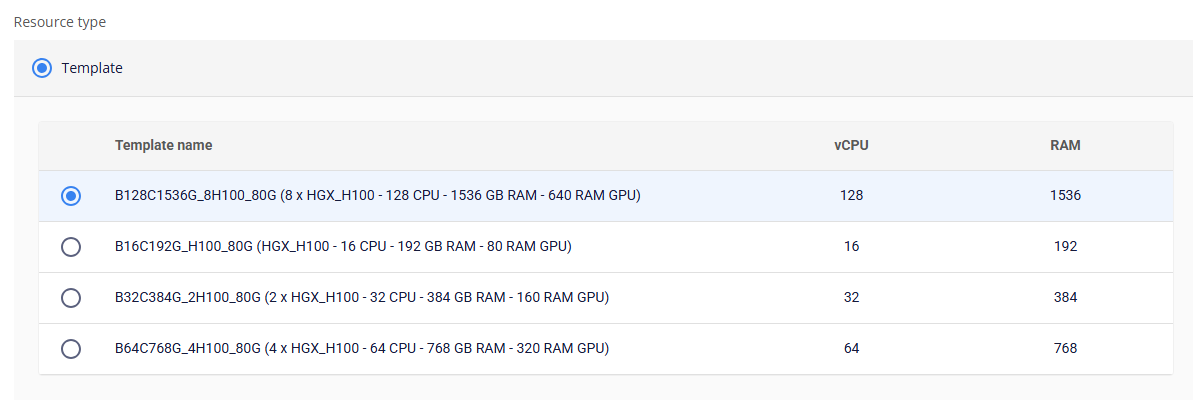
- Resource Type: Each GPU VM offers different configurations for vCPU , RAM , and the number of GPUs attached. You can choose the configuration that best fits your workload requirements.
Step 3: Configure the Storage Disk
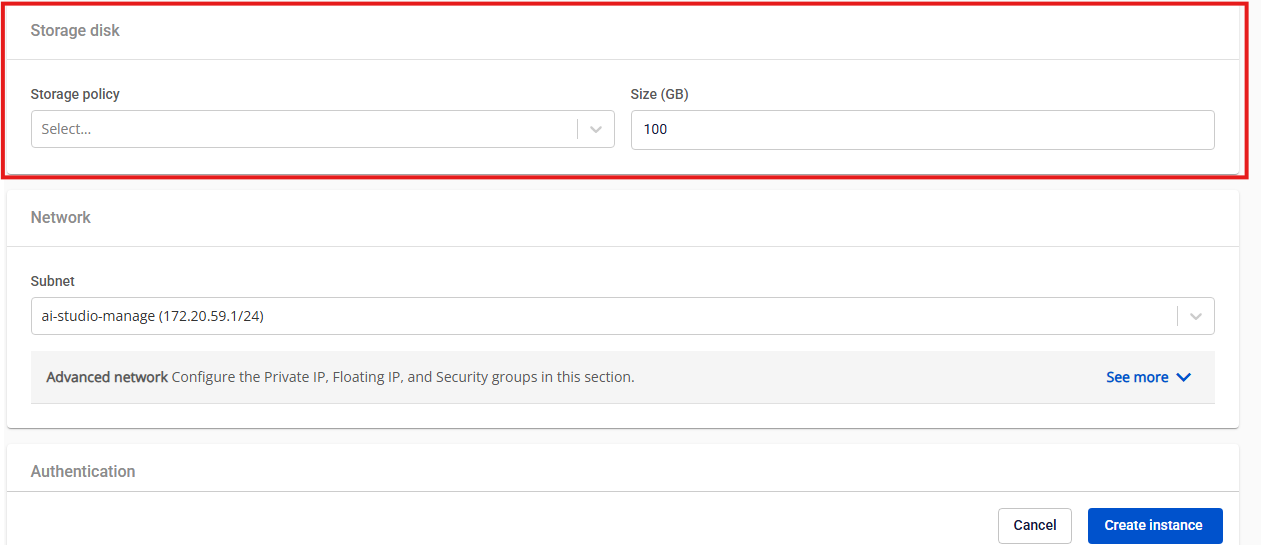
- Storage Policy: Specifies the storage type used for the GPU VM.
- GPU VMs with Ephemeral Disk (NVMe) support only NVMe-SSD.
- GPU VMs with Persistent Disk support only Premium SSD , offering IOPS between 3,000 and 10,000 (depending on your service quota request).
- Size:
- Ephemeral Disk (NVMe): Fixed capacity per GPU instance (depends on the number of GPUs selected).
- Persistent Disk: Scalable based on your storage requirements, starting from 100GB.
Step 4: Configure the Network Settings
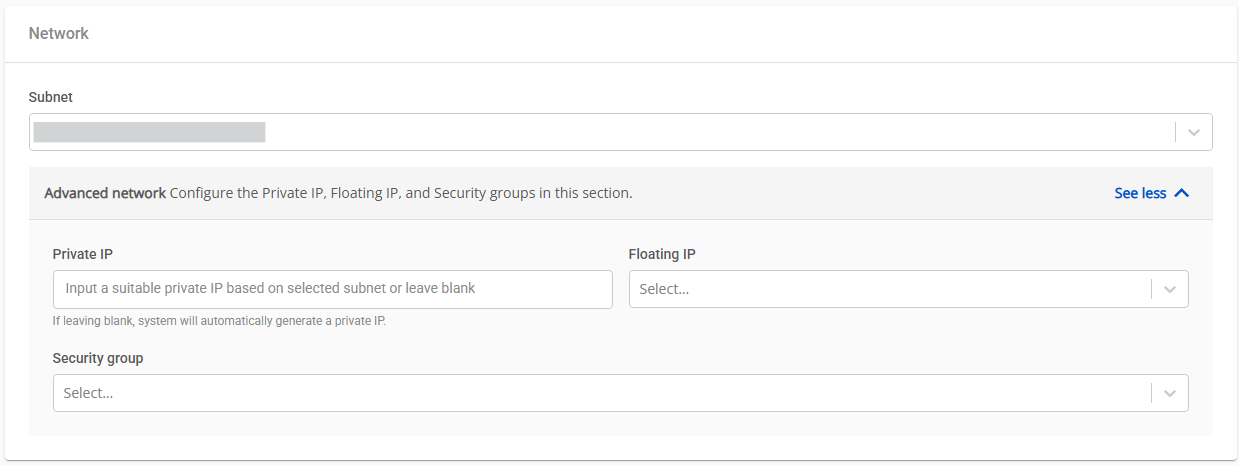
- Subnet: Select the appropriate subnet to enable your VM to connect to internal and external resources.
- Advanced Network:
- Private IP: Enter a private IP manually or let the system automatically assign one based on the selected subnet.
- Floating IP: For Ephemeral Disk NVMe , the Floating IP is only configured after the VM is successfully created.
- Security Group: Assign a security group to manage inbound and outbound traffic for the VM.
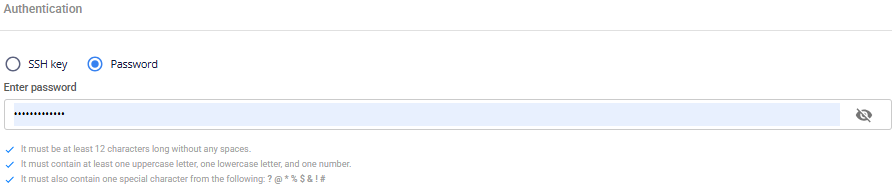
Step 5: Set Authentication Method
Choose one of the following authentication methods:
- SSH Key: The system automatically uses your latest SSH key (you can change it if needed).
- Password: Set a password and securely store it for console access.
Step 6: Advanced Settings
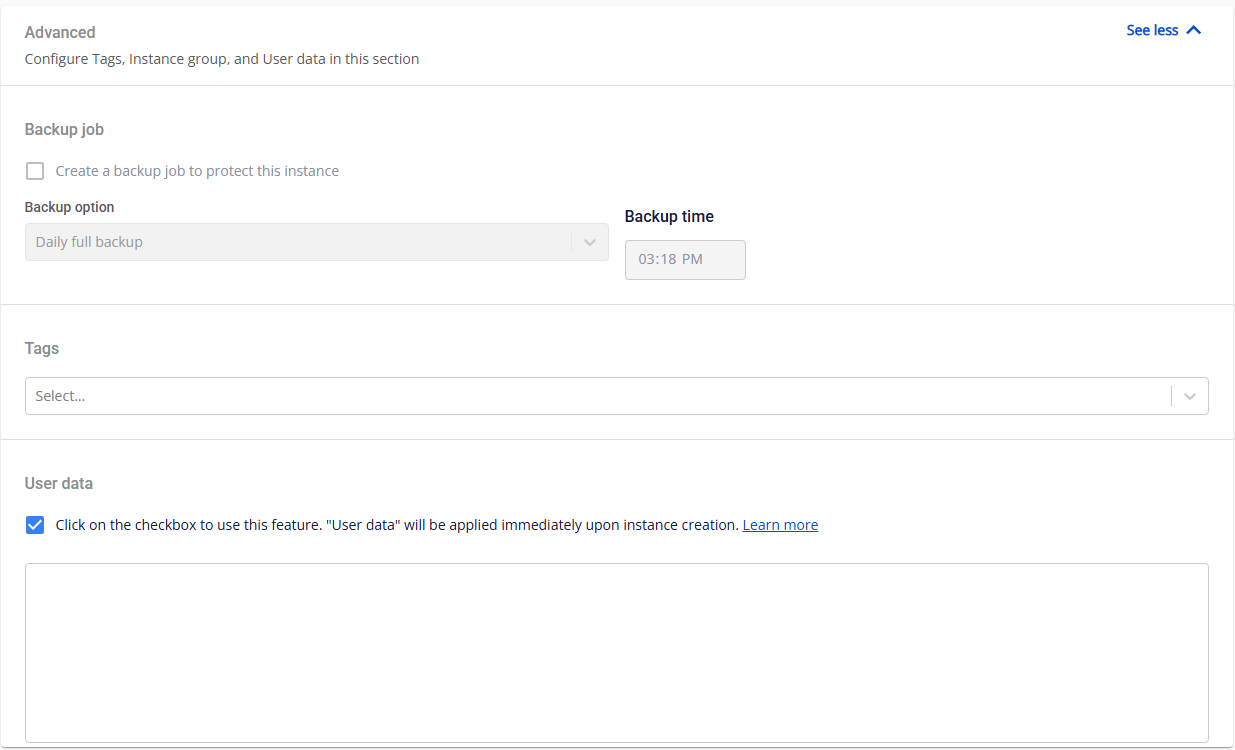
Backup Job
Only available for GPU VMs using Block Storage - Persistent Disk. You can schedule automatic backups and define their frequency and timing. Backup Options:
- Daily Full Backup: Performs a full backup every day.
- Daily Incremental, Weekly Active Full: Performs daily incremental backups with a full backup once per week.
- Daily Incremental, Monthly Active Full: Performs daily incremental backups with a full backup once per month.
Backup Time: Set the specific time for the backup to run.
Tags
Assign existing tags to help manage and categorize your resources.
User Data (Cloud-init Script)
The User Data field allows you to add cloud-init scripts. When the VM starts, cloud-init reads metadata and automatically configures the system — including users , SSH keys , and network settings. Sample Cloud-init Script: With the provided script, the system will automatically create the user "testcloudinit" with password "Abc123" . Another user, "testcloudinit2" , with be created with the password "P@ssw0rd!"
Copy# cloud-config
users:
- name: testcloudinit
  sudo: ALL=(ALL) NOPASSWD:ALL
  lock_passwd: false
  shell: /bin/bash
  passwd: $6$rounds=4096$V6anciWl30$xKbcljqks1gUkMiM80pyKzhvyhn7U1n.jXcGCUfkUlX.rnllUWKUrmDEzekhhhP8aERSylRuC7gfDhJ32Xv0A1

- name: testcloudinit2
  groups: sudo
  lock_passwd: false
  shell: /bin/bash
  plain_text_passwd: P@ssw0rd!

- hostname: testcloudinit
Step 7: Create the Instance
Click Create Instance to deploy and start your GPU VM. Once the instance is successfully created, you can view its details in the Instance Management dashboard.