Create Apache Flink
To create Flink, follow these steps:
Step 1: In the menu bar, select Data Platform > Workspace Management > select the Workspace name
Step 2: Click Create > the New Service popup appears > select Flink > Create
Step 3: In the Flink creation form, enter the Basic Information:
- Name (required): Service name
Note: The Apache service name can contain lowercase letters a-z, uppercase letters A-Z, or digits 0-9. Spaces are not allowed — use "-" or "_" instead.
-
Description (optional): Description
-
Version (required): Select the version
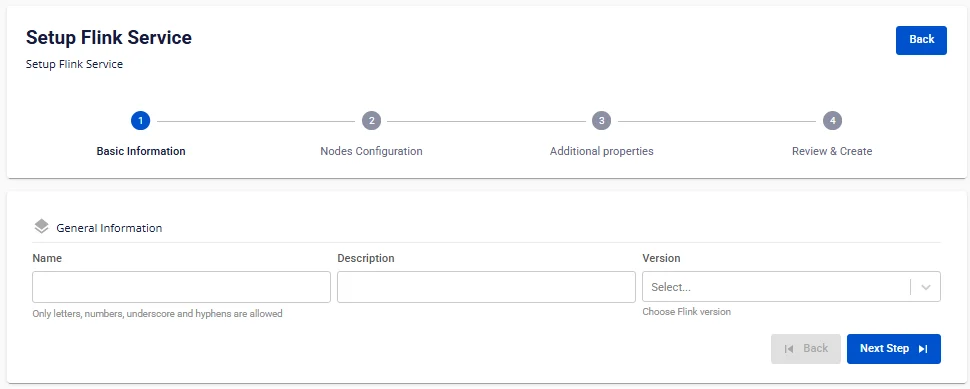
Step 4: Click Next Step to proceed to the Nodes Configuration screen
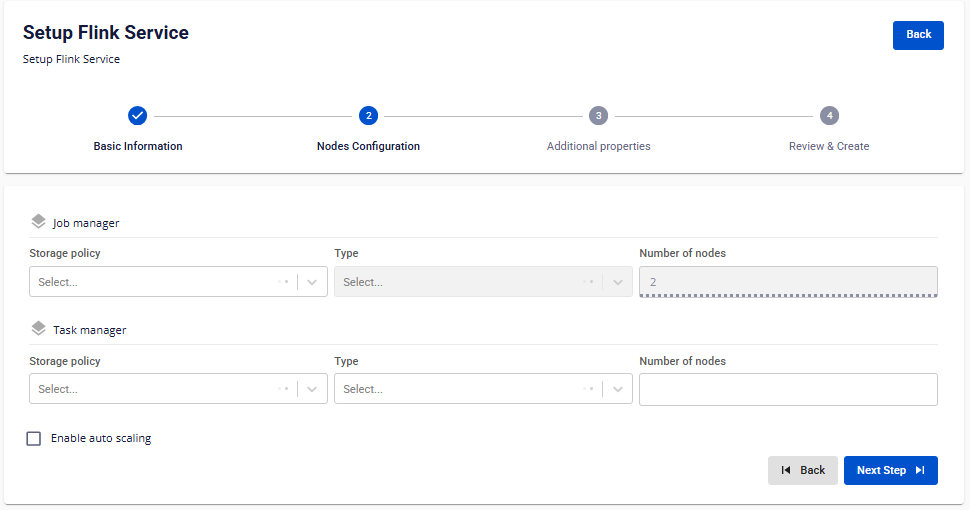
Enter the following information:
Job manager
-
Storage policy (required): Select the Storage Policy
-
Type: Default is Medium-4 (2 CPU – 4 GB RAM)
-
Number of nodes: Default value is 2
Task manager
-
Storage policy (required): Select the Storage Policy
-
Type (required): Select the configuration
-
Number of nodes: Enter the number of nodes
The number of nodes must be greater than or equal to 1 and less than or equal to 10.
If you want to automatically scale the Flink Worker configuration, check Enable worker auto scaling > enter the maximum number of nodes for the Worker.
The maximum number of nodes must be greater than Number of nodes and less than or equal to 10.
Step 5: Click Next Step to proceed to the Additional Properties screen
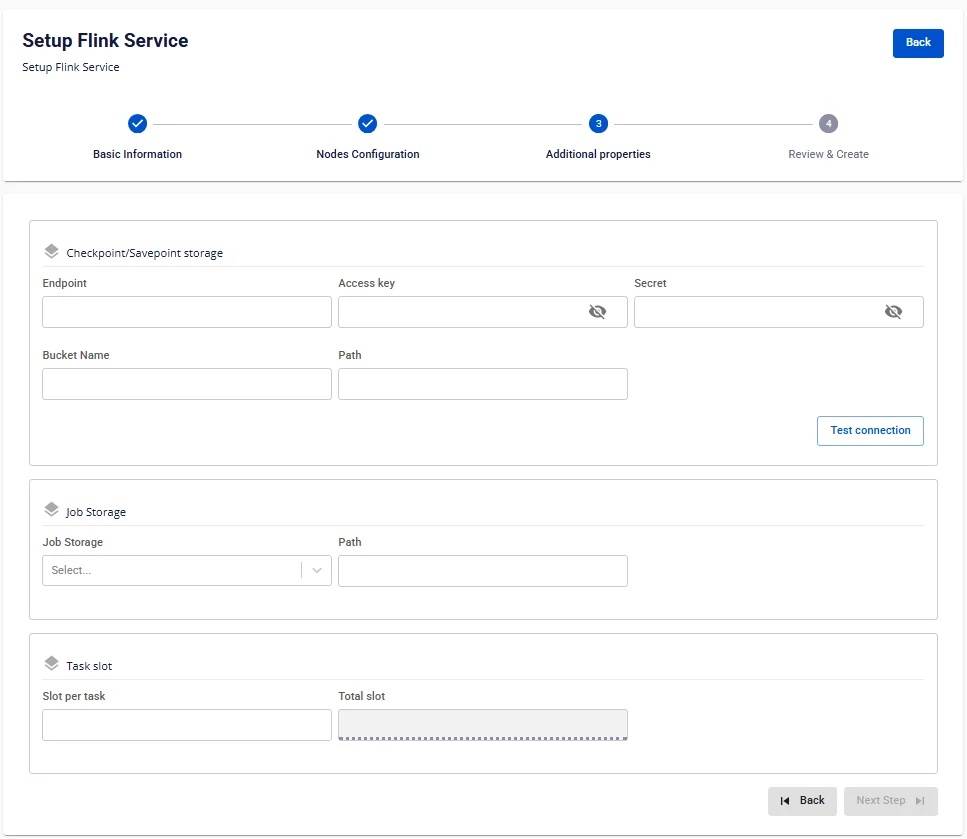
Enter the following information:
Checkpoint/Savepoint storage stores the state of the streaming application:
-
Endpoint: Enter the endpoint information
-
Access key: Enter the access key
-
Secret: Enter the secret key
-
Bucket name: Enter the bucket name
-
Path: Enter the path
Click Test Connection to verify the connection from the Workspace to the Storage.
Job Storage contains the job *.jar files; jobs can be uploaded directly to S3:
-
Job Storage: Select the Storage already mounted on the Workspace
-
Path: Enter the file path
Task slot
- Slot per task: Enter the number of slots per task
The number of Slot per task must be greater than or equal to 1 and less than or equal to 4.
- Total slot: The total number of slots depends on the slot per task value
-
Custom Domain
-
Purpose: Allows configuring a custom domain to access services.
-
For Public Workspace: Used to assign a domain and certificate without needing to enable/disable TLS (HTTPS is always available).
-
For Private Workspace: In addition to domain and certificate, users can optionally enable or disable TLS/SSL to decide between HTTPS or HTTP.
-
Public Workspace
-
Custom domain: Check to enable a custom domain.
-
Domain: Enter the domain name (e.g., abc.local, jupyter.example.com).
-
Certificate name: Select from the list of certificates imported in Certificate Manager.
-
Buttons:
-
Manage certificate: Open the certificate management screen.
-
Validate: Verify the certificate is valid for the domain.
-
-
In a Public Workspace, the TLS/SSL certificate option is not displayed — the system supports HTTPS by default.
-
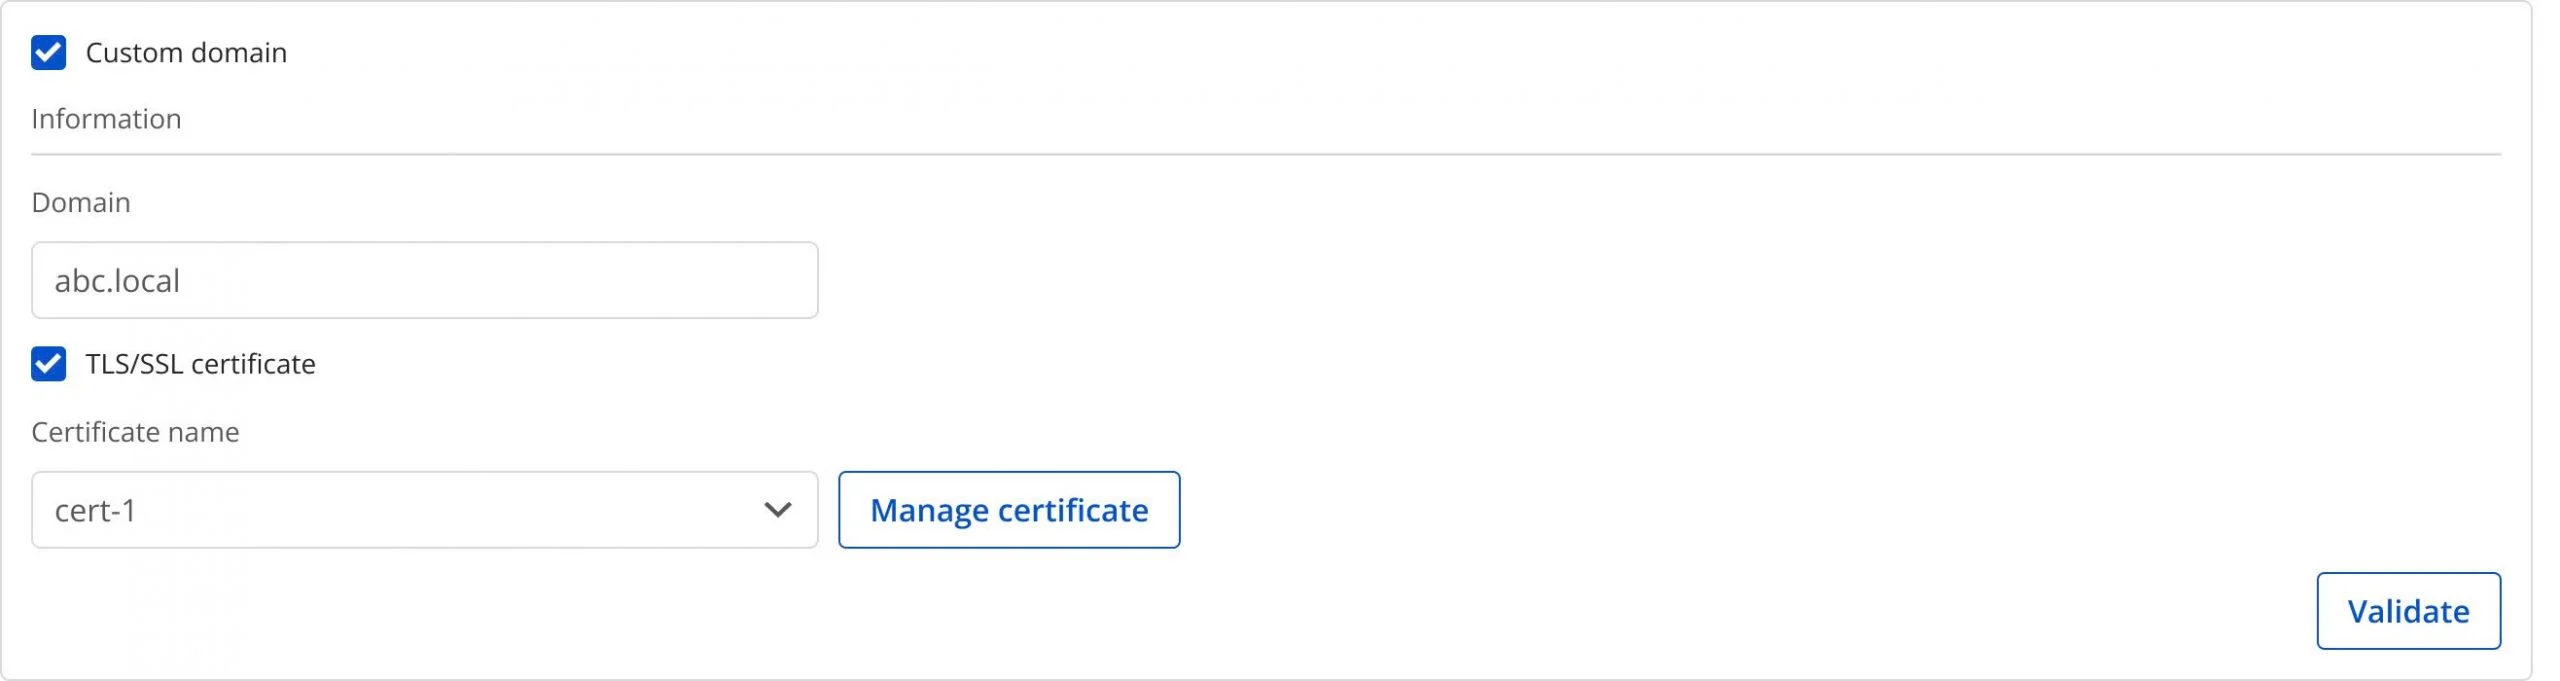
Private Workspace
-
Custom domain: Check to enable a custom domain.
-
Domain: Enter the domain name.
-
TLS/SSL certificate: Check to enable HTTPS for services.
-
Certificate name: Select from the certificate list.
-
Buttons:
-
Manage certificate: Open certificate management.
-
Validate: Verify the certificate.
-
If TLS/SSL certificate is unchecked, the service will run over HTTP and no certificate is required.

Step 6: Click Next Step to proceed to the Review & Create screen
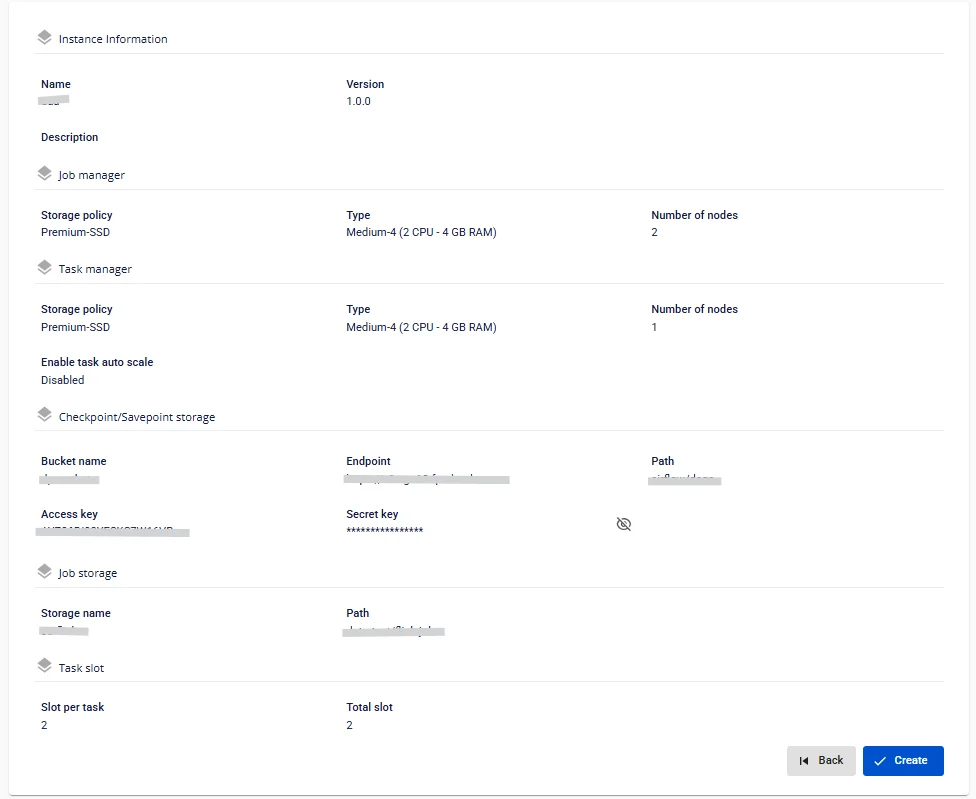
Step 7. Review the entered information, then click Create to complete the Apache Flink initialization.
Apache Flink is fully initialized when Worker Status is Succeeded and the Status of Flink is Healthy (~10 minutes).