Create A Subnet
Overview
A subnet is a unique CIDR block with a range of IP addresses in a VPC. All resources in a VPC must be deployed on subnets.
- By default, all instances in different subnets of the same VPC can communicate with each other. If you have a VPC with two subnets in it, they can communicate with each other by default.
- After a subnet is created, its CIDR block cannot be modified. Subnets in the same VPC cannot overlap.
- When creating a GPU VM , an active Subnet in the VPC is required. The system will automatically assign a Private IP from that subnet to the new virtual machine.
Step-by-Step
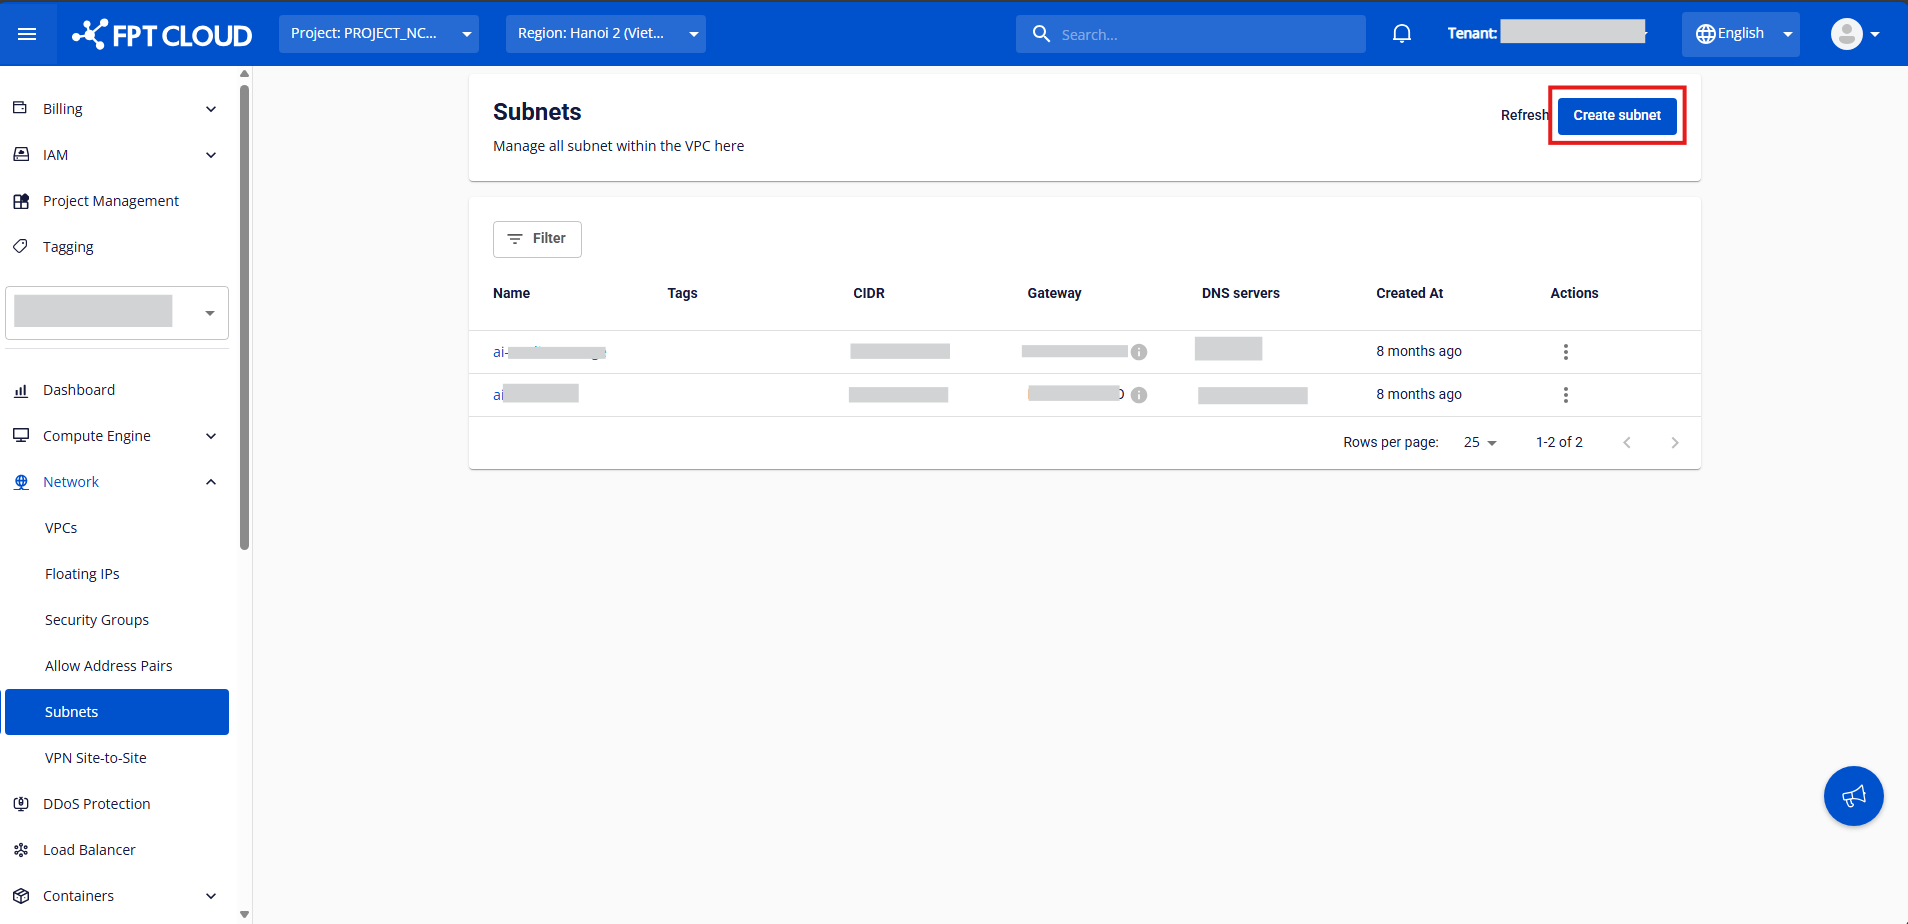
Step 1: In the left-side menu, go to Networking → Subnets , then click Create Subnet.
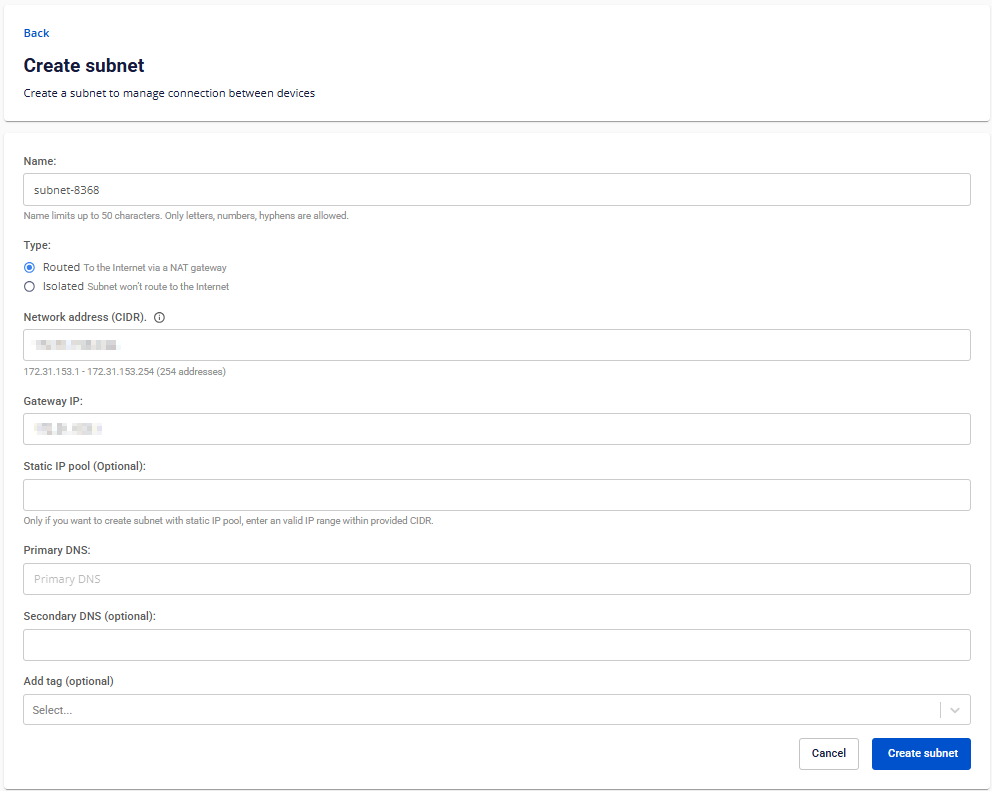
Step 2: Enter a name for your subnet in the Name field. Step 3: Select the type of subnet. We currently support two types:
- Routed: The subnet is routed to the internet via a NAT gateway.
- Isolated: The subnet has no internet routing.
Step 4: Specify the IP range (subnet) your network will use, in CIDR notation (e.g. 172.30.65.0/24) using Network Address (CIDR).
Note: The CIDR range must not overlap with any other subnet within the same VPC.
Step 5: Specify the IP address of the default gateway within your subnet using Gateway IP. This is usually the first usable IP (e.g. 172.30.65.1).
Step 6: Define a Static IP Pool — a specific range of IPs reserved for static assignments.
Note: Ensure your static IP range is within the subnet’s CIDR and does not include the gateway IP.
Step 7: Configure DNS Settings :
Specify the IP address of DNS servers that network clients will use to resolve domain names.
- Primary DNS: Required DNS server for domain name resolution.
- Secondary DNS (optional): Backup DNS server if the primary fails.
Step 8: Assign a Tag to categorize or organize your subnet. Note: Tags help you manage and filter networking resources across large environments.