Connect and switch kernel
Step 1: Open the kernel configuration menu
In the Notebook IDE, open the kernel configuration menu (top right).
| Option | Description | When to use |
|---|---|---|
| Running Kernels | Connect to an existing active kernel (e.g., Python 3). | Resume work quickly, save resources |
| Start Other Kernels | Launch a new kernel with chosen GPU resources (1x, 2x, 4x, 8x H100). | New experiments or heavy workloads |
| No Kernel | Open the notebook without attaching any compute. | View or edit code without running |
Step 2a: Start a new kernel
- Under Start Other Kernels, select the GPU type you want.
- Click Confirm and approve the confirmation pop-up.
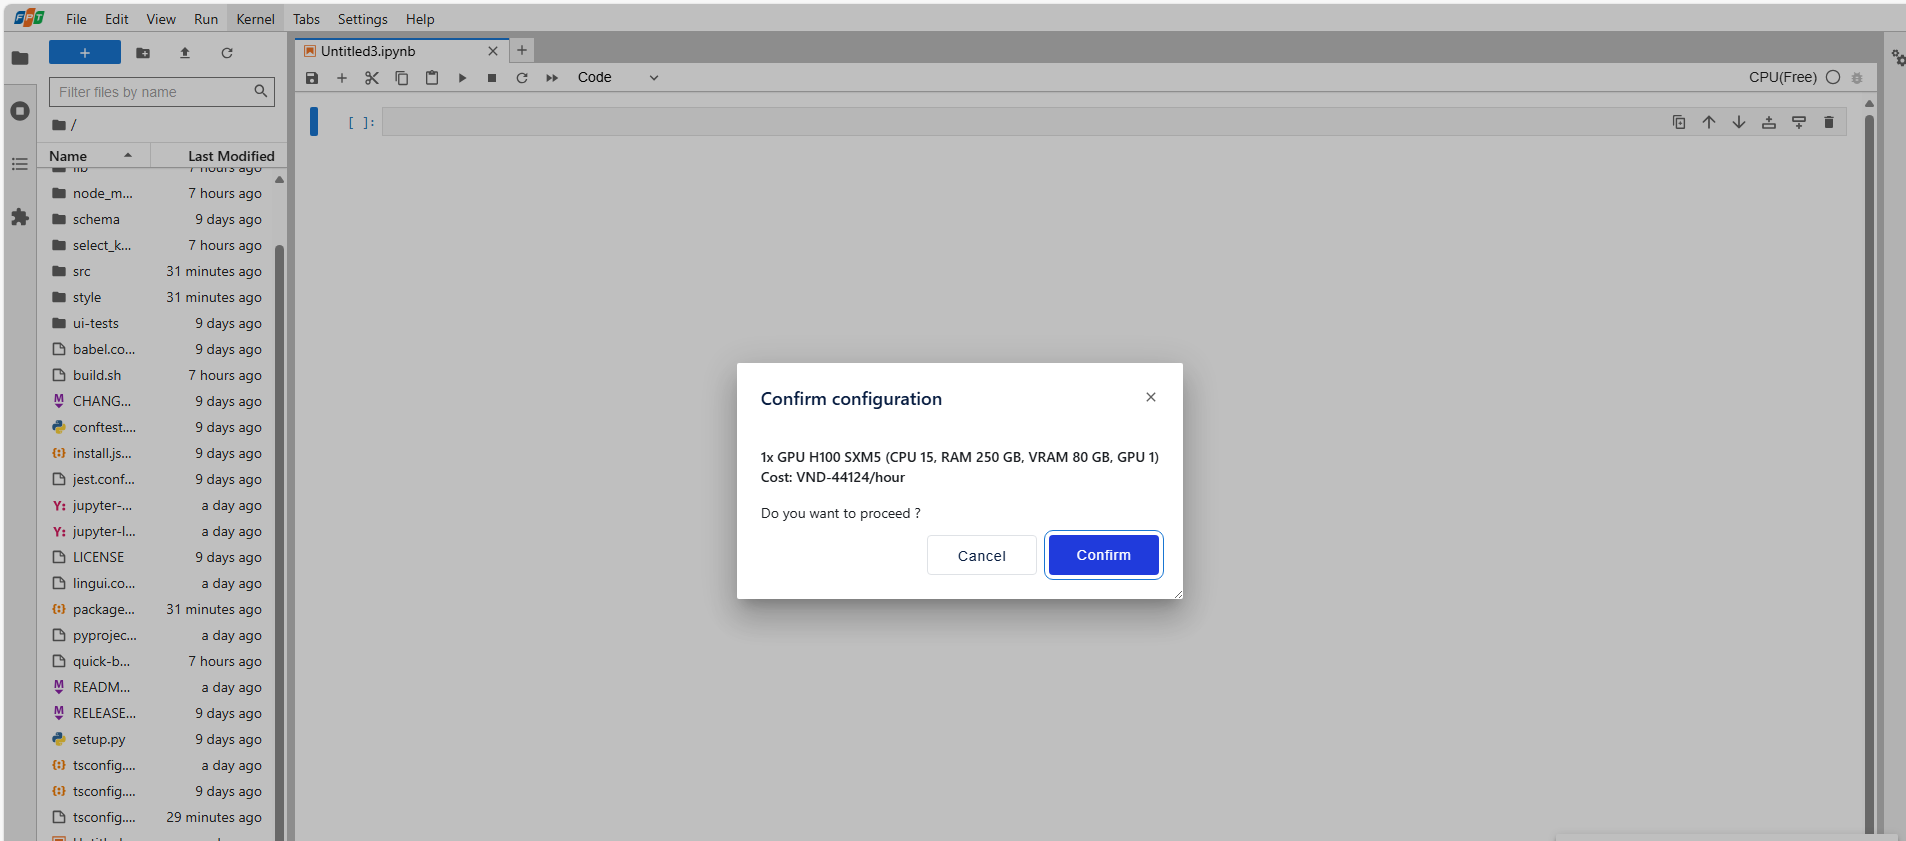
- Wait about 1–2 minutes for the notebook to be ready.
- Once connected, the new kernel will appear under Running Kernels.
Step 2b: Switch to an existing kernel
- Under Running Kernels, select the kernel you want to connect to.
- Wait about 1–2 minutes for the notebook to be ready.
- Once connected, the selected kernel will be shown under Running Kernels.