Configure NAT Instance
-
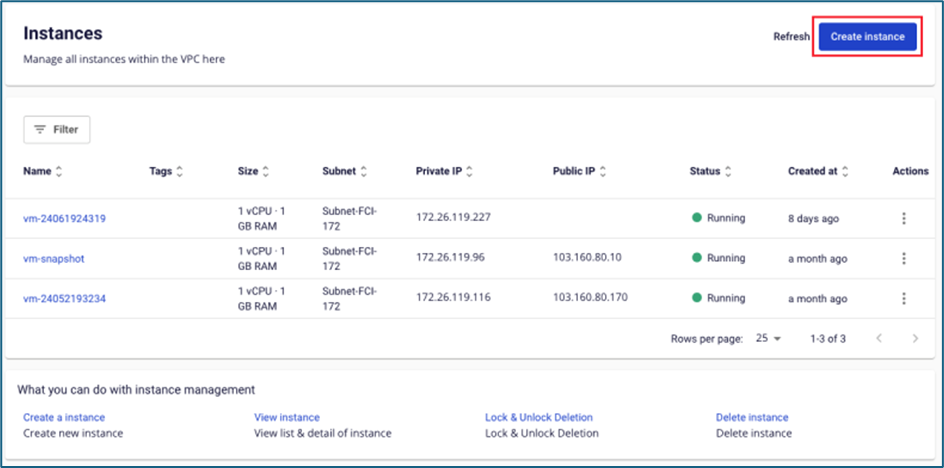
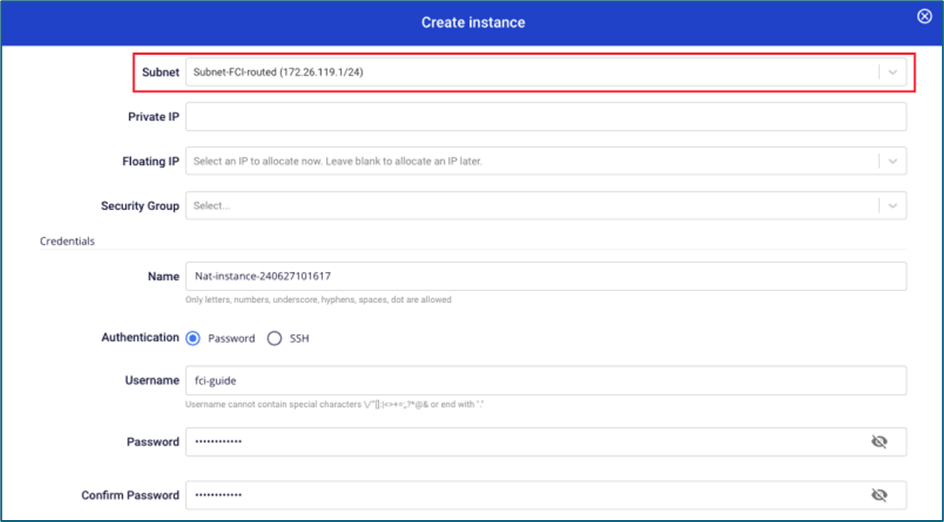
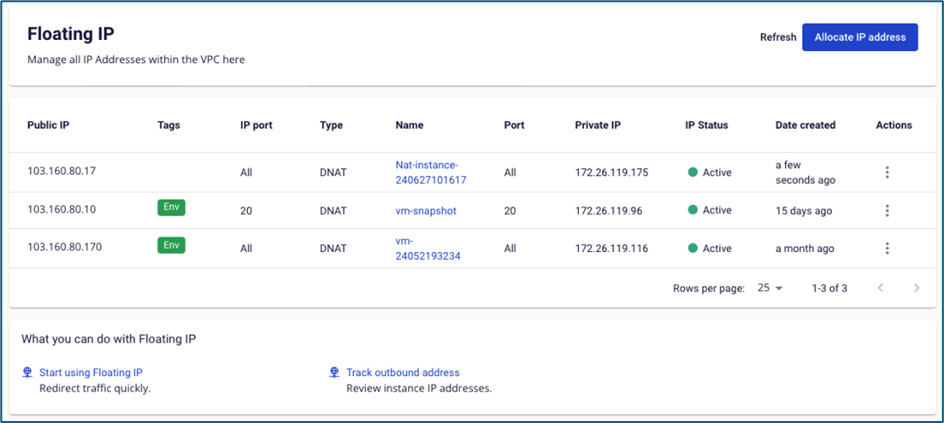
Create a NAT Instance from the image provided by FCI.
 warning
In the Subnet field, select a subnet that has Internet access.
-
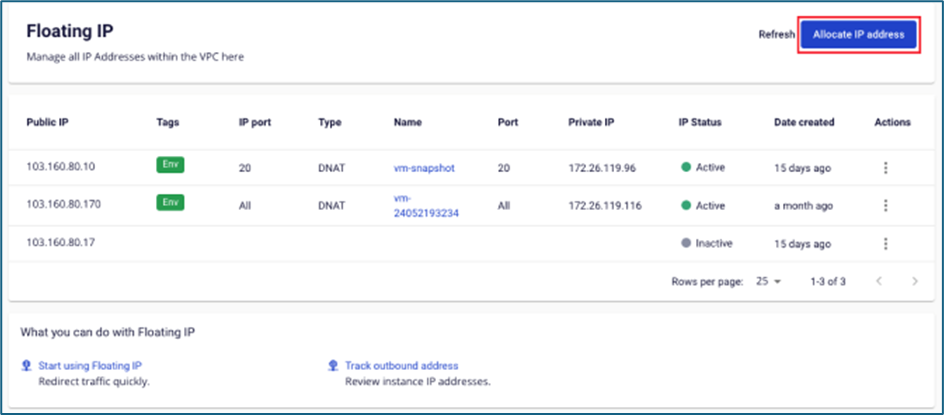
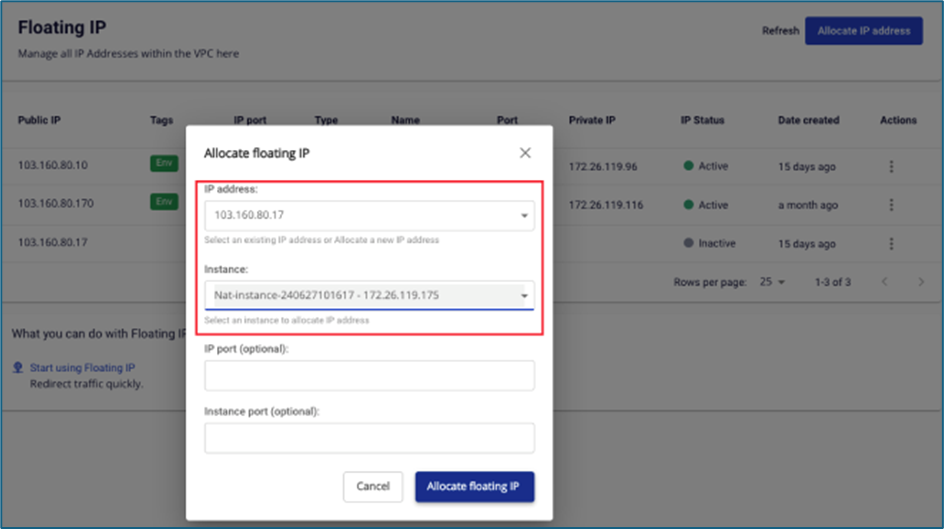
Attach a Floating IP to the NAT Instance. Skip this step if a Floating IP was already assigned during instance creation.

-
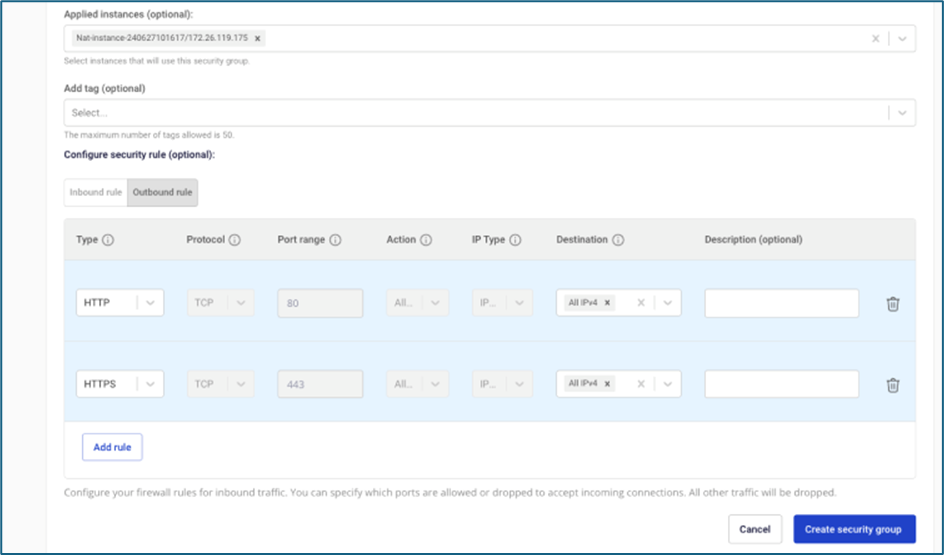
Attach a security group to the NAT Instance and open the required rules to allow instances in the isolated network to reach the Internet. You can also open ICMP to enable ping testing. Skip this step if a security group was already attached during instance creation.

-
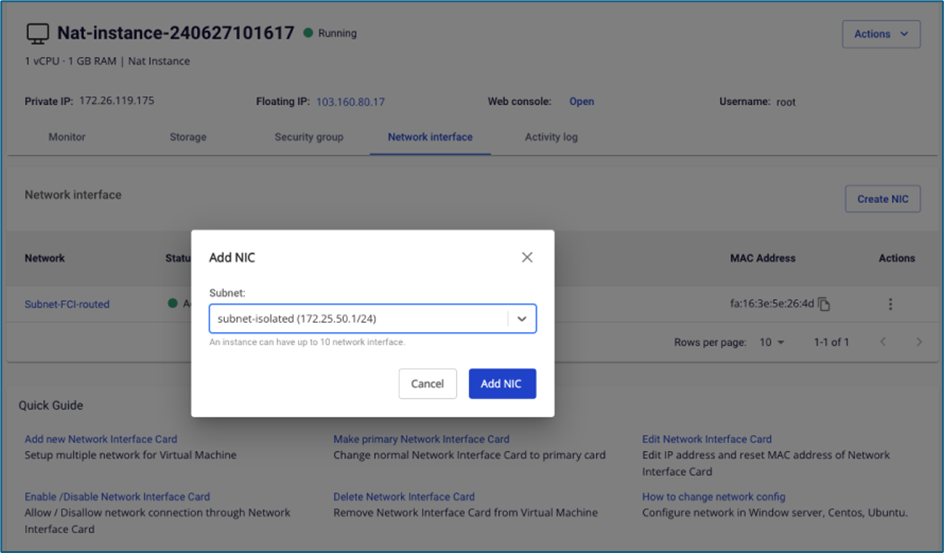
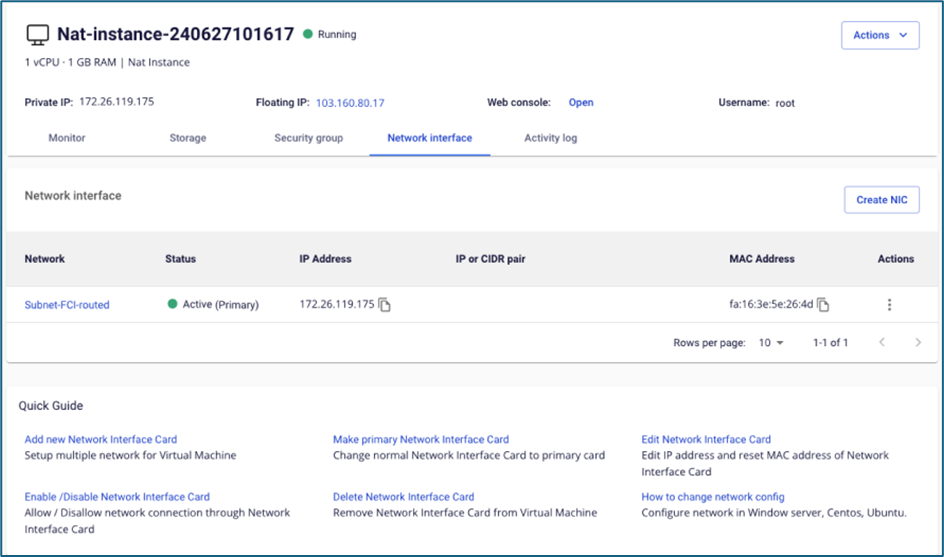
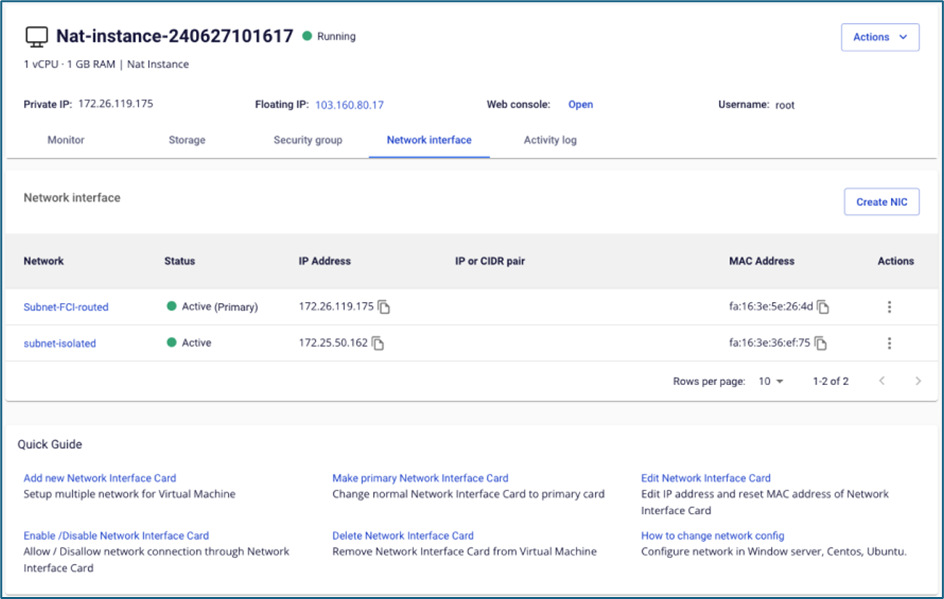
Add a Network Interface Card (NIC) on the same subnet as the isolated subnet of the instance that needs Internet access.

-
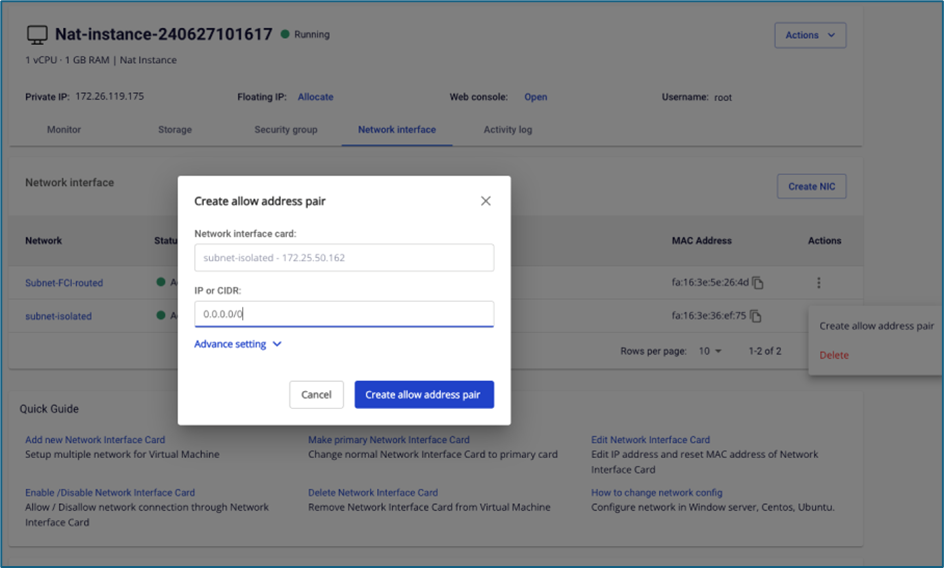
Allow address pair
0.0.0.0/0on the NIC belonging to the isolated network.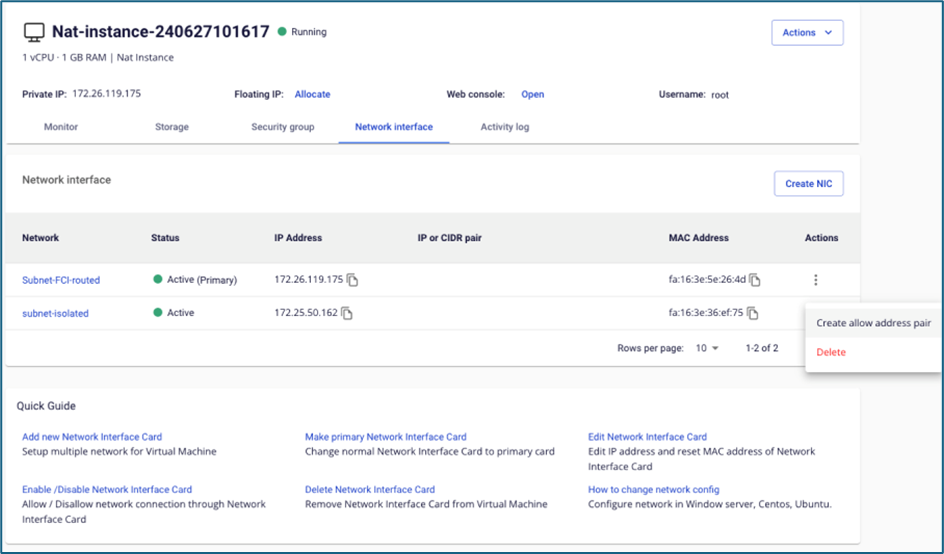
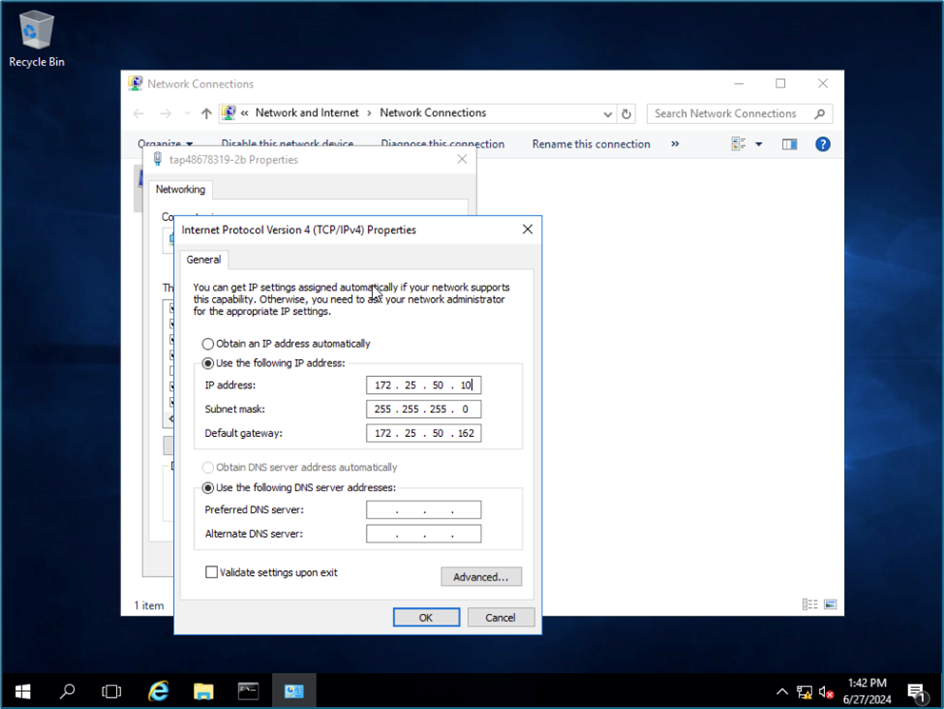
-
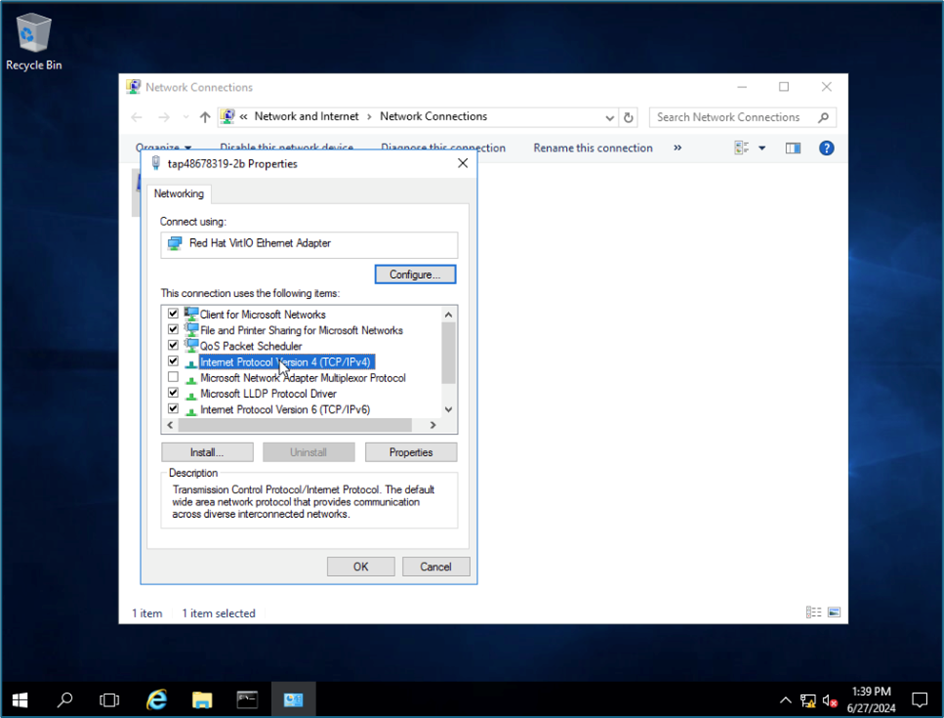
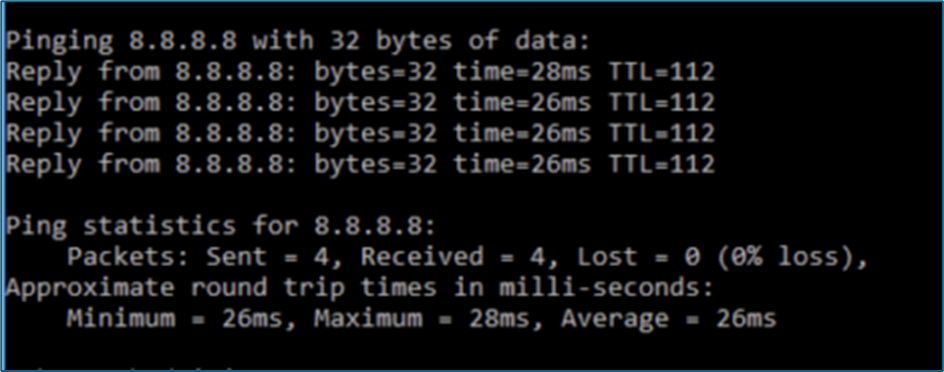
Access the instance in the isolated network and change the default gateway to the IP of the NAT Instance's NIC. The example below uses a Windows instance.