Profile Ssh Key
Profile SSH Key
1. Create/Import an SSH Key Profile
Step 1: In the menu, select Compute Engine > SSH Management. Select Import SSH key.

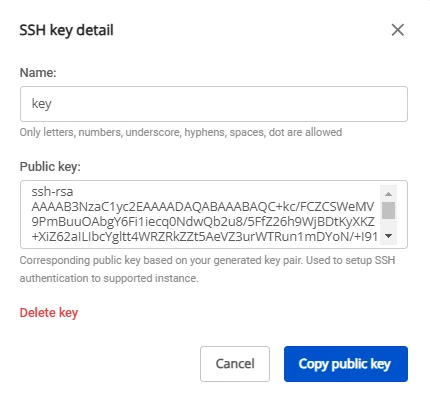
Step 2: Enter the required information to create an SSH Key:
- Name: The name of the SSH Key.
- Public Key: The Public Key used by the system to generate the Private Key. If you already have a Public Key, enter it in the Public Key field. If not, select Generate new key pair. The system will automatically generate a valid Public Key for you.
Currently supported SSH key formats: 'ssh-rsa', 'ecdsa-sha2-nistp256', 'ecdsa-sha2-nistp384', 'ecdsa-sha2-nistp521', 'ssh-ed25519'.
Step 3: Once all information is filled in, click Save. The system will create the SSH Key pair and automatically download the key file to your machine in < >.pem format.
Note: The Private Key file < >.pem is only provided once at step 3. Users must store it in a safe location to avoid losing access to the server.
2. View SSH Key Profile Details
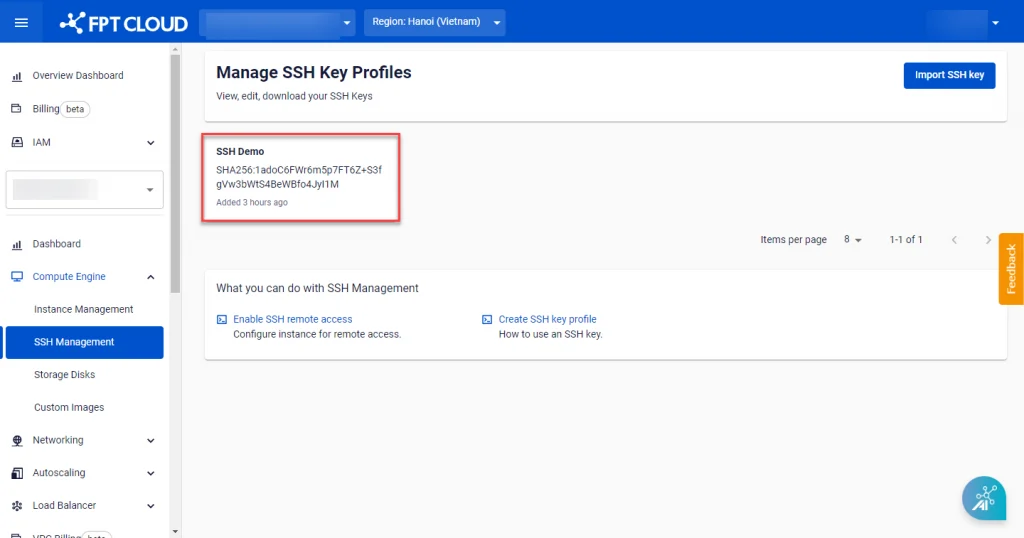
Users can view all SSH Key Profiles created within the VPC under Manage SSH Key Profiles.
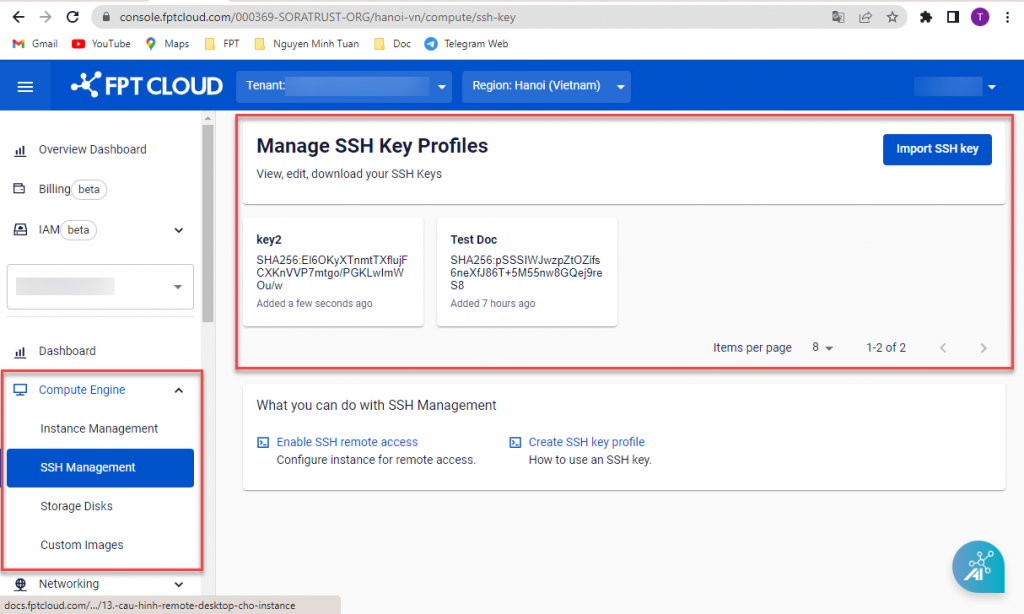
When a specific SSH Key Profile is selected, the system displays the Name and Public Key.
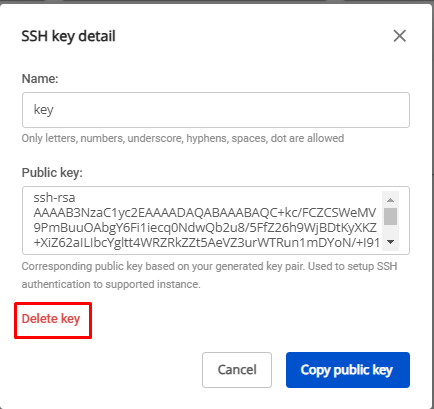
3. Delete an SSH Key Profile
To delete an SSH Key Profile from Manage SSH Key Profiles, follow these steps:
Step 1: Select the SSH Key Profile to delete and open the Detail popup.
Step 2: Click the Delete icon. The system will immediately delete the SSH Key Profile and display the processing result.
Note: This action only removes the SSH Key Profile from Manage SSH Key Profiles. Virtual machines that were created using this SSH Key are not affected. Users can still use the previously downloaded Private Key file to connect to the virtual machines.