Quick Starts
1. Create Queues
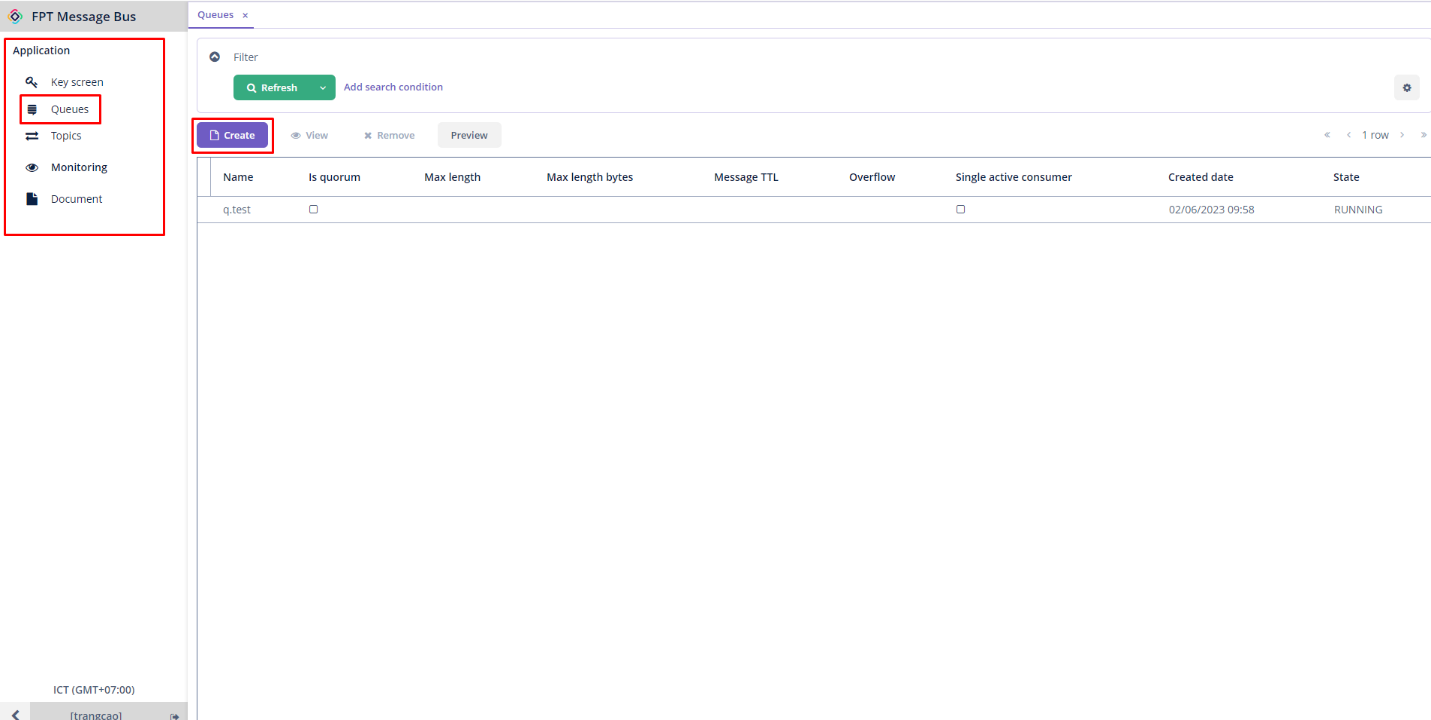
After successfully registering the service, RabbitMQ configuration operations will be carried out entirely within the RabbitMQ Application. First, you can create queues as follows: Step 1 : From the menu, navigate to Application > Queues > Create
Step 2 : Enter the necessary information:
- Name (required) : The name of the queue.
- Max length : The maximum amount of messages that can be held in a queue.
- Message TTL : The amount of time that messages remain valid from the moment they are published. If it exceeds this time, the message will be lost.
- Overflow : You can select from drop_head , reject_publish , or reject_publish_DLX modes.
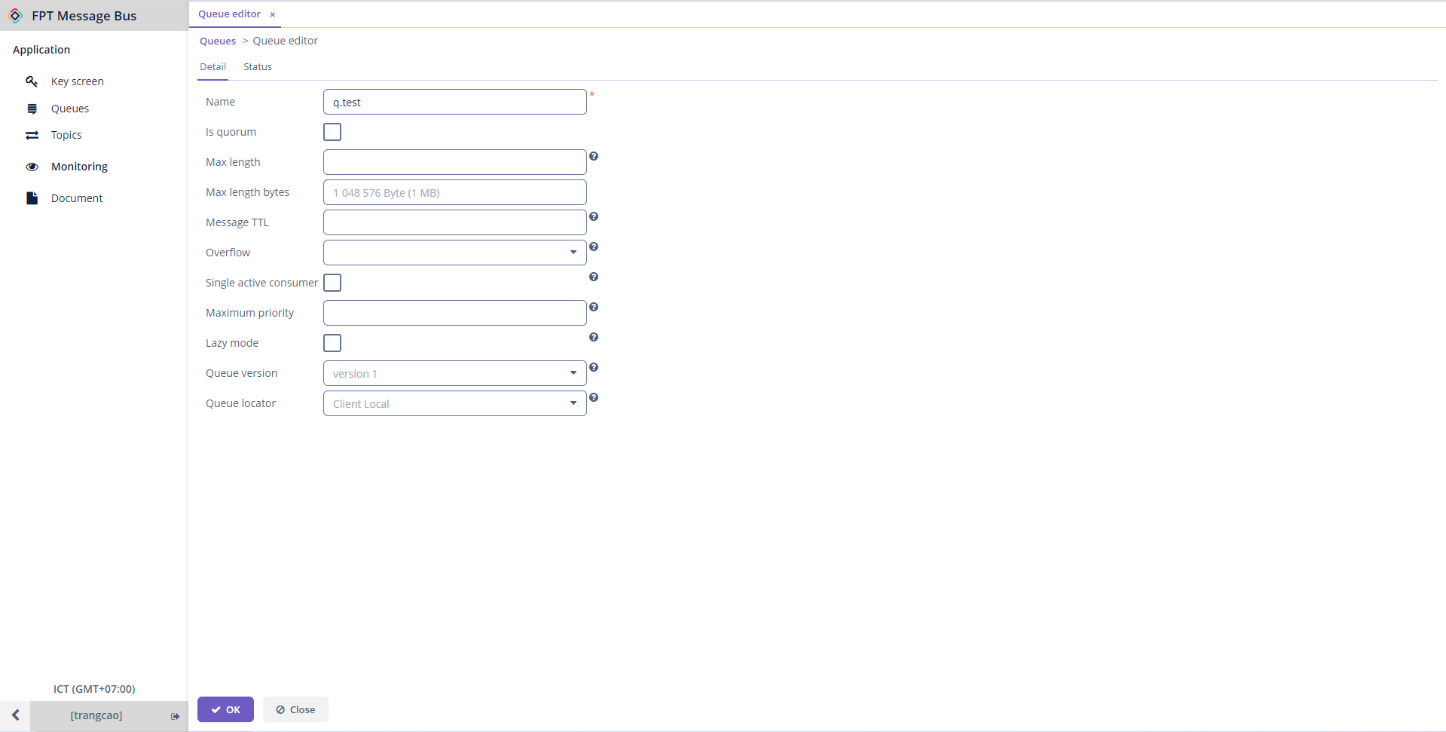
Step 3 : Click OK to proceed with creating the queue.
2. Send and Receive Messages
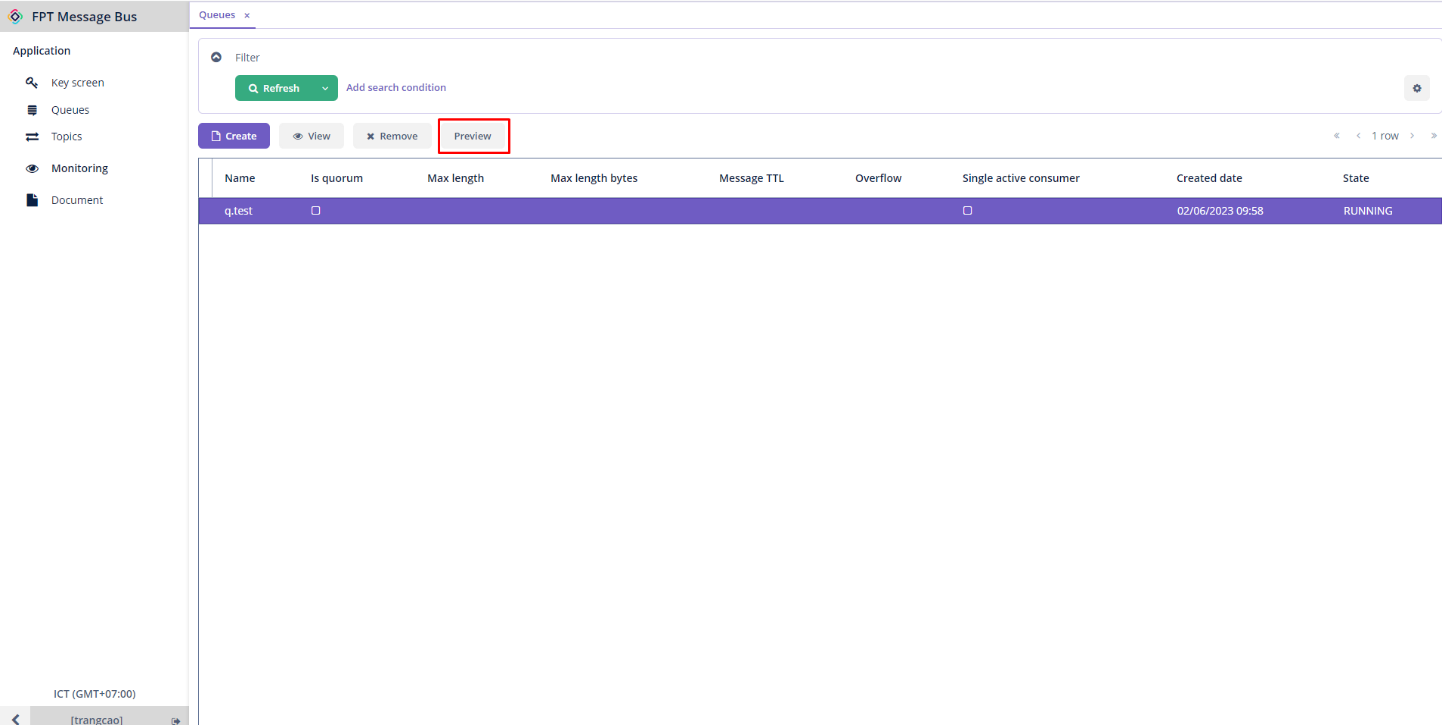
To publish messages and push them into a queue, follow these steps: Step 1 : From the menu, navigate to Application > Queues > Choose a desired queue > Preview
Step 2 : Enter the message you want to publish into the Payload field in the Send tab.
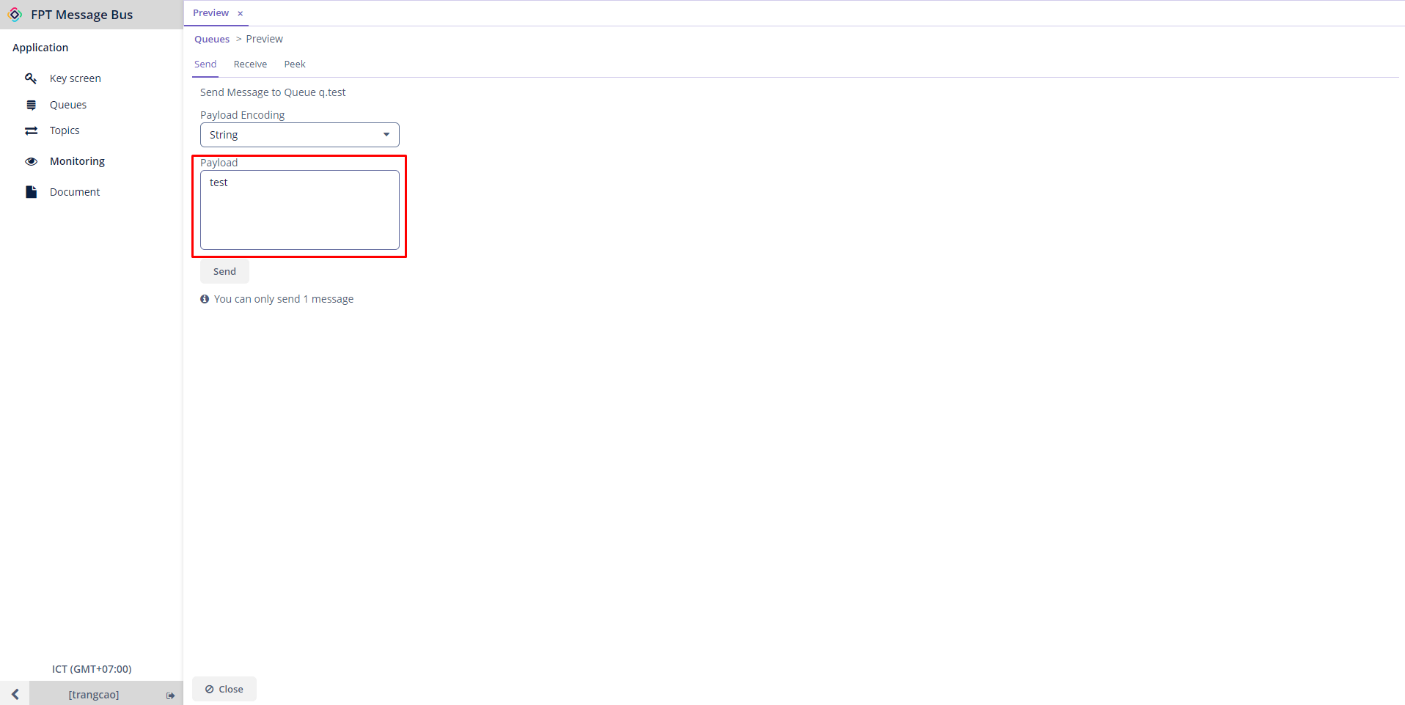
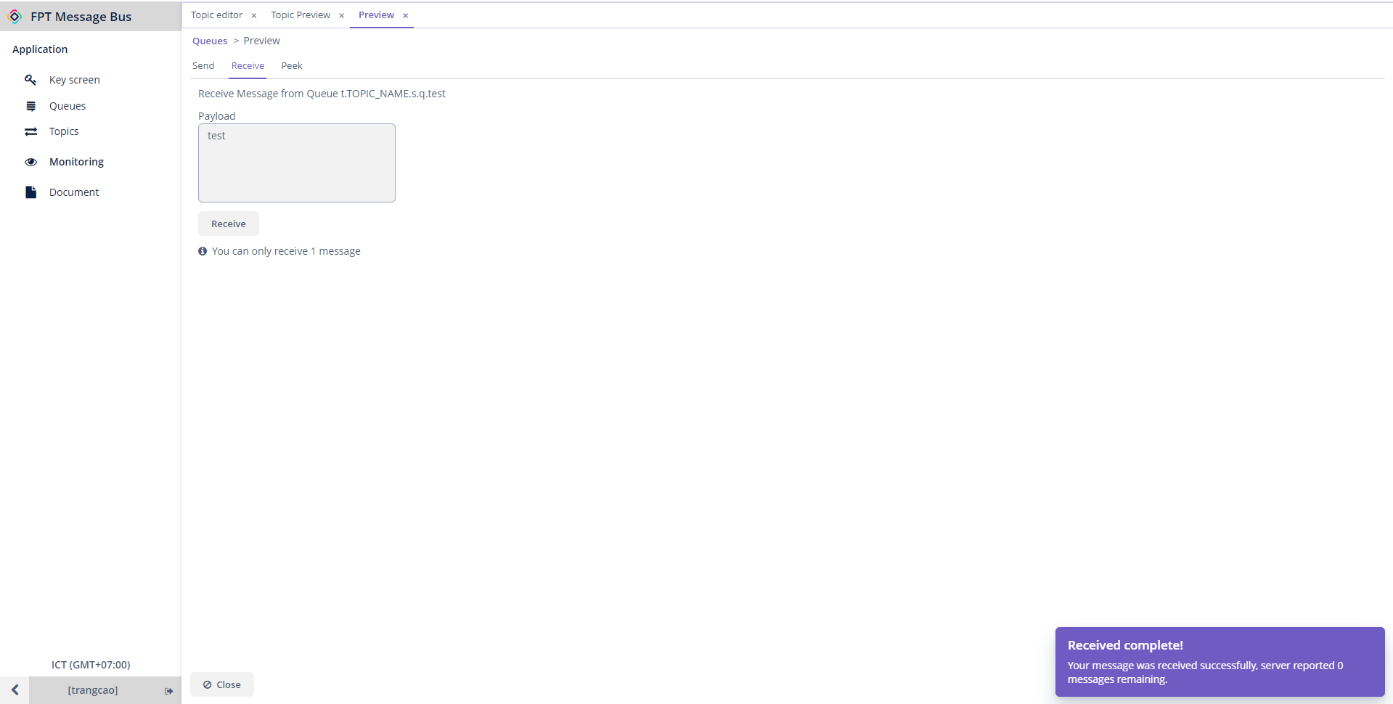
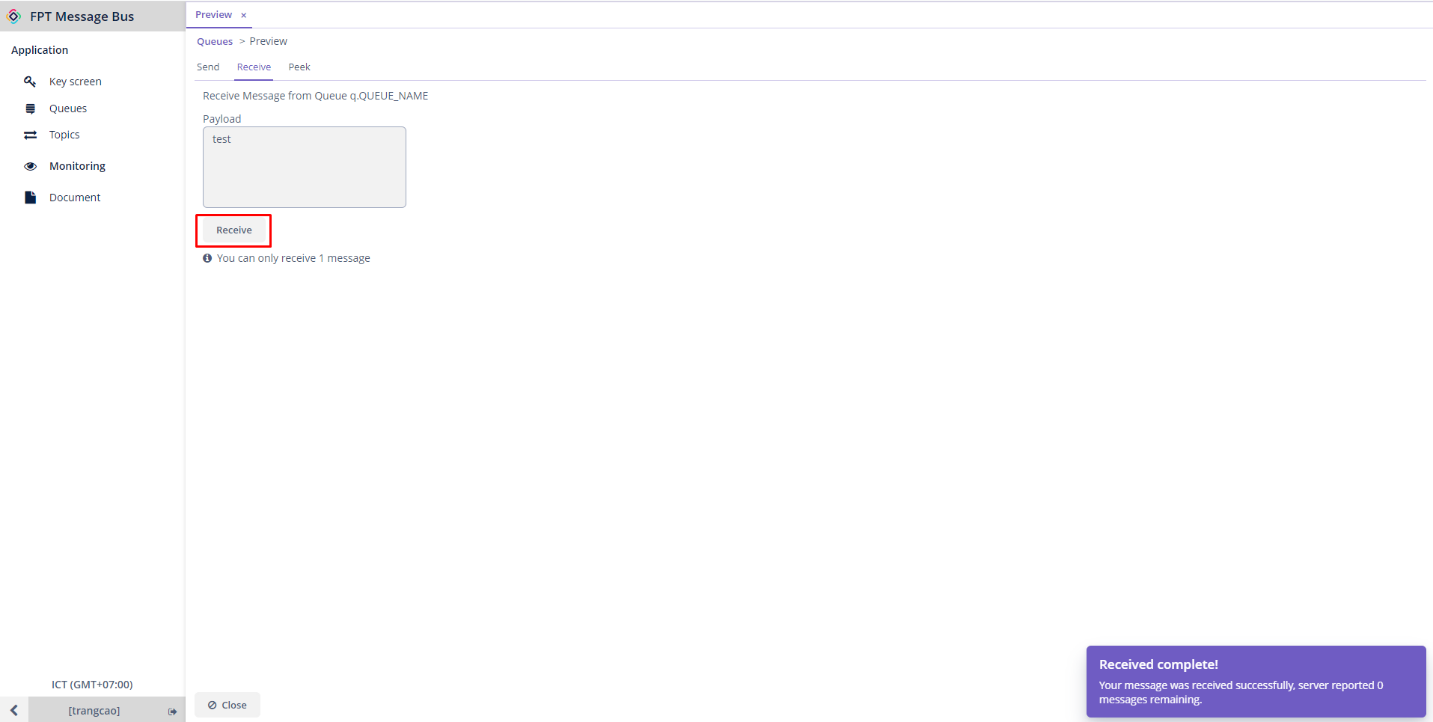
Step 3 : Click Send to send the message. Now, you have successfully published messages to the queue. To receive messages, navigate to the Receive tab > Click Receive.
3. Create a Topic
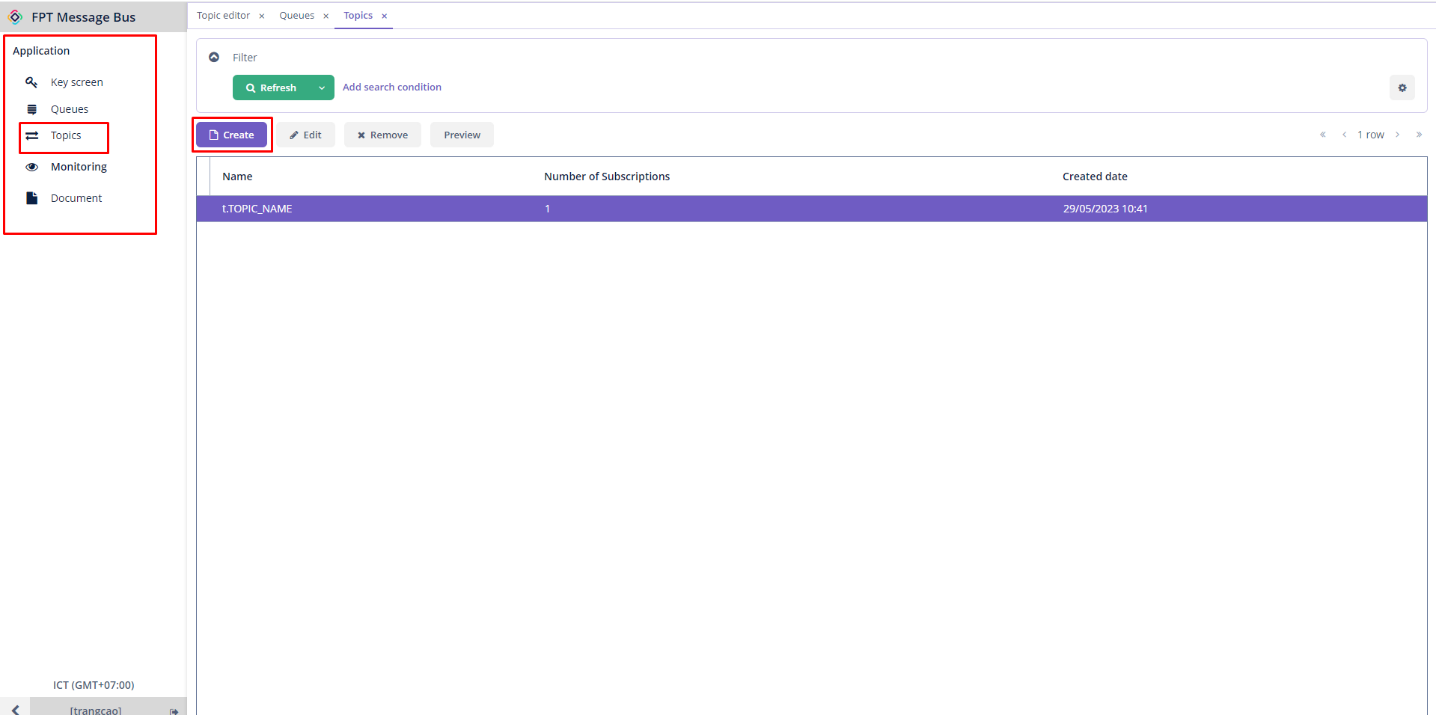
You can create a topic by following these steps: Step 1 : From the menu, navigate to Application > Topics > Click Create
Step 2 : Enter the necessary information:
- Name (required) : The name of the topic
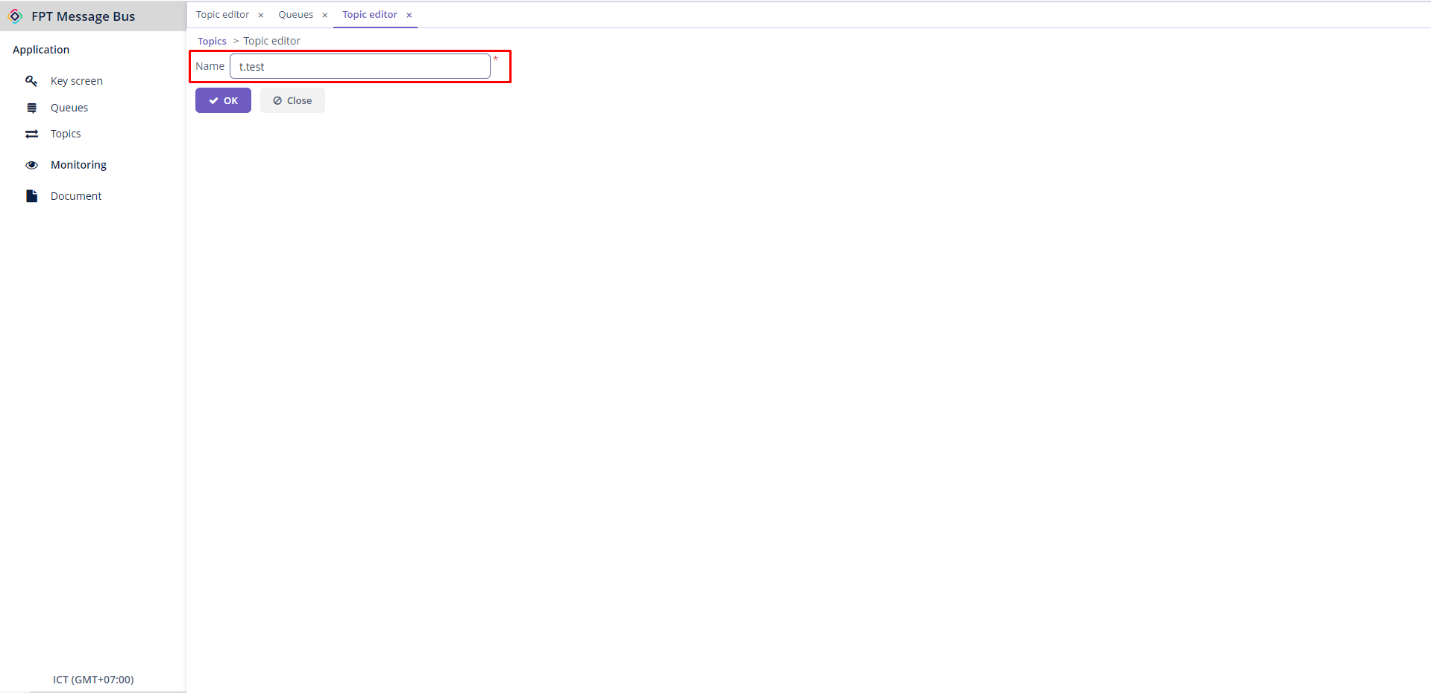
Step 3 : Click OK to create the topic.
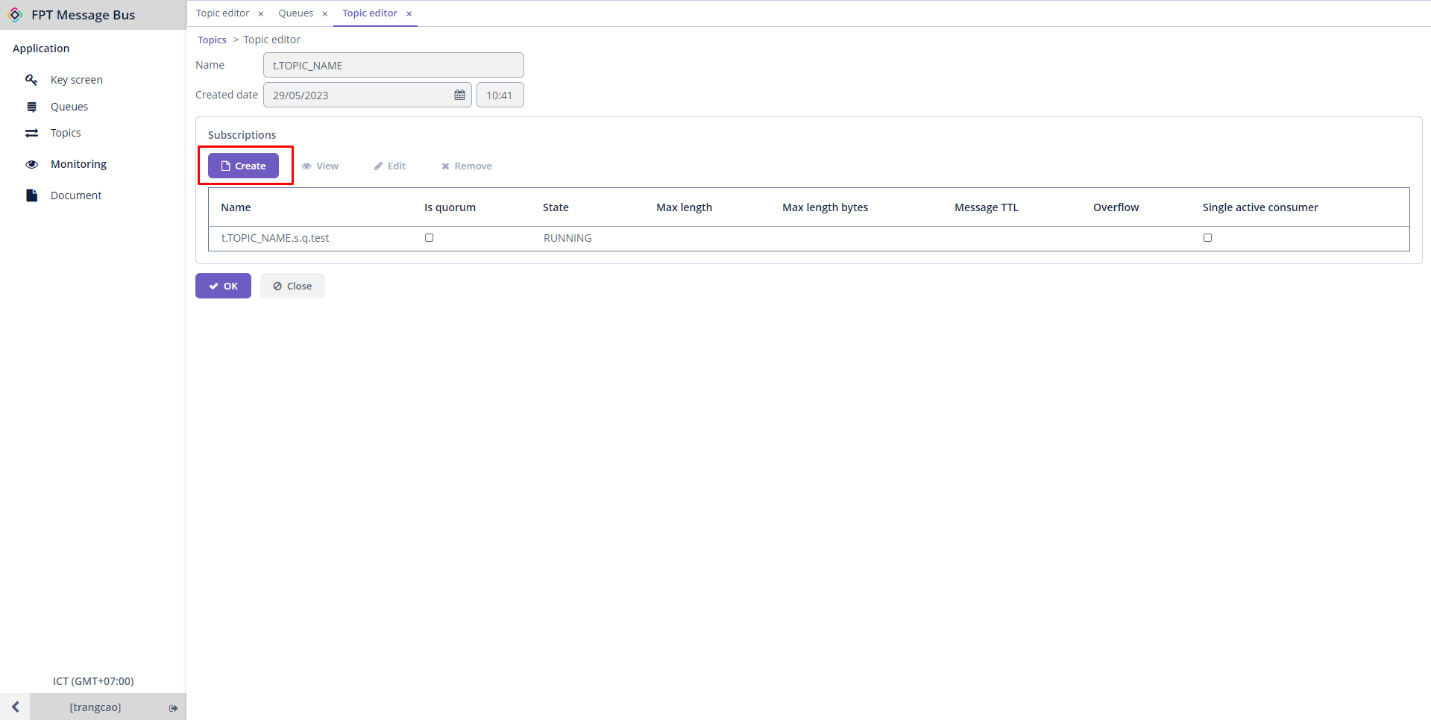
4. Create Subscriptions
To send and receive messages within a topic, you need to create subscriptions to subscribe to that topic. Follow these steps: Step 1: Choose a desired topic > Edit > Click Create in the Subscriptions section
Step 2 : Enter the necessary information:
- Name (required) : The name of the queue.
- Max length : The maximum amount of messages that can be held in a queue.
- Message TTL : The amount of time that messages remain valid from the moment they are published. If it exceeds this time, the message will be lost.
- Overflow : You can select from drop_head , reject_publish , or reject_publish_DLX modes.
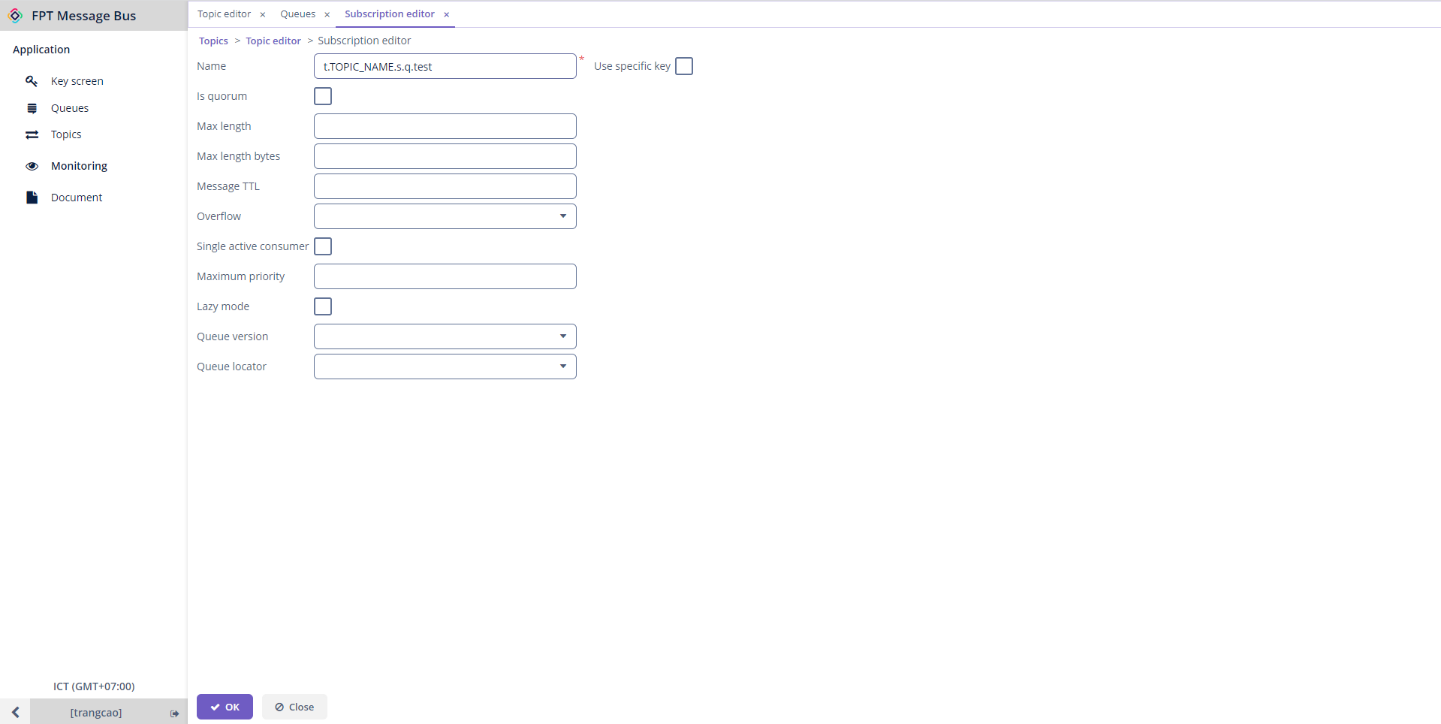
Step 3 : Click OK to proceed with creating the subscription.
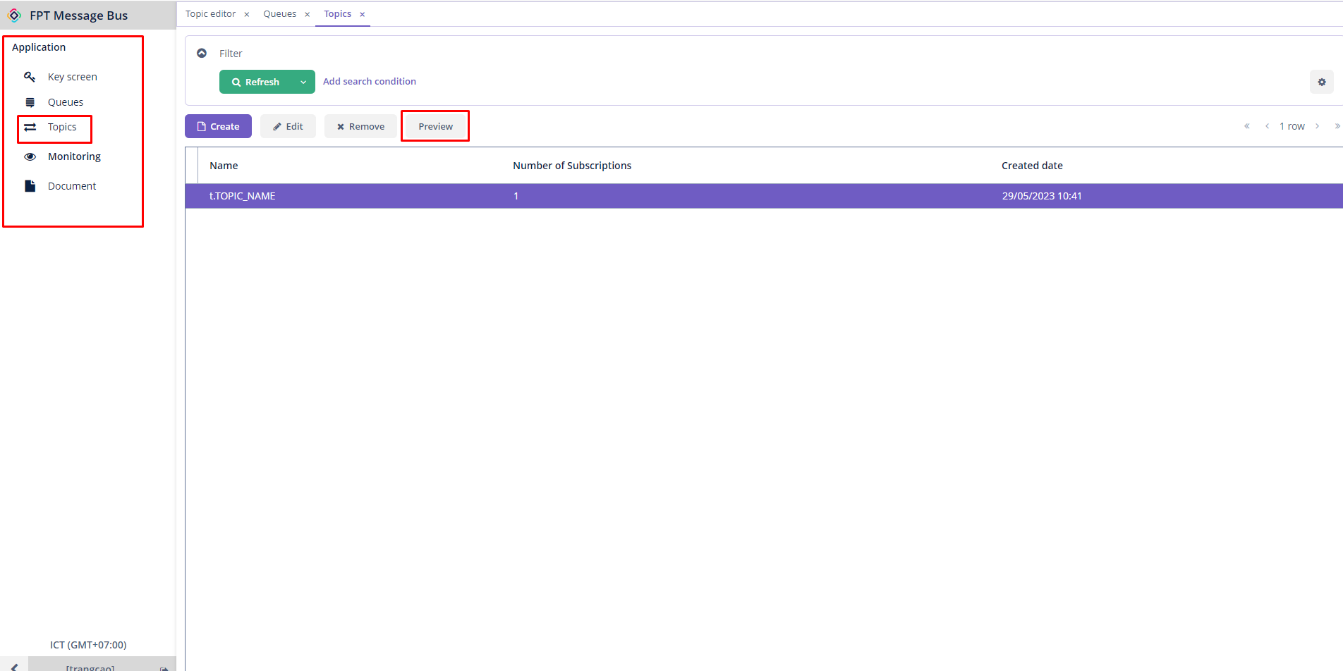
5. Send and Receive Messages within a Topic
When a message is published within a topic, all subscriptions that have subscribed to the topic can receive the message. First, to publish a message within a topic, follow these steps: Step 1 : From the menu, navigate to Application > Topics > Choose a desired topic > Preview
Step 2 : Enter the message you want to publish into the Payload field.
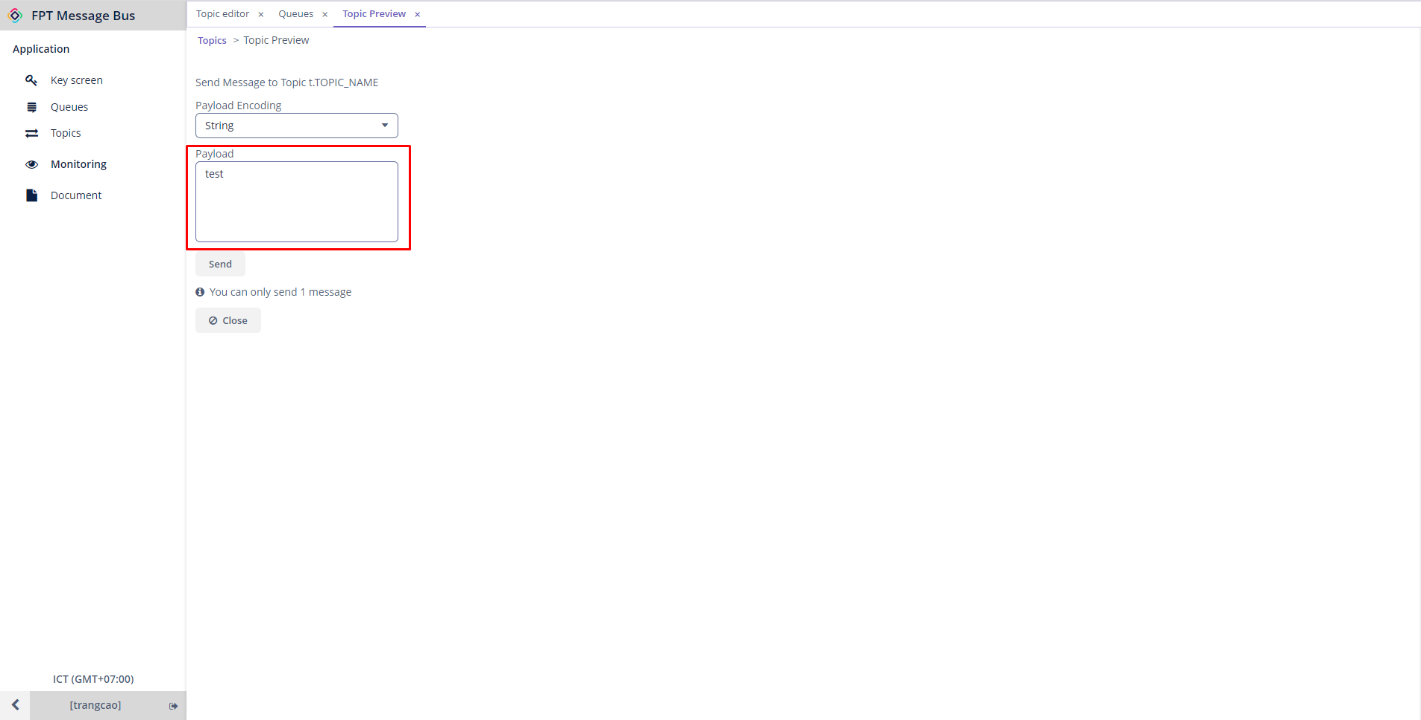
Step 3 : Click Send to send the message. To receive the published messages from the subscriptions, follow these steps: Step 1: From the Application menu > Queues > Choose a desired subscription > Preview

Step 2: Select the Receive tab > Click Receive to receive the message that has been published.