Create a role and assign permissions
To create a new Custom Role, follow these steps.
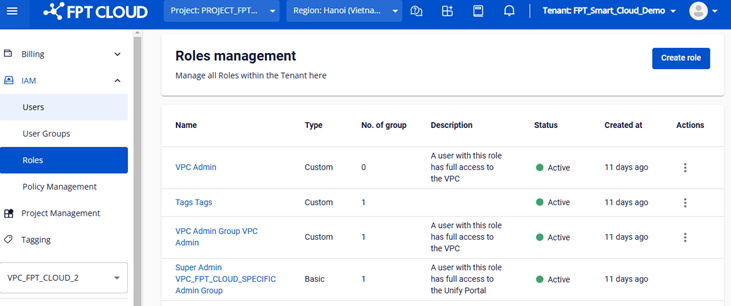
- Select IAM > Roles, then click Create Role.
- On the Create role page, enter the required information.
- Name: Role name (required, max 100 characters, only letters, numbers, underscores, hyphens, spaces, dots; must be unique).
- Description: Role description (optional).
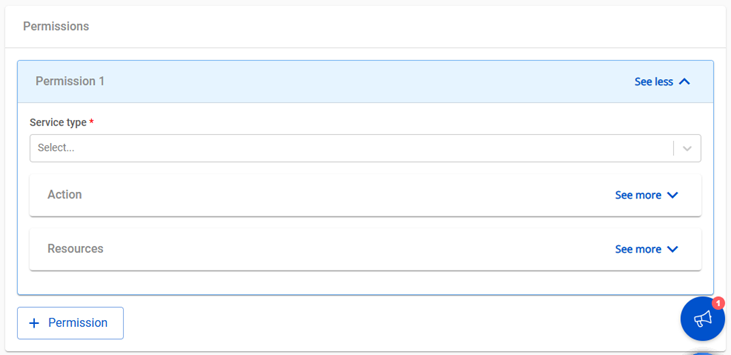
- Permissions: Consists of 3 components — Service type, Action, Resource.
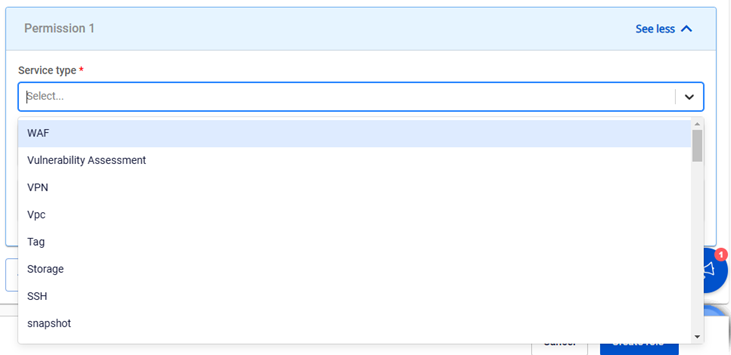
- Select a Service type from the dropdown list.
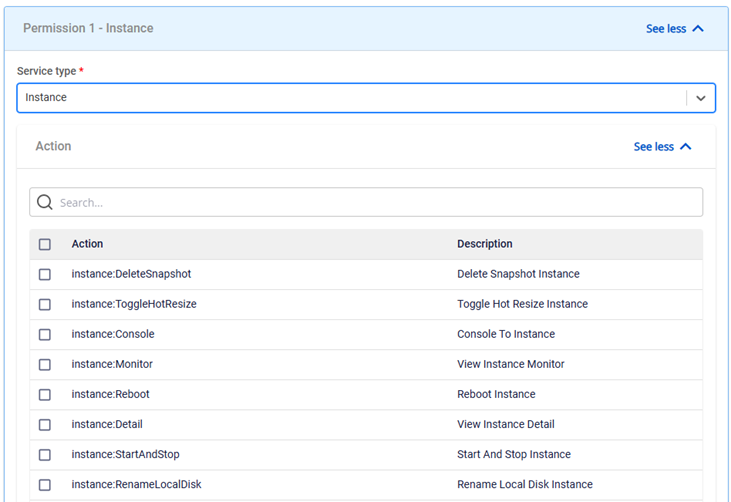
- Select an Action from the list of actions for that service.
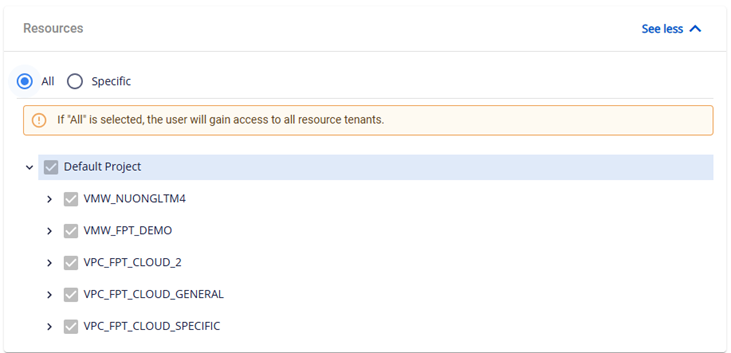
- Select the Resource that the user is allowed to perform the action on. Two options are available:
- All: Grant permission for all resources on the tenant (all Projects and VPCs).
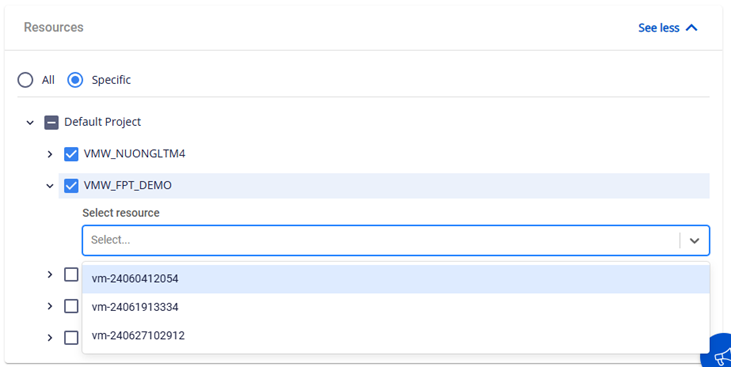
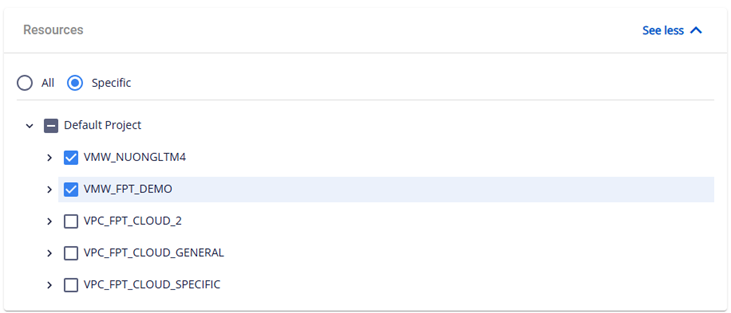
- Specific: Grant permission for specific resources. For virtual machines, permissions can be granted down to individual instances; for other services, permissions can be granted at the Project or VPC level.
- Click Create. The system creates the role and displays the result.