Tag Sync (OpenMetadata & Ranger Integration)
The Tag Sync feature allows synchronization of tags from OpenMetadata to Apache Ranger, enabling expanded permission management in Trino based on tags (in addition to resources).
Steps
Step 1: Portal
On the Portal, you need to create all 3 components:
- OpenMetadata
- Apache Ranger
- Trino
When creating the Trino cluster, you must check Integrate Ranger to allow Trino to use permissions from Ranger.
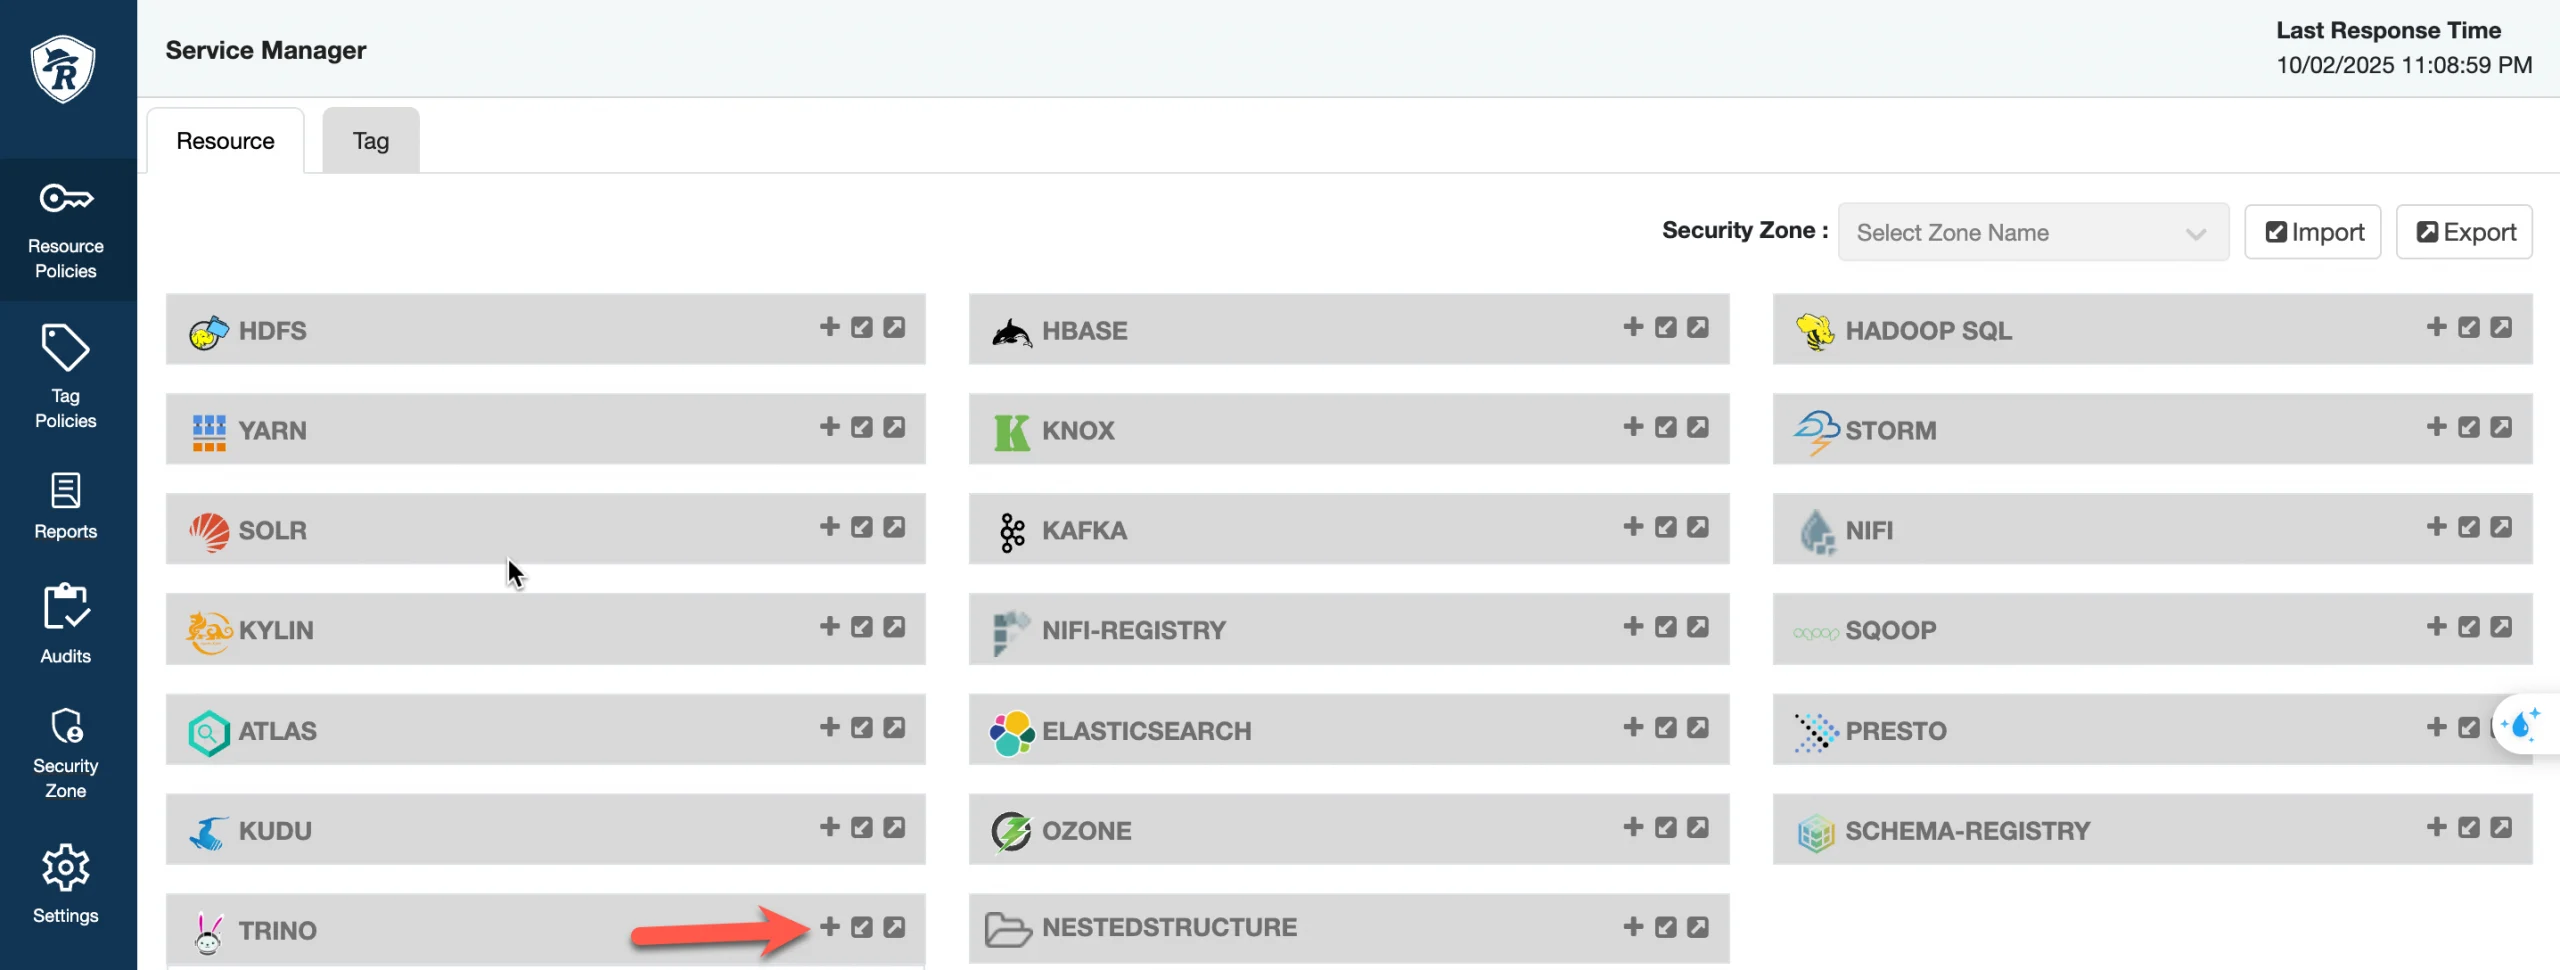
Step 2: Create Resource Policies for Trino in Ranger
Go to Ranger > Service Manager > Resource Tab → select the Trino service just created (e.g., trino-msu9test).
Note: The service name must match the cus_app_id of Trino.
This is a mandatory prerequisite for Trino to function and for OpenMetadata to test the connection successfully. If the basic Resource Policies are missing, when creating the Trino service in OM → Test Connection will fail.
Step 3: Create Trino Service in OpenMetadata
- Go to OpenMetadata > Settings > Services > Databases → click Add New Service.

-
Select Trino → click Next.
-
Fill in the service details:
Service Name (e.g., trino-tester).
Username, Password, Host, Port (pointing to the Trino cluster just created on the portal).
-
Click Test Connection → if successful, click Save.
-
Go to the Ingestion tab of the Trino service → click Add Ingestion.
Fill in the Database/Schema/Table Filter Pattern.
Run ingestion.
-
After ingestion succeeds, the Trino DB appears in Explore.
-
Go to Explore > Database Trino → assign a tag to a column (e.g., tag Sensitive for the custkey column in the customer table).

Step 4: Create Tag Service & Trino Service in Ranger
-
Go to Ranger dashboard > Service Manager > Tag Tab → click Add New Service to create the Tag Service first (e.g., trino-msu9test-tag).
-
Go to Service Manager > Resource Tab → edit Service Trino (e.g., trino-msu9test).
In the Trino service config → set the Select Tag Service field = trino-msu9test-tag.
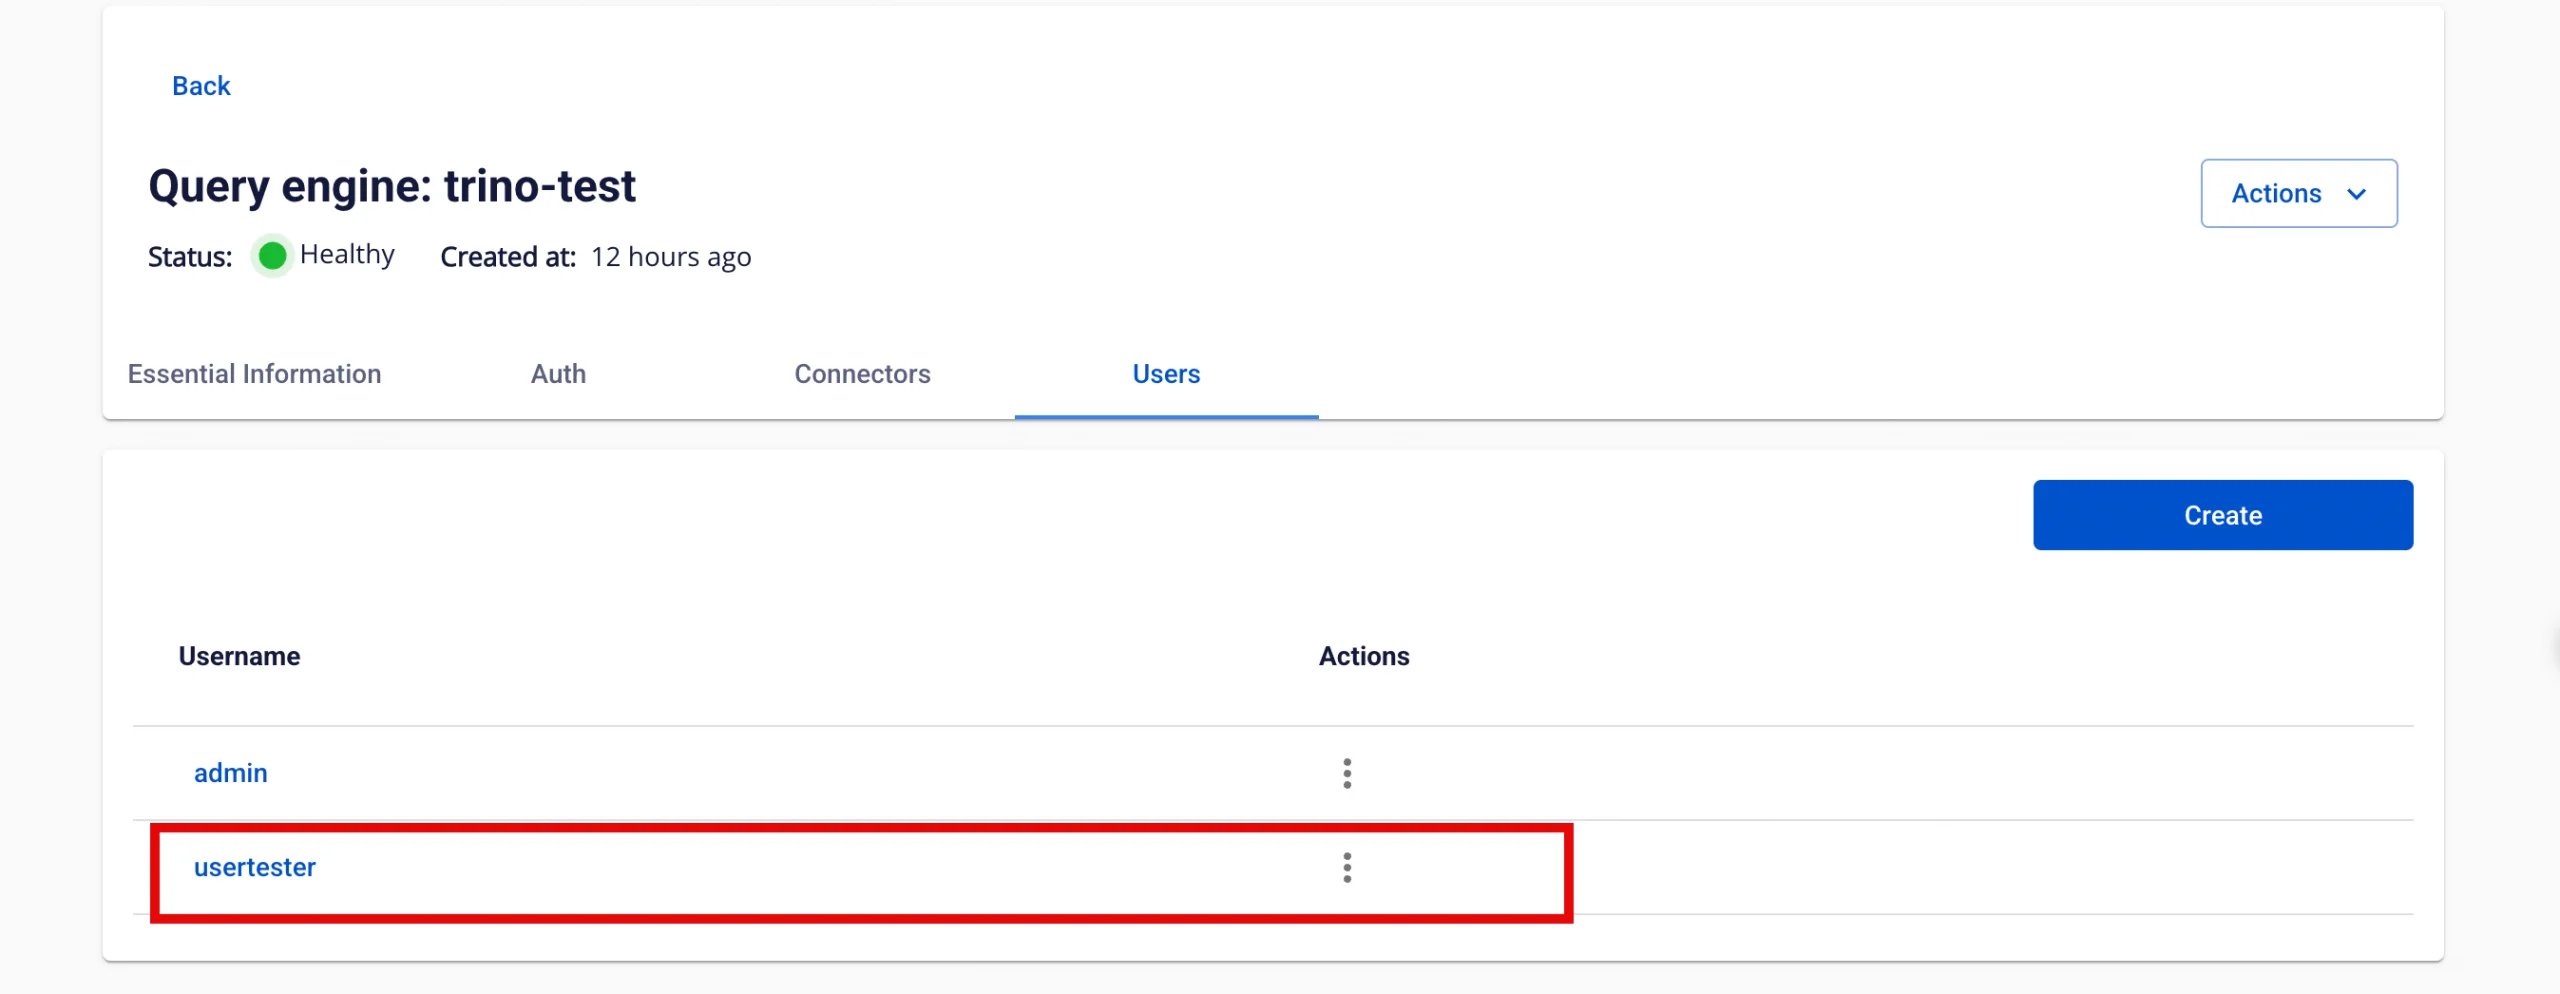
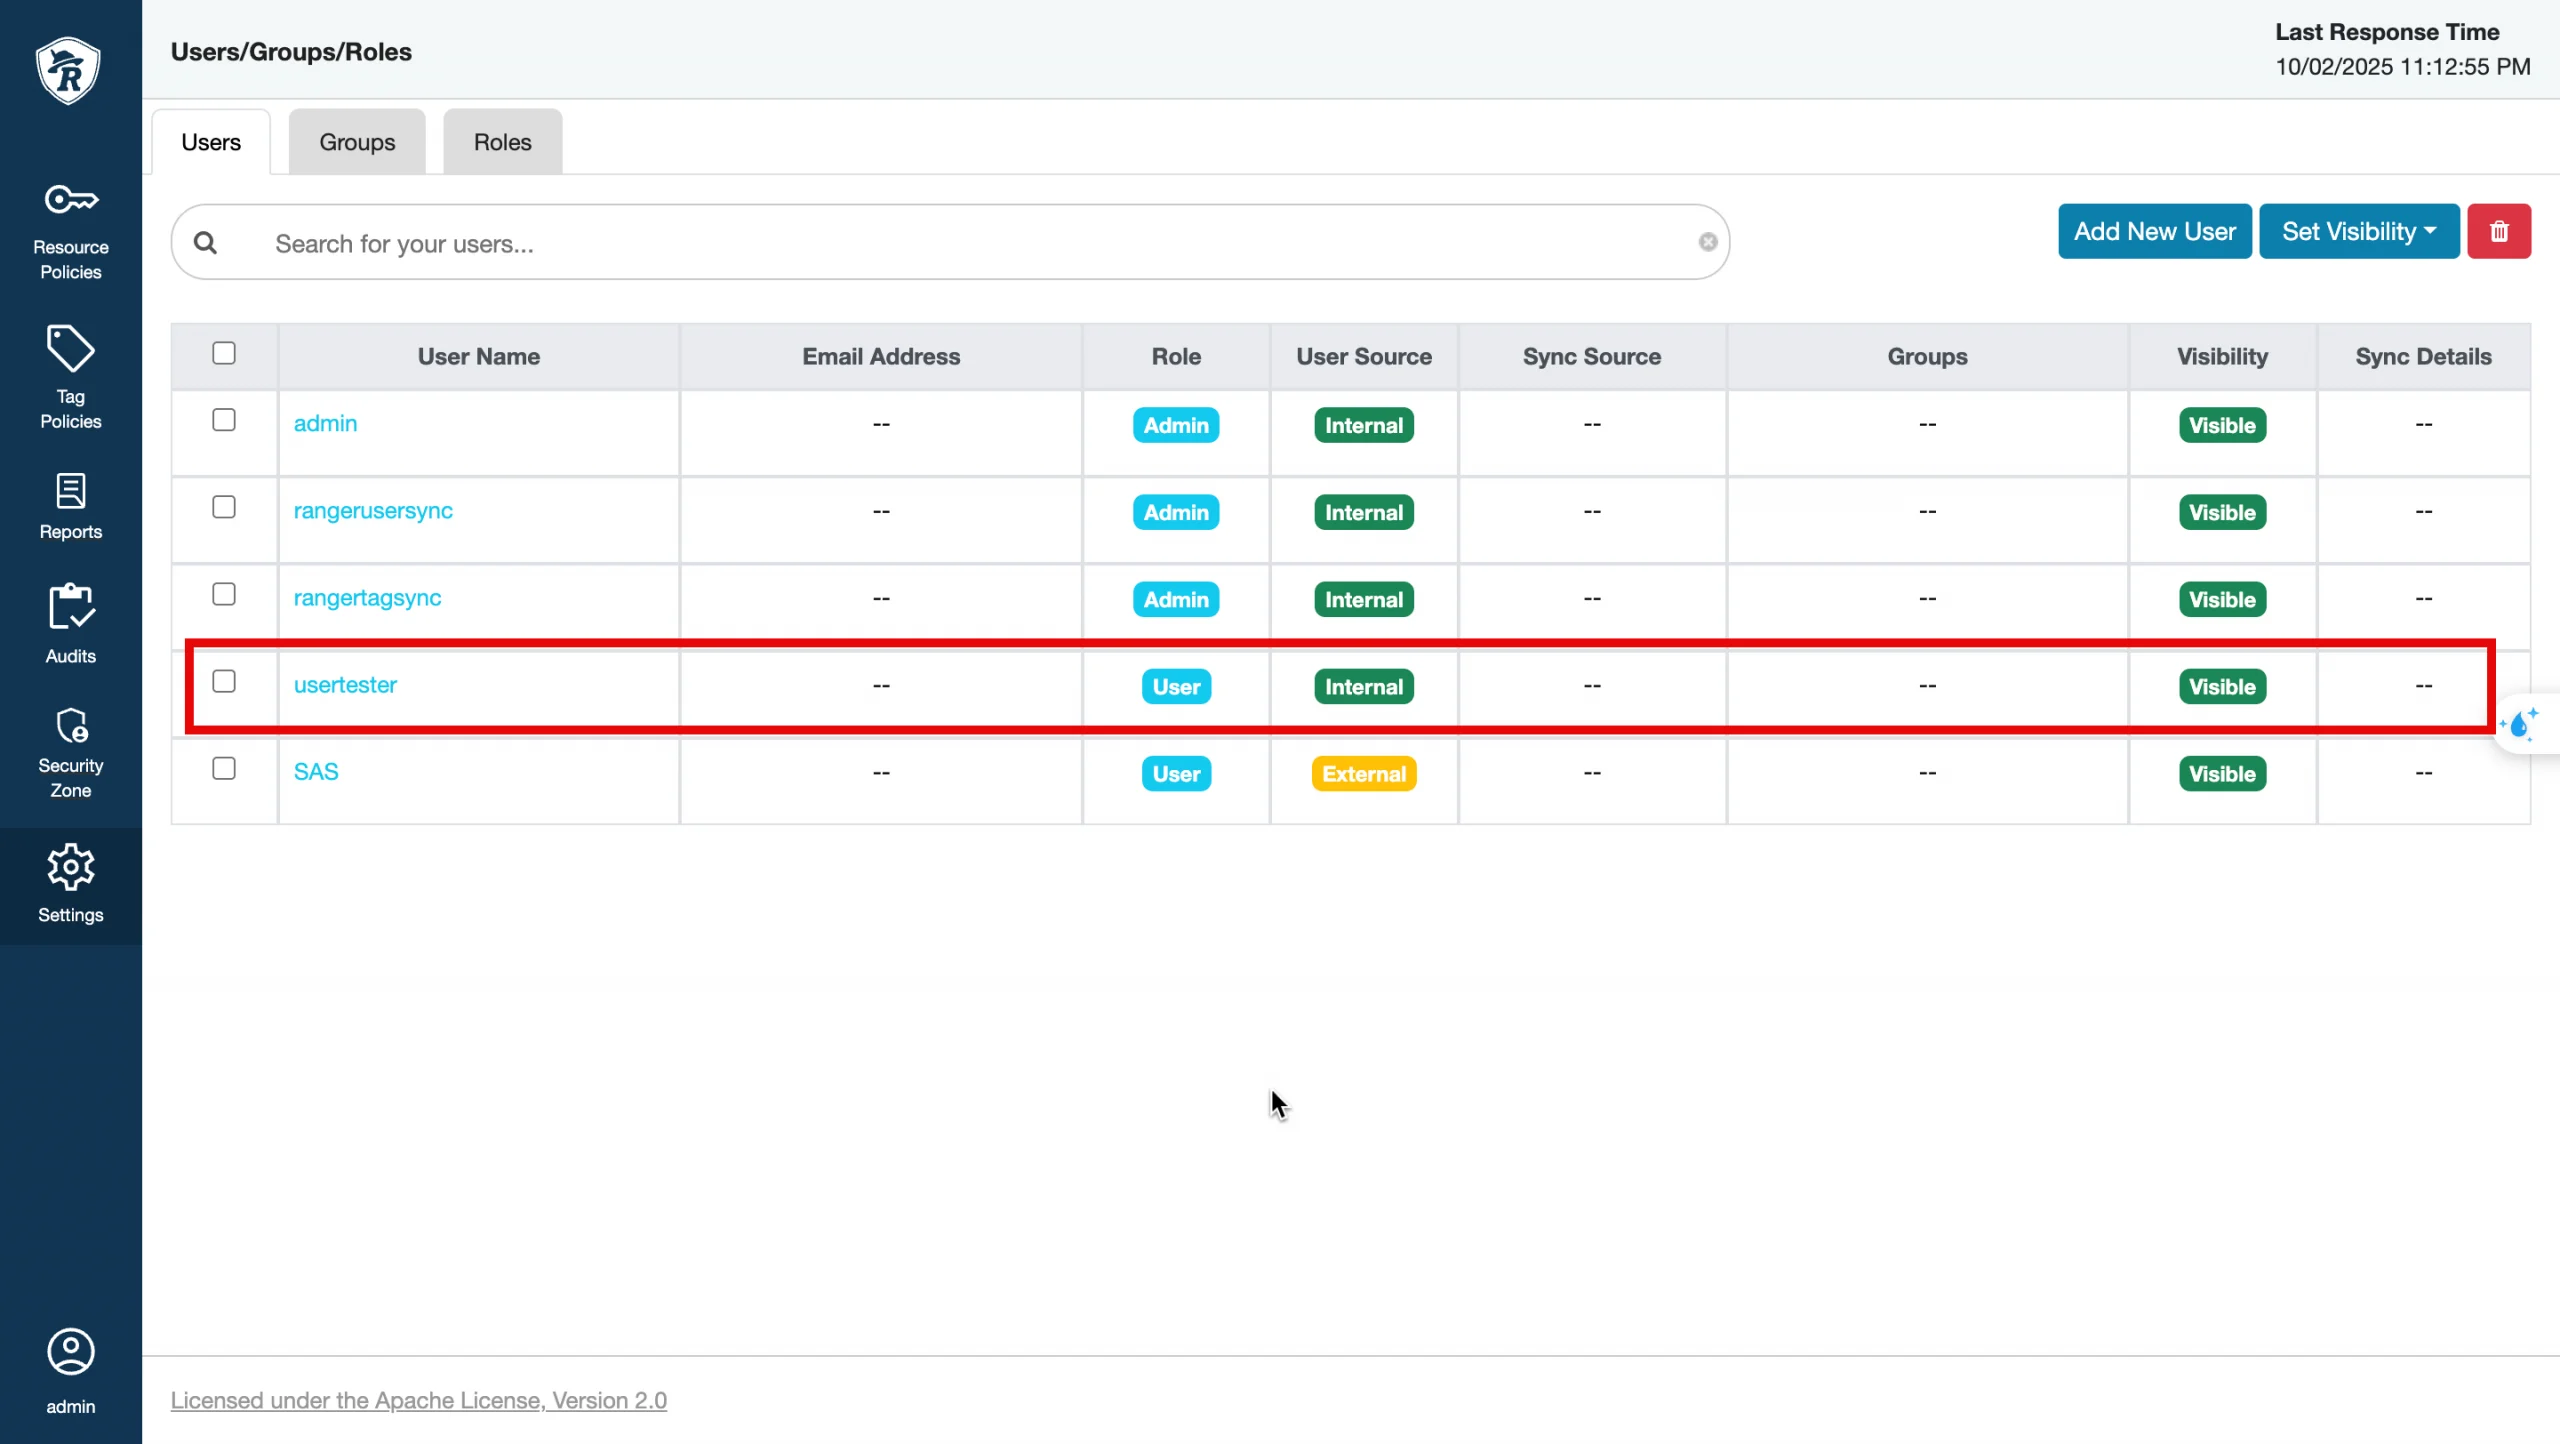
- Go to Settings > Users → click Add New User:
Create a user (e.g., usertest) with role = User.
The username must match the user created in the Trino portal.
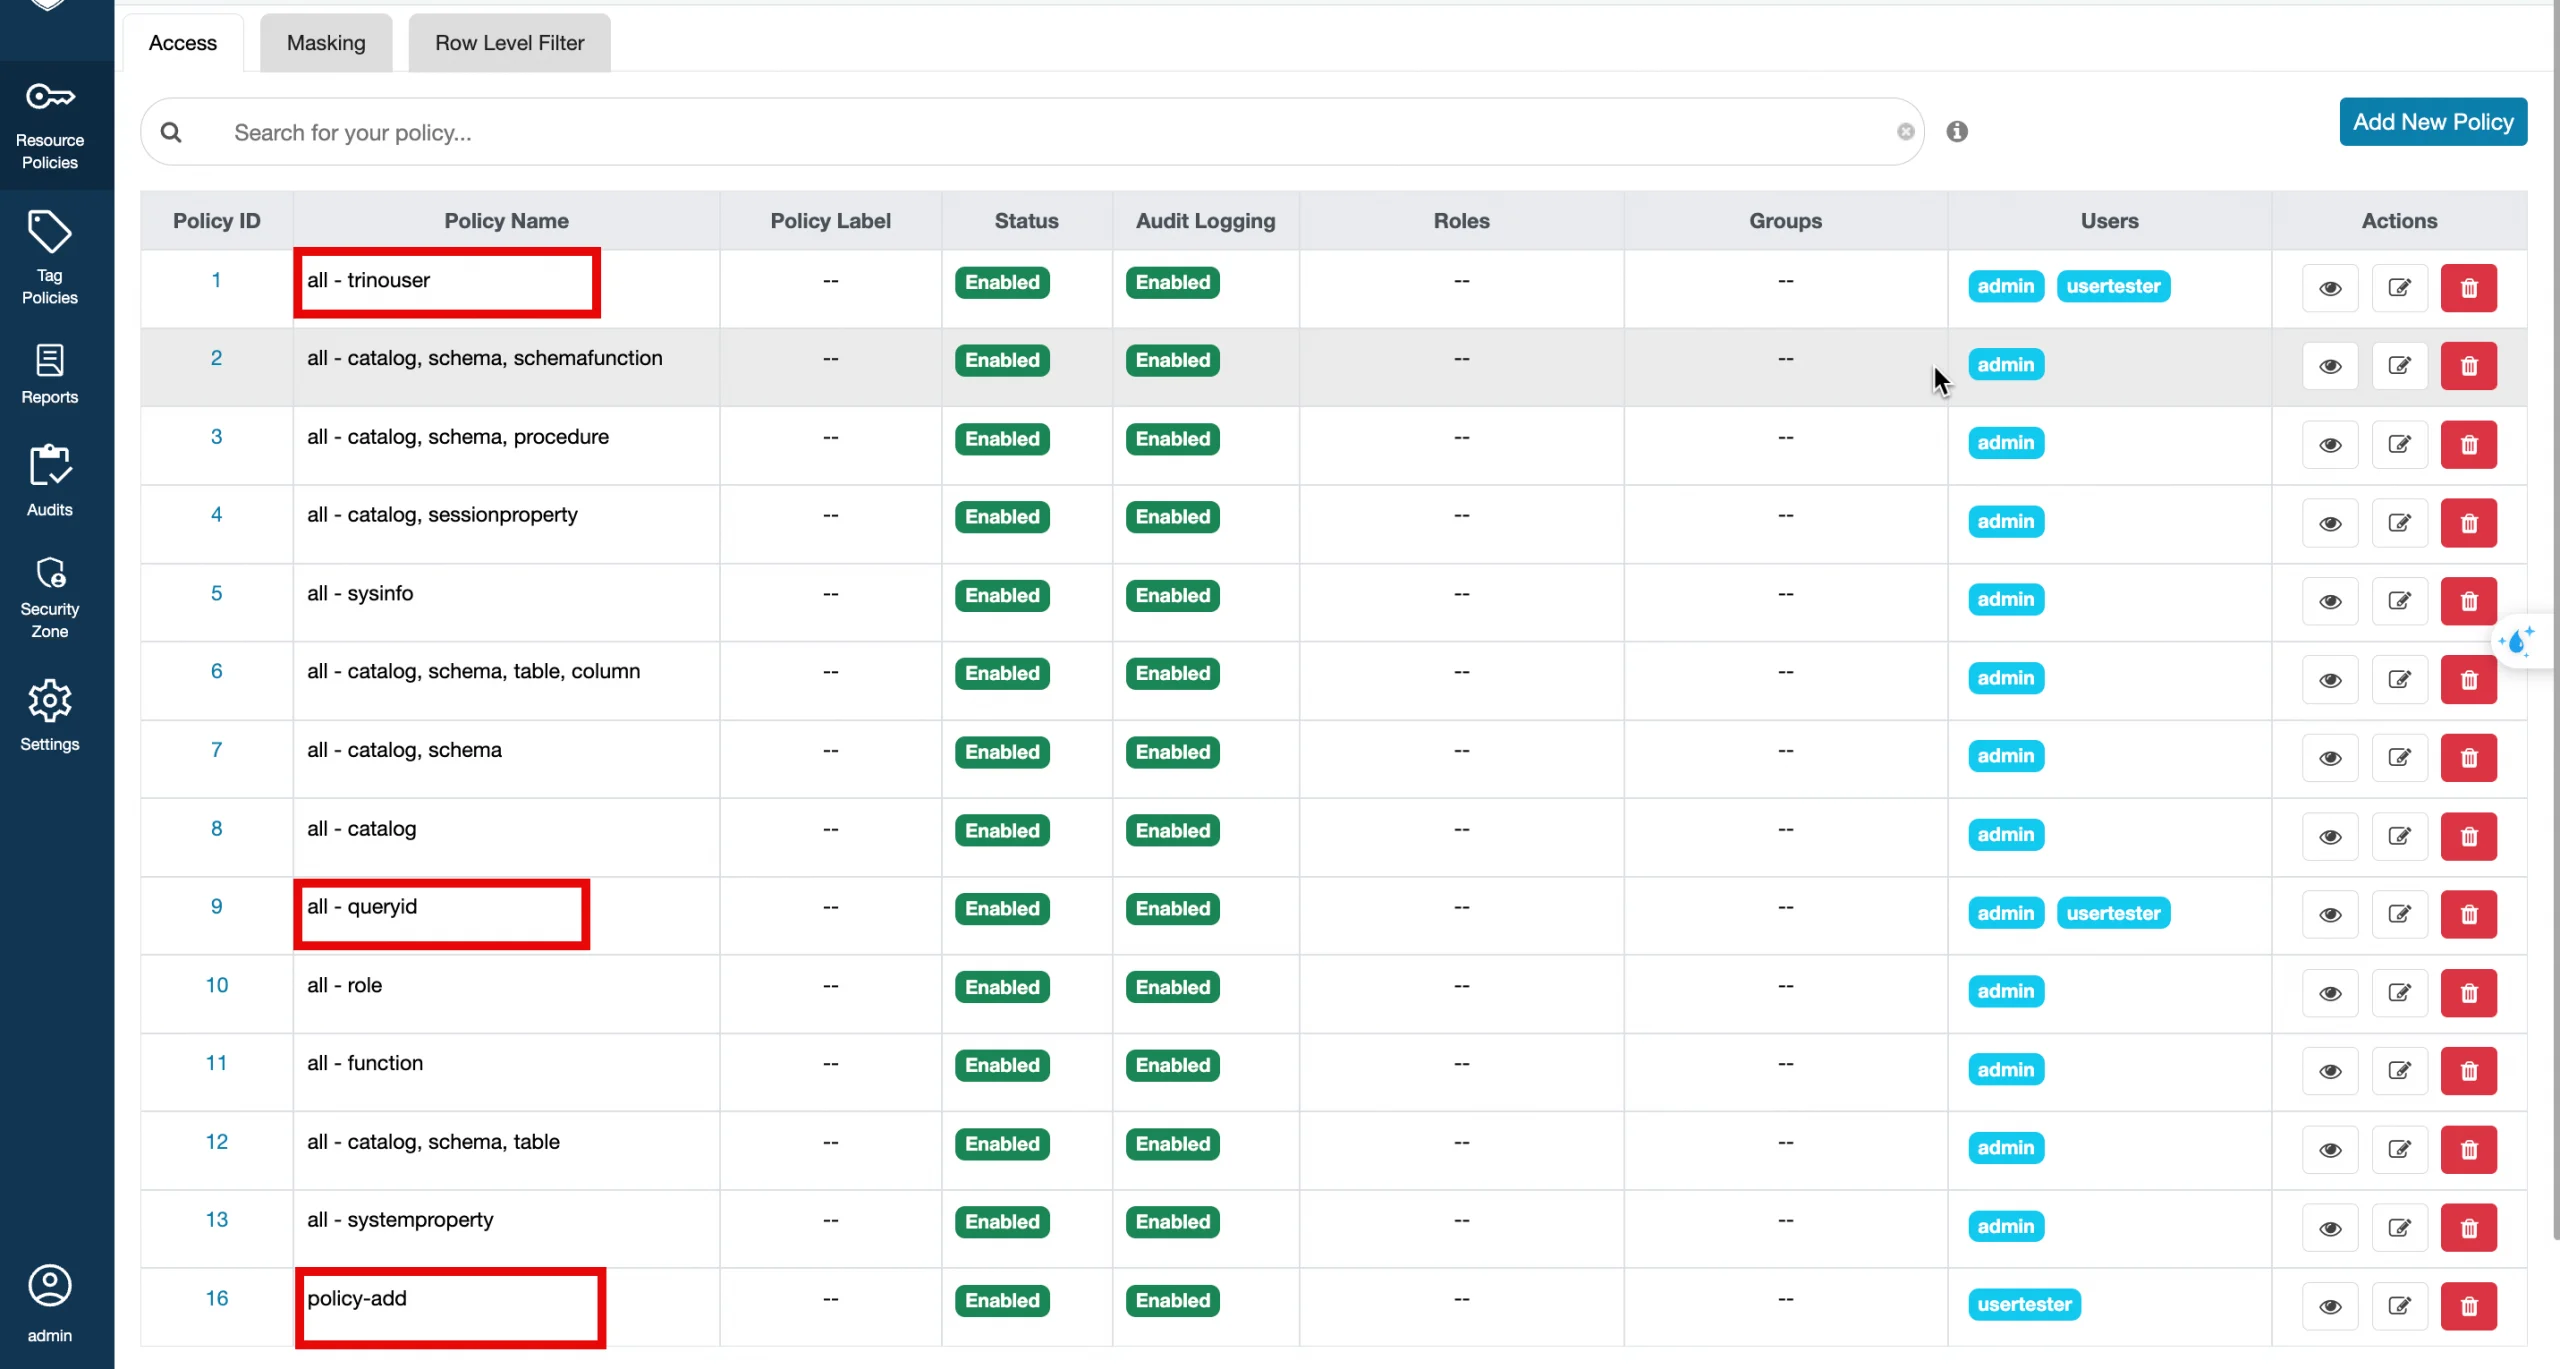
- Go to Resource Policies → add user usertest to the default policies.
a. Check/Add the default policies:
-
all – trinouser
-
all - queryid
b. Add a new policy (policy-customer-access):
-
Catalog = tpch
-
Schema = sf1, information_schema
-
Table = customer, columns, schemata, tables
-
Column = custkey
information_schema, columns, schemata, tables → required for Trino to read metadata (show tables, describe, etc.).
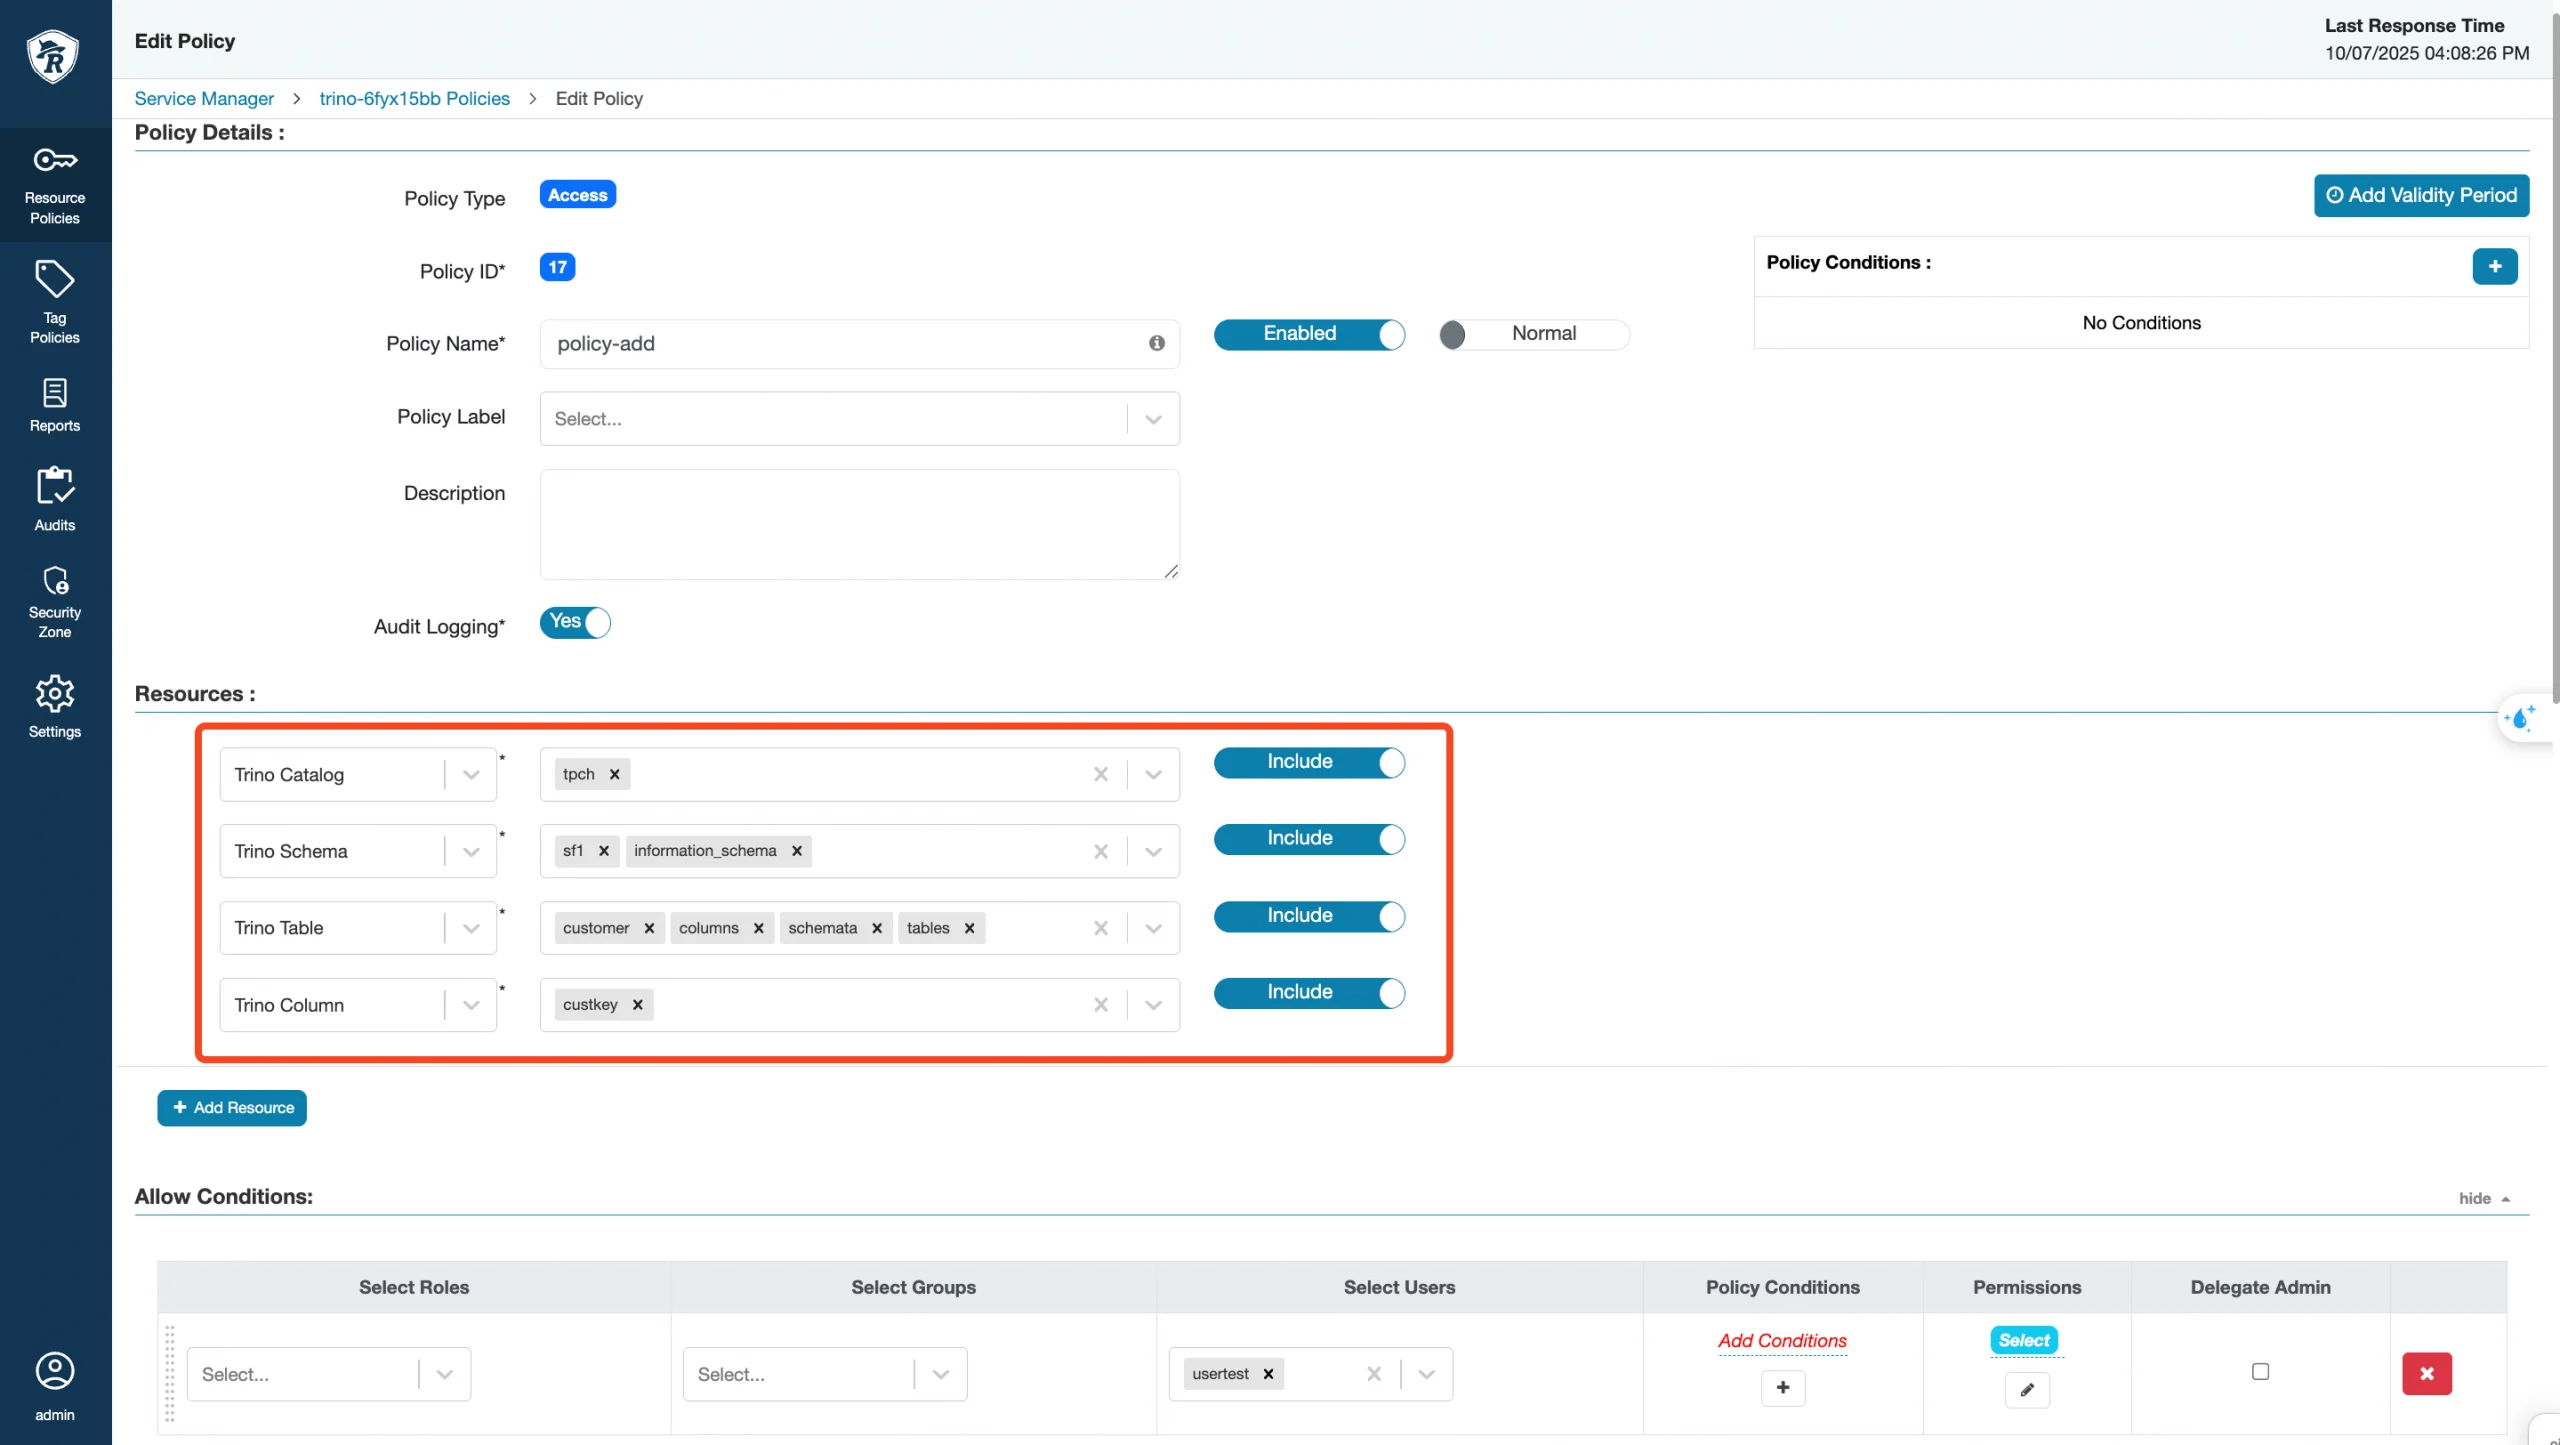
customer → the business table you want to allow.
c. In Allow Conditions, add user (e.g., usertest) → Permission = Select.
d. Save the policy.
Step 5: Configure Tag Sync on the Ranger Service
-
Go to Data Platform > Data Governance (Ranger) > Advanced > Tag Sync.
-
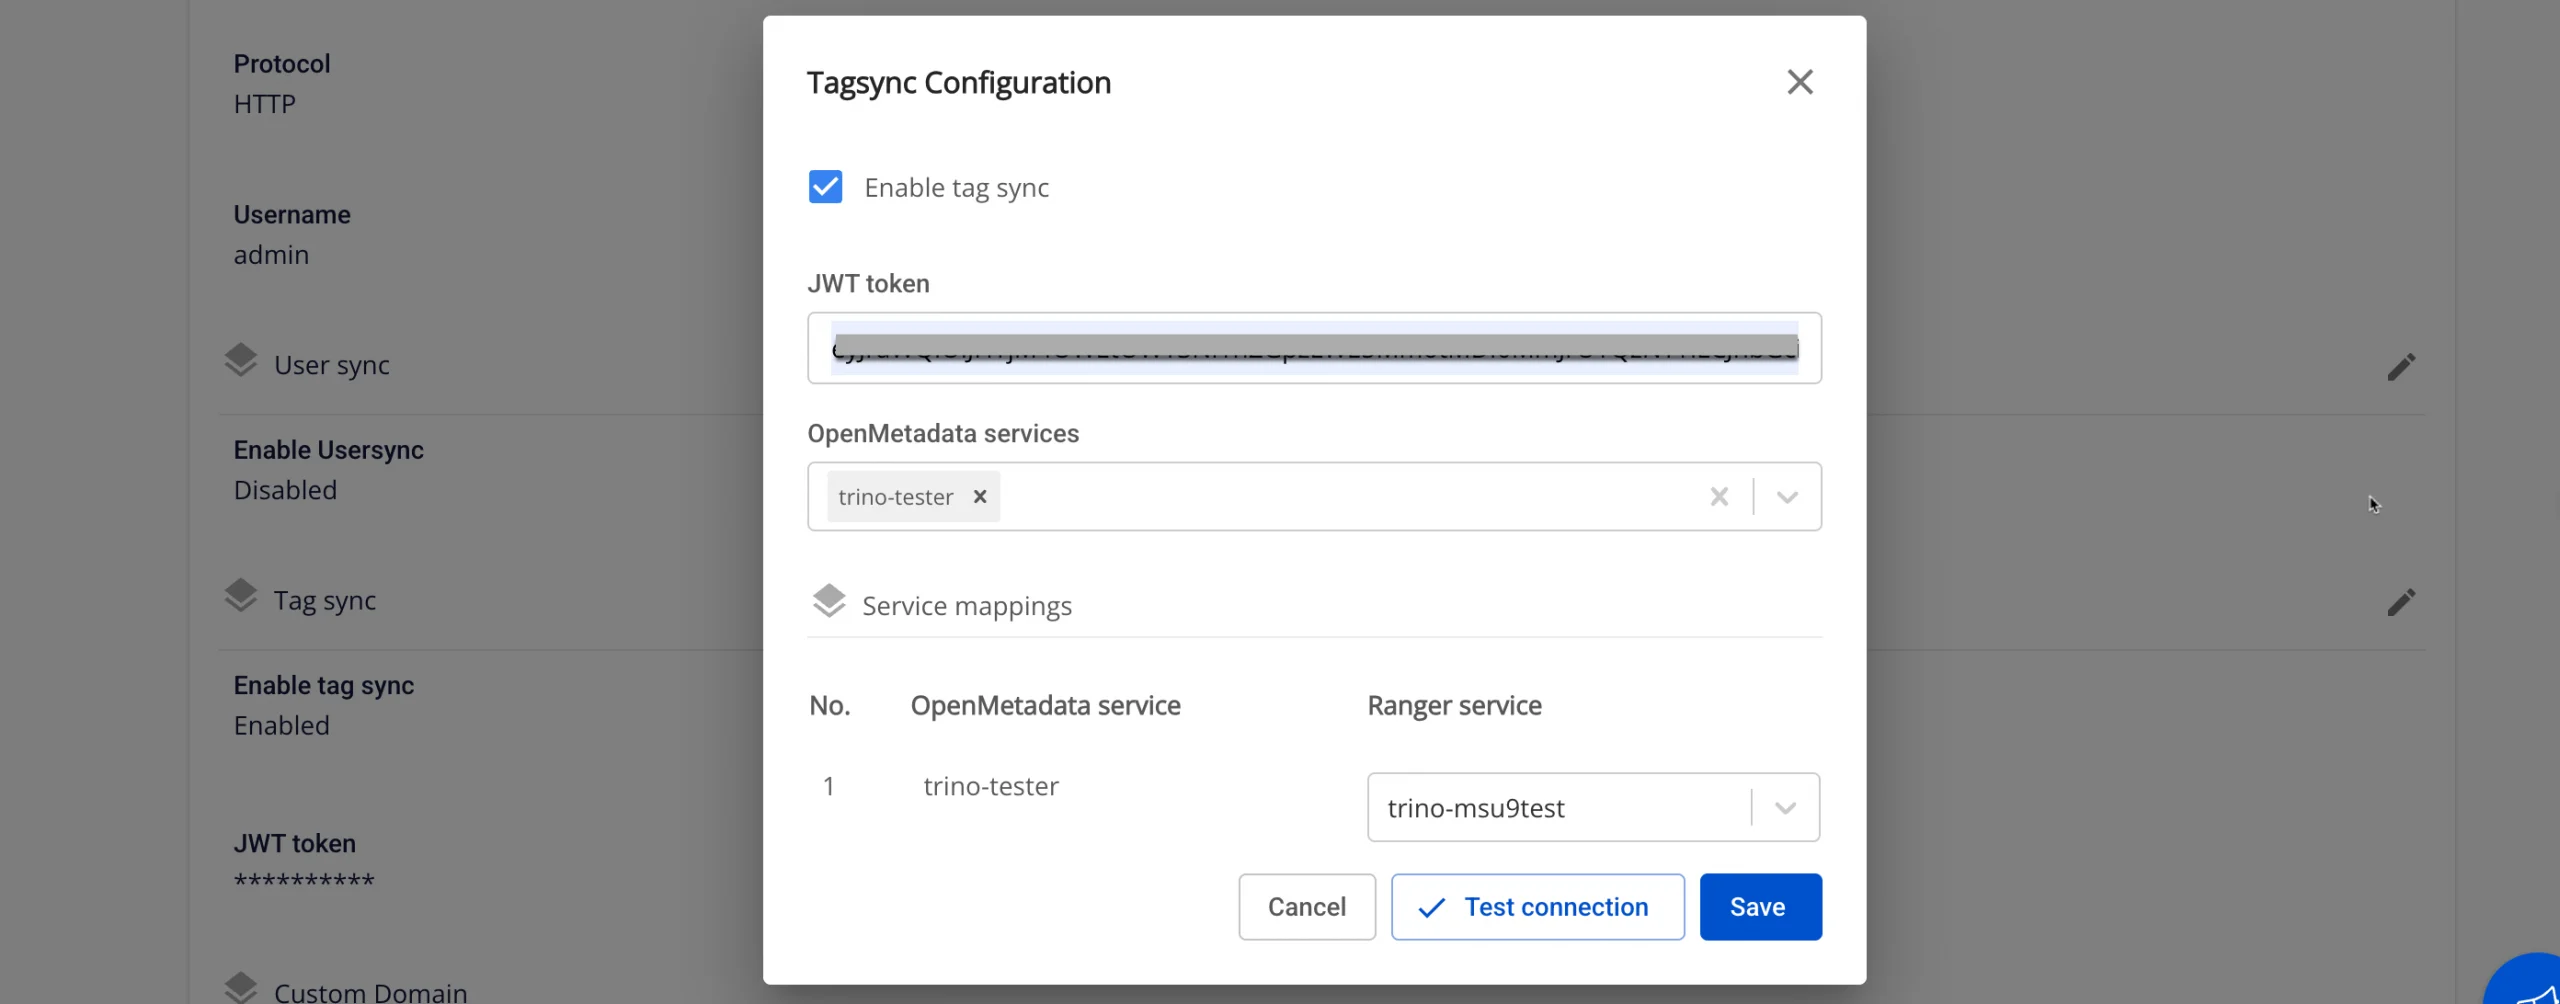
Check Enable Tag Sync.
-
Retrieve the JWT Token from OpenMetadata:
Go to Settings > Bots → select the tagsync-bot → Credentials tab → copy the token.
Paste it into the JWT Token field.
- In the Service mappings section, select:
OpenMetadata service = the Trino service created in OpenMetadata.
Ranger service = the Trino service created in Ranger.
At least 1 mapping is required; up to 5 mappings are allowed.
- Click Test Connection.
If successful → "Connection successful" is displayed, and the Save button becomes active.
If failed → an error is displayed, and saving is not possible.
- When Test Connection succeeds, click Save to save the configuration.
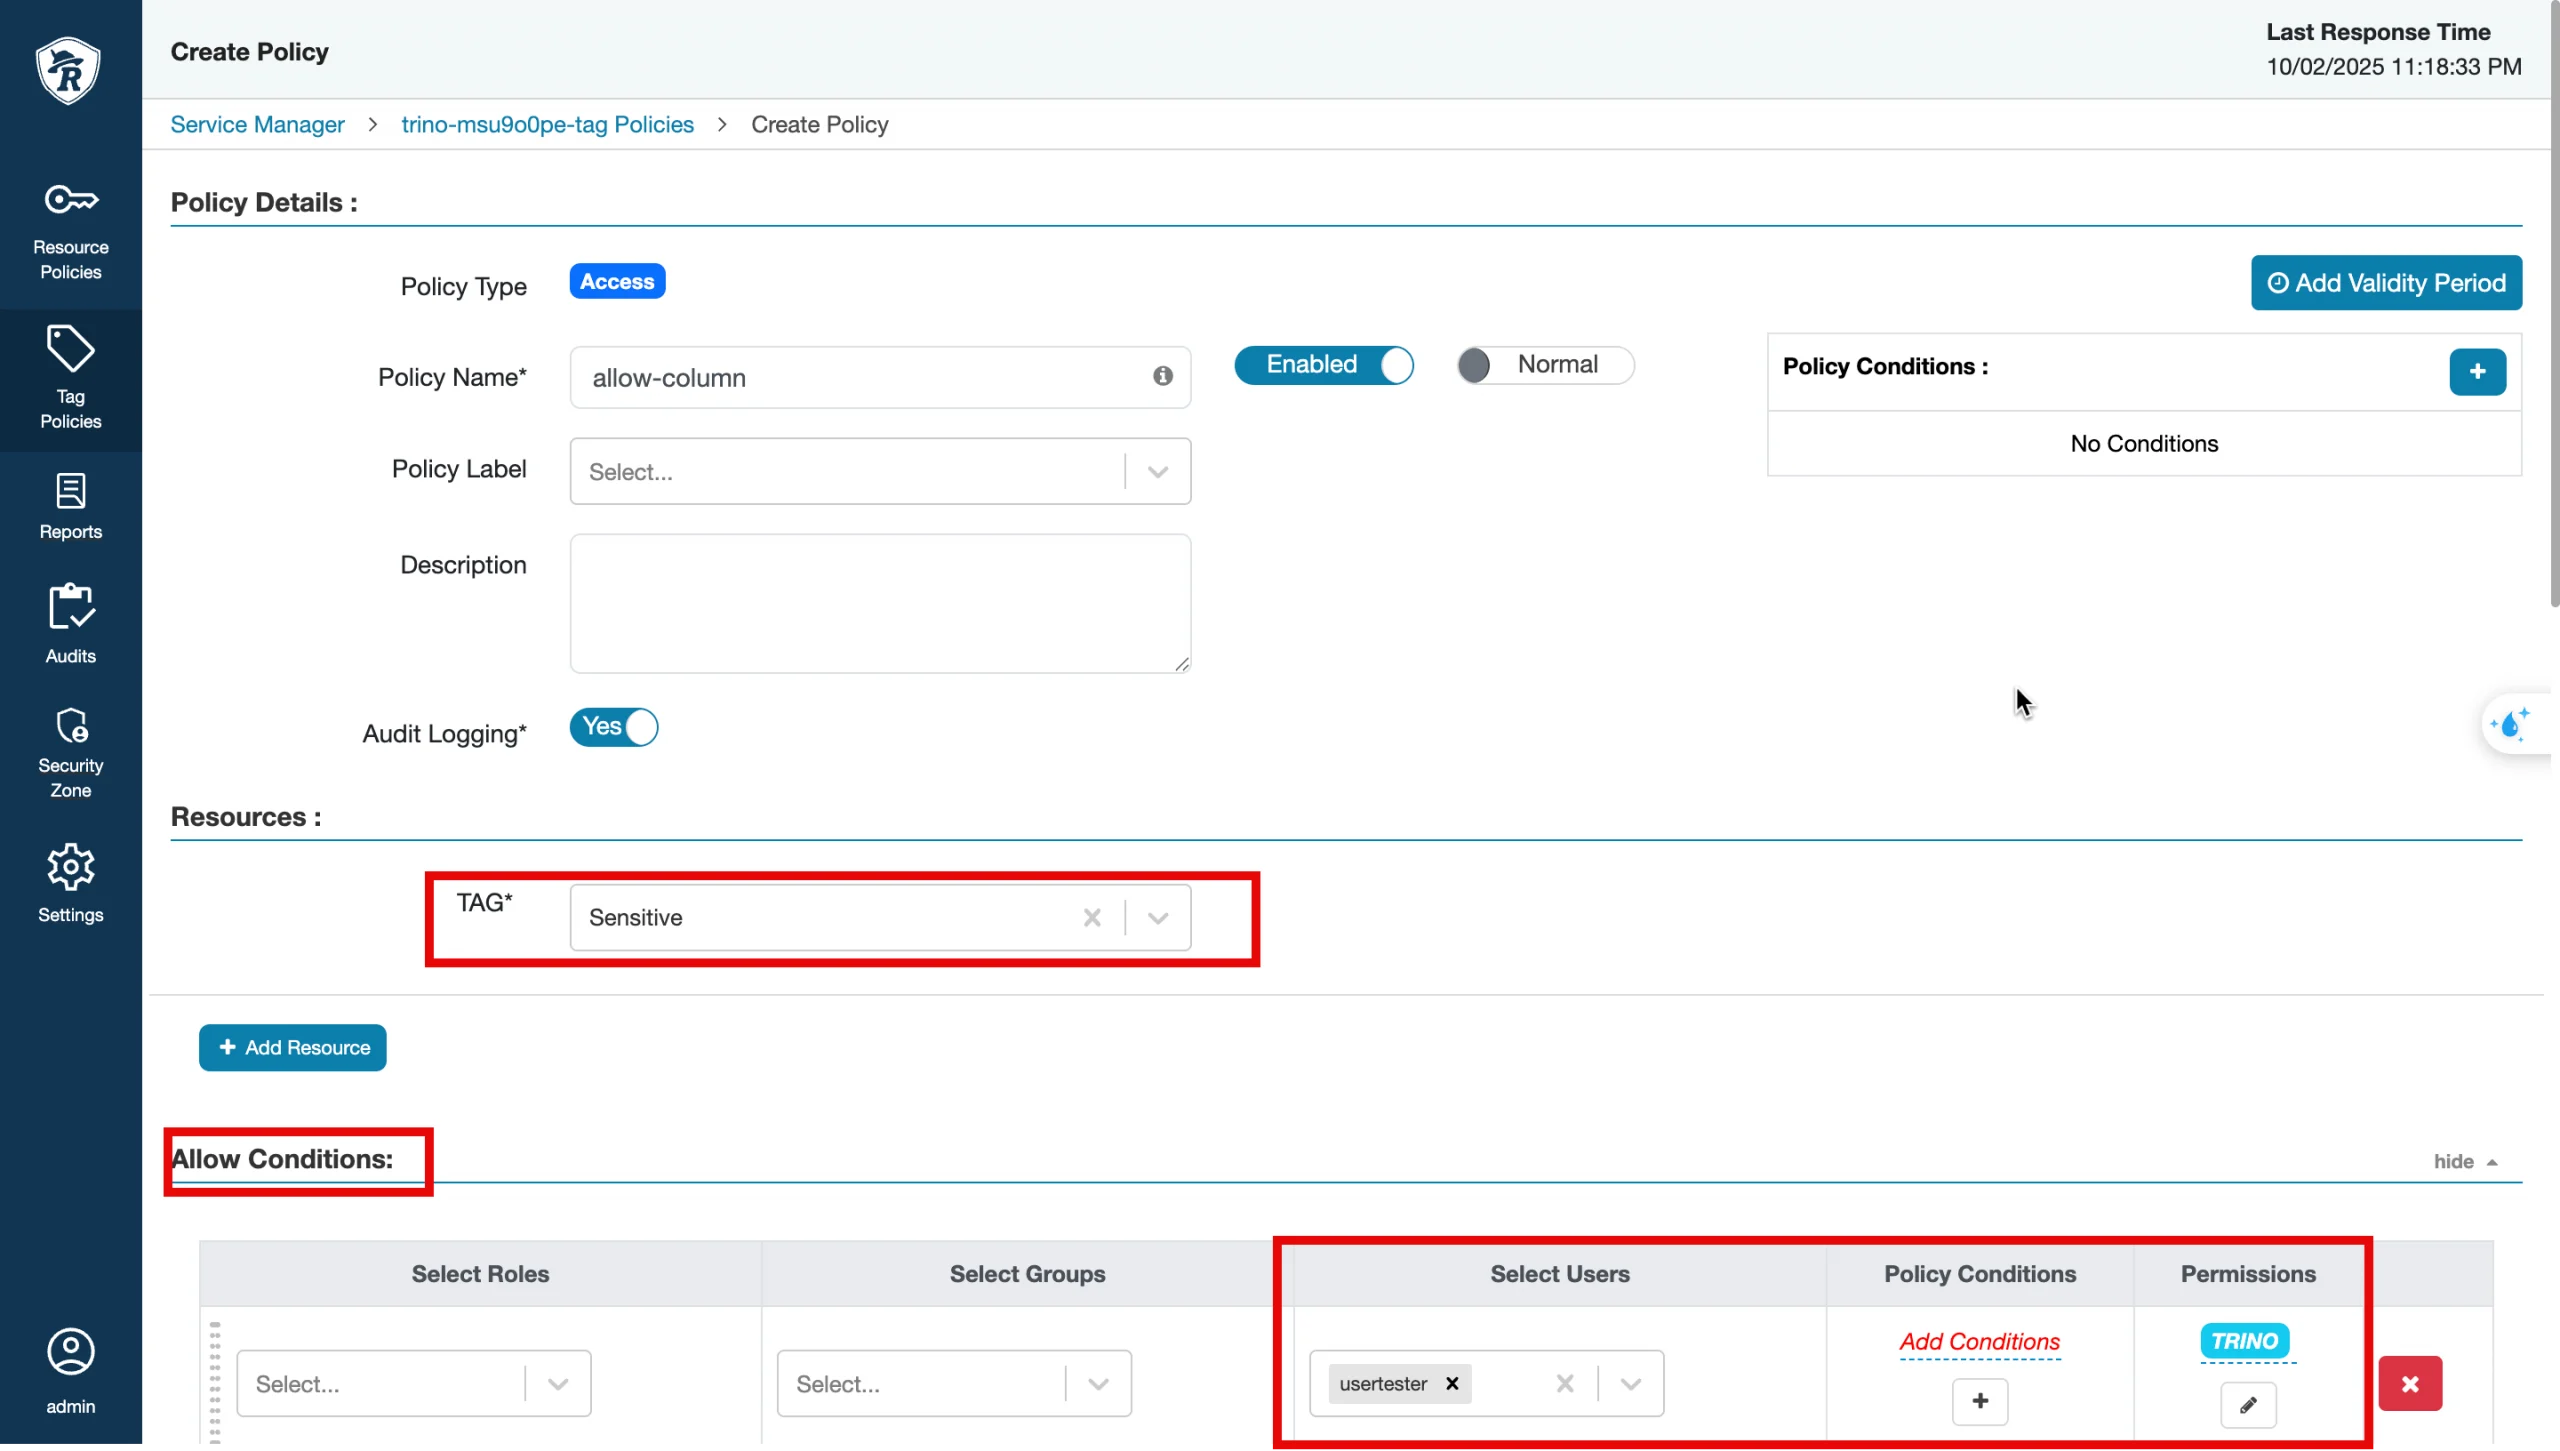
Step 6: Go to Tag Policies → select the Sensitive tag → click Add New Policy:
-
Policy Name: allow-sensitive.
-
Allow Conditions: user = usertest, component = TRINO, check all permissions.
-
Save.
Step 7: Test access with queries
Only usertest is granted access to the customer table; usertest does not have query permissions on the orders table.
Case 1 – User is Allowed & has permission to query the custkey column
-
Use DataGrip to connect to Trino with user usertest.
-
Run the query:
SELECT custkey FROM tpch.sf1.customer LIMIT 1;
- Expected result: Table data is returned.
Case 2 – User is Allowed & does not have permission to query the table
-
DataGrip connects to Trino with user usertest.
-
Run the query:
SELECT * FROM tpch.sf1.customer LIMIT 1;
- Expected result: The query is denied with a no permission message.
Case 3 – User is Denied & does not have permission to query the custkey column
-
Create another user (e.g., usertest2).
-
Assign the Personal tag to the custkey column.
-
In Tag Policies → create a Deny policy for tag Personal for user usertest2.
-
Use DataGrip to connect to Trino with user usertest2.
-
Run the query:
SELECT custkey FROM tpch.sf1.customer LIMIT 1;
- Expected result: The query is denied with a no permission message.