Create Event Gateway
To create an Event Gateway, follow the steps below:
Step 1: In the menu bar, select Integration > Event Gateway.
Step 2: Click Create a Event Gateway > the Choose Event Gateway Mode popup appears > select REST Events to Kafka > click Continue.
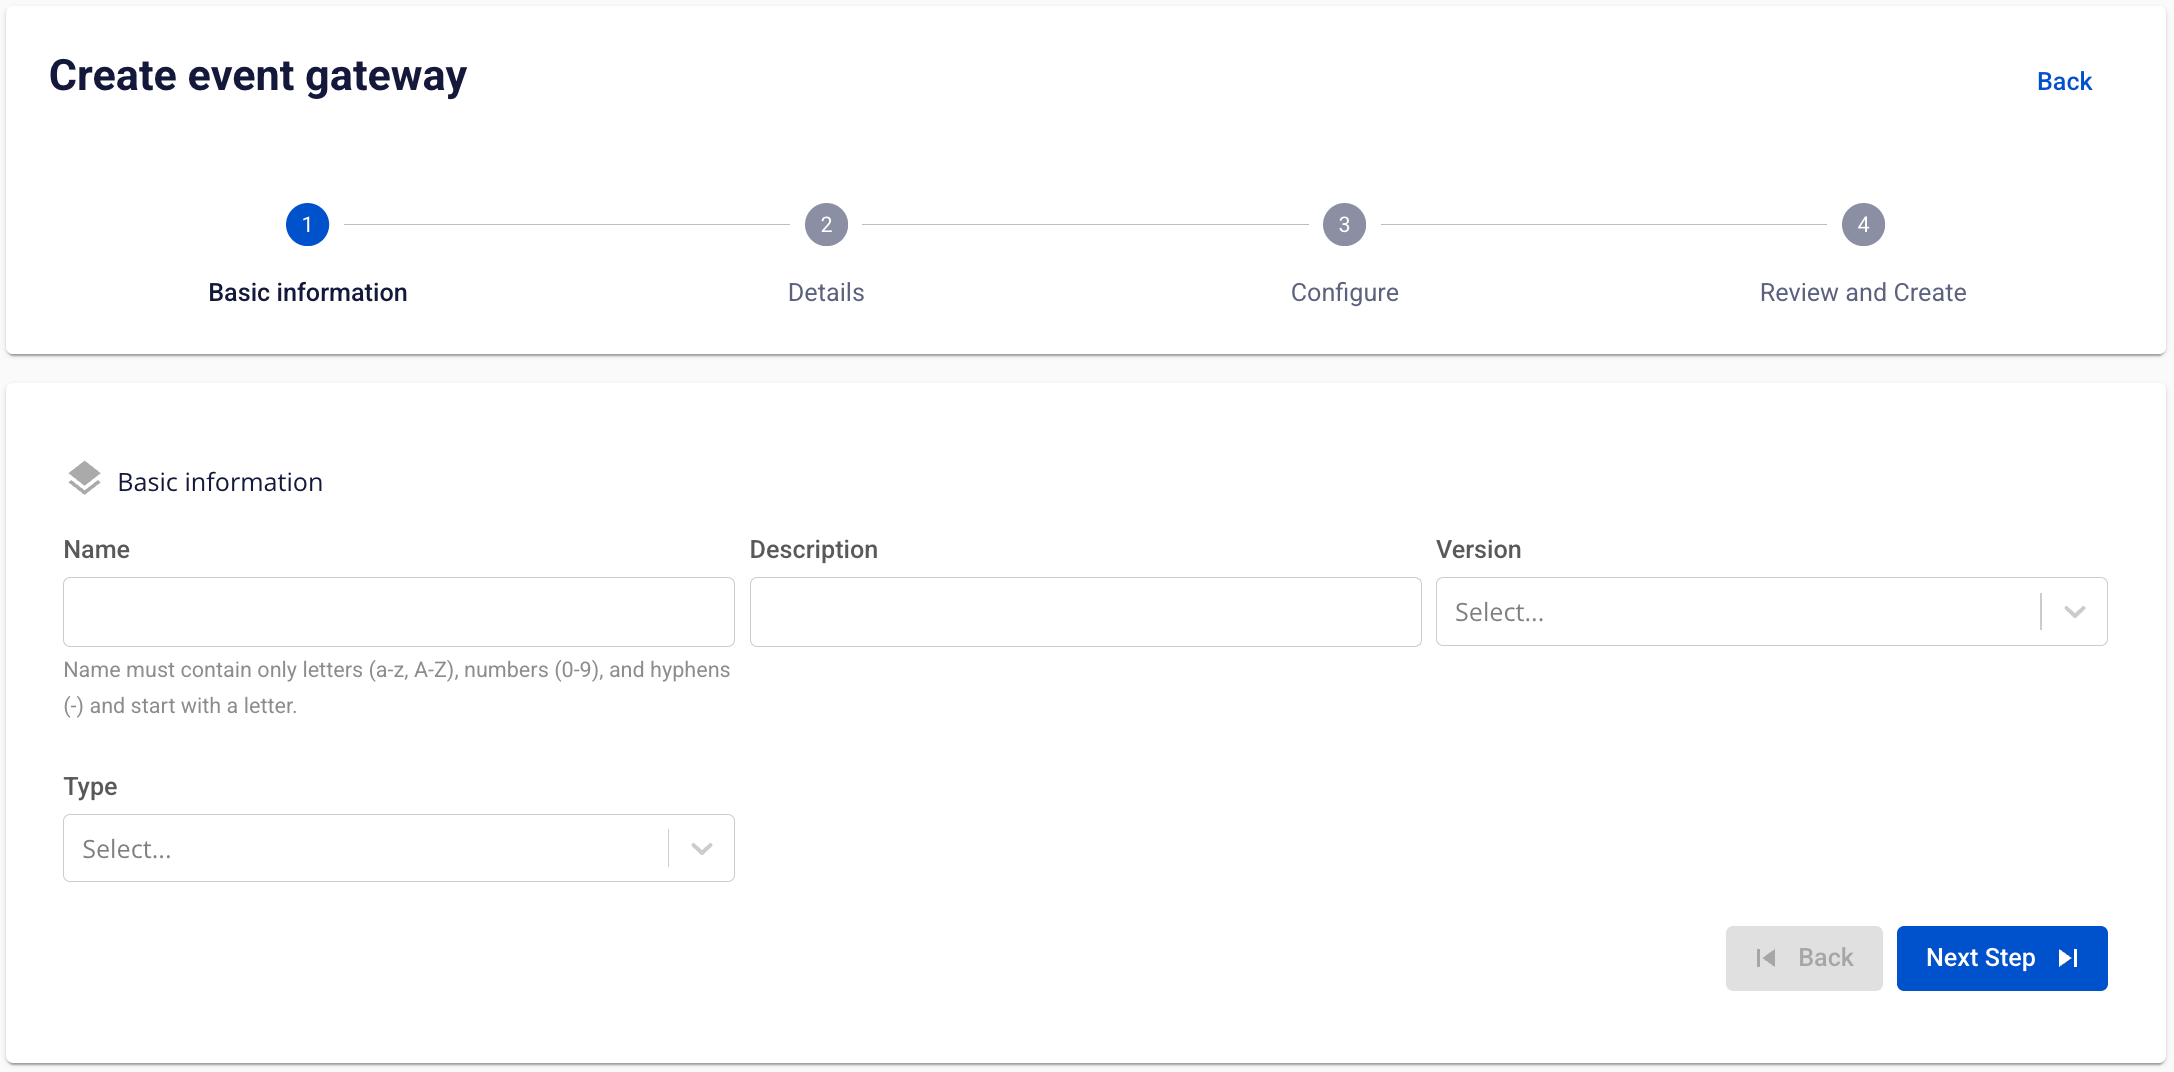
Step 3: In the Event Gateway creation form, fill in the Basic Information section:
-
Name (required): Name of the Event Gateway.
Note: The Event Gateway name may contain lowercase letters a–z, uppercase letters A–Z, or digits 0–9. Spaces are not allowed; use a hyphen "-" or underscore "_" instead.
-
Description (optional): Description.
-
Version (required): Select a version.
-
Type (required): Select the type — Public or Private.
Step 4: Click Next Step to proceed to the Details screen.
Enter the following information:
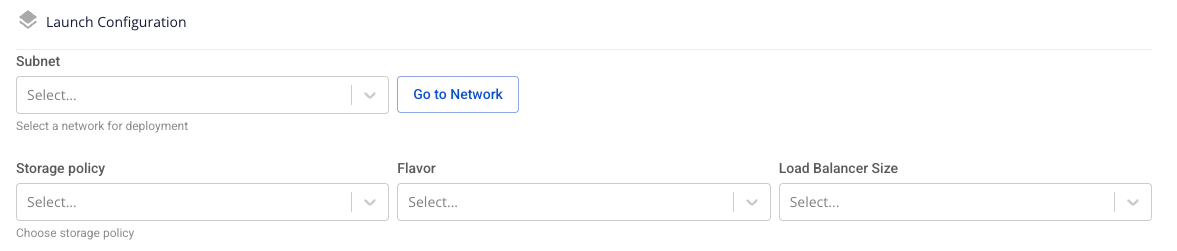
- Launch Configuration
- Subnet (required): Select a Subnet.
- Storage policy (required): Select a Storage Policy.
- Flavor (required): Select a Flavor; the default value is Medium-4 (2 CPU – 4 GB RAM) × 2 Nodes.
- Load Balancer Size (required): Select the Load Balancer size.
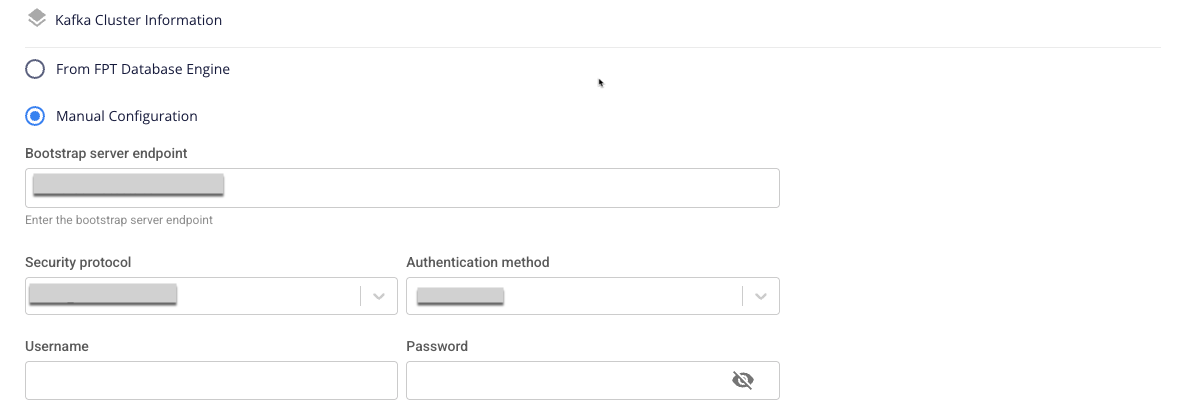
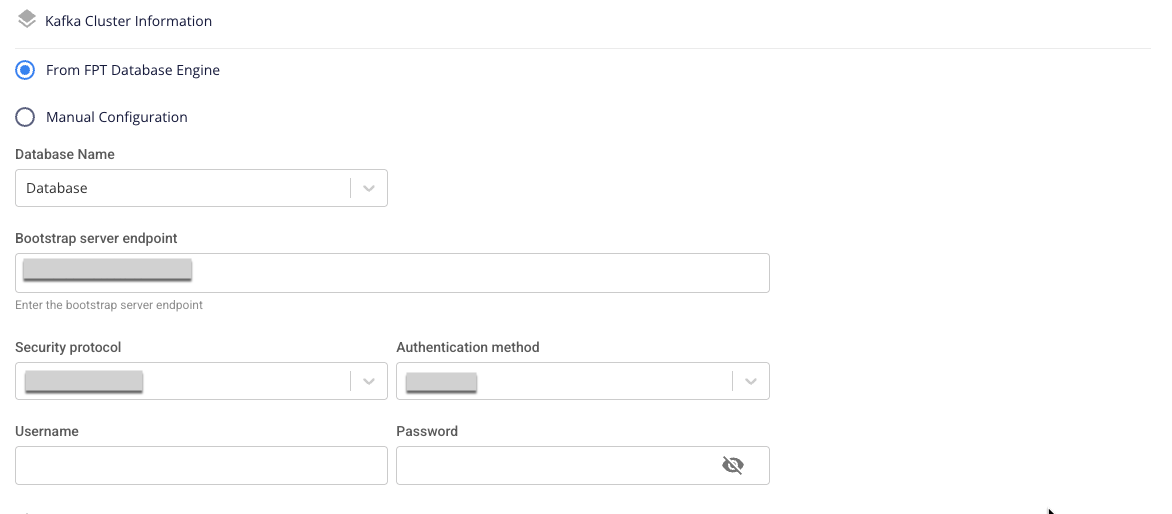
- Kafka Cluster Information: Two options are available — From FPT Database Engine and Manual configuration.
If Manual configuration is selected:
Enter and select the following:
- Bootstrap server endpoint: Enter the Bootstrap server endpoint address.
- Security protocol: Select one of the following security protocols:
- SASL_PLAINTEXT: Simple authentication mechanism using username and password.
- SASL Mechanism
- SASL Username
- SASL Password
- SASL_SSL: Provides comprehensive security for authentication and data encryption via username and password.
- SASL Mechanism
- SASL Username
- SASL Password
- PLAINTEXT: Data transmitted over the network is not encrypted; not recommended.
- SSL: A network security protocol used to protect data transmitted over the Internet.
- SASL_PLAINTEXT: Simple authentication mechanism using username and password.
- Username (required): Login name for authentication.
- Shown when Security protocol is SASL_PLAINTEXT or SASL_SSL.
- May contain a–z, A–Z, 0–9, underscore (_), hyphen (-), dot (.); no leading, trailing, or internal spaces; maximum 64 characters.
- Password (required): Password for authentication.
- Shown when Security protocol is SASL_PLAINTEXT or SASL_SSL.
- No leading, trailing, or internal spaces; maximum 64 characters.
If From FPT Database Engine is selected:
Enter and select the following:
- Database Name (required): Select a Database.
- Bootstrap server endpoint: Enter the Bootstrap server endpoint address.
- Security protocol: Select one of the following security protocols:
- SASL_PLAINTEXT: Simple authentication mechanism using username and password.
- SASL Mechanism
- SASL Username
- SASL Password
- SASL_SSL: Provides comprehensive security for authentication and data encryption via username and password.
- SASL Mechanism
- SASL Username
- SASL Password
- PLAINTEXT: Data transmitted over the network is not encrypted; not recommended.
- SSL: A network security protocol used to protect data transmitted over the Internet.
- SASL_PLAINTEXT: Simple authentication mechanism using username and password.
- Username (required): Login name for authentication.
- Shown when Security protocol is SASL_PLAINTEXT or SASL_SSL.
- May contain a–z, A–Z, 0–9, underscore (_), hyphen (-), dot (.); no leading, trailing, or internal spaces; maximum 64 characters.
- Password (required): Password for authentication.
- Shown when Security protocol is SASL_PLAINTEXT or SASL_SSL.
- No leading, trailing, or internal spaces; maximum 64 characters.
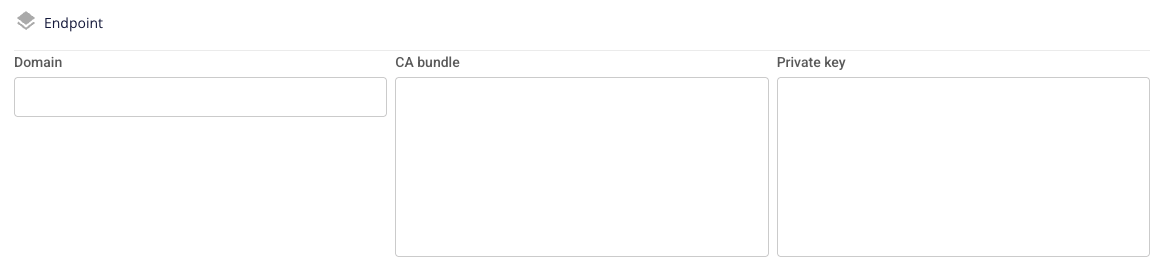
- Endpoint:
- Domain (required): The connection address for the Event Gateway service after initialization.
- May contain a–z, A–Z, 0–9, hyphen (-), dot (.); maximum 100 characters.
- Domain name must not start or end with a hyphen (-) or dot (.).
- Top-level domain: minimum 2, maximum 6 characters.
- Example: domain-name.com
- CA bundle (required): CA certificate chain in PEM format.
- Must begin with
-----BEGIN CERTIFICATE-----and end according to PEM standard.
- Must begin with
- Private key (required): Private key in PEM format.
- Must begin with
-----BEGIN PRIVATE KEY-----and end according to PEM standard.
- Must begin with
- Domain (required): The connection address for the Event Gateway service after initialization.
Step 5: Click Next Step to proceed to the Configure screen.
Enter the following:
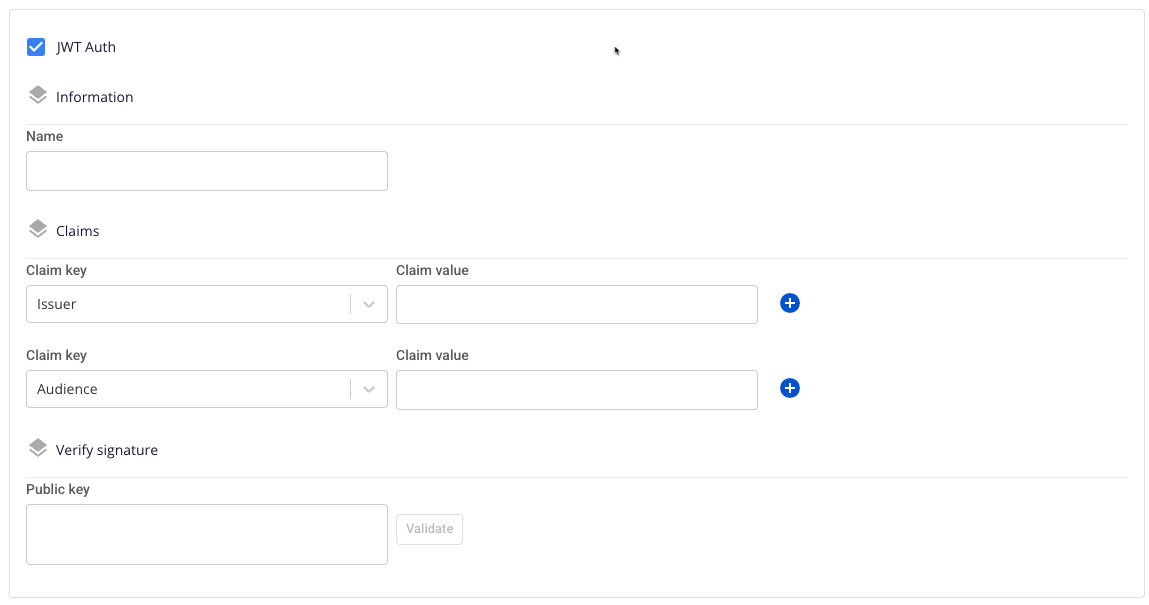
- JWT auth: Enable/disable JWT Token authentication — disabled by default.
- Name (required): JWT auth name.
- May contain a–z, A–Z, hyphens (-), underscores (_), and digits; must start with a letter; maximum 30 characters.
- Claim key: List of claim keys:
- Issuer
- Issued At
- Expiration
- Audience
- Subject
- Scope
- Default claim key is "Issuer".
- The interface displays 1 claim key-value pair by default when JWT Auth is enabled.
- By default, 2 inputs are rendered: Issuer and Audience, both required.
- Value: The value corresponding to each claim key (if any).
- Maximum 100 characters.
- Public key (required): Public key string in PEM format.
- Must begin with
-----BEGIN PUBLIC KEY-----and end according to PEM standard.
- Must begin with
- Name (required): JWT auth name.
Click Add claim to add a claim key-value pair and Remove claim to delete one.
- Routers:
- Name (required): Router name.
- May contain a–z, A–Z, hyphens (-), underscores (_), and digits; must start with a letter; maximum 30 characters.
- Mode (required): Router type. Select from:
- Oneway
- Sync
- Async
- The interface displays 3 default router templates corresponding to the 3 modes.
- Authentication (required): Whether the Router uses authentication.
- Default: None.
- Select from:
- None: no authentication.
- JWT auth (if JWT auth configuration is enabled).
- Path (required): Path for sending (POST) or retrieving (FETCH) data.
- Must start with
/. - May contain a–z, A–Z, 0–9, hyphen (-), underscore (_),
/,{,},=. - Maximum 100 characters.
- Must start with
- Method (required): The API method used by the Router.
- Scope (required): Defines the value of the "scope" claim in the JWT token for API request authentication.
- Maximum 50 characters.
- Topic (required): Kafka topic name that receives data in Oneway mode.
- Request topic (required): Kafka topic name that receives data in Sync or Async mode.
- May contain a–z, A–Z, 0–9, hyphen (-), underscore (_), dot (.).
- Must start with a letter; maximum 249 characters.
- Response topic (required): Kafka topic name that retrieves data in Sync or Async mode.
- May contain a–z, A–Z, 0–9, hyphen (-), underscore (_), dot (.).
- Must start with a letter; maximum 249 characters.
- Name (required): Router name.
Click Add router to add a router template for each Router Mode type. Click Remove router to delete a Router.

Step 7: Click Next Step to proceed to the Review and Create screen.
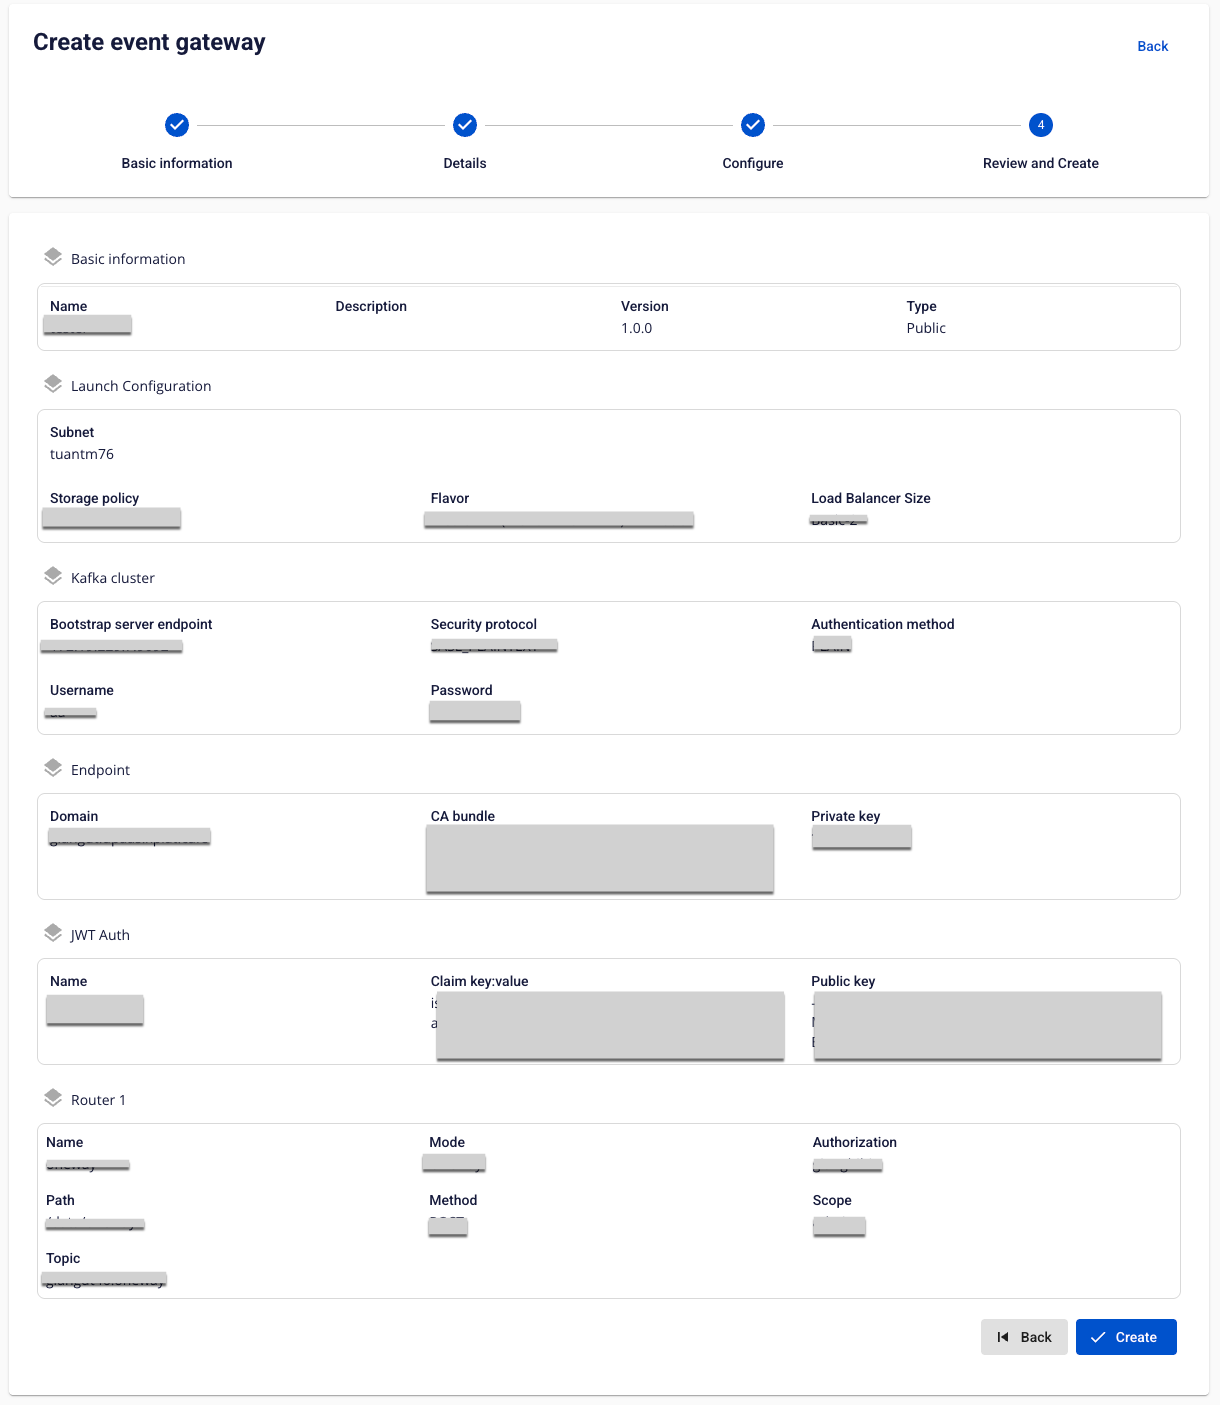
Step 8: Review the information entered, then click Create to complete the initialization of the Event Gateway.
The Event Gateway initialization is complete when the Status of the Event Gateway is Healthy (approximately 15 minutes).