Source code management asset operations
Add an asset
Org Admin and Team Users have permission to add assets.
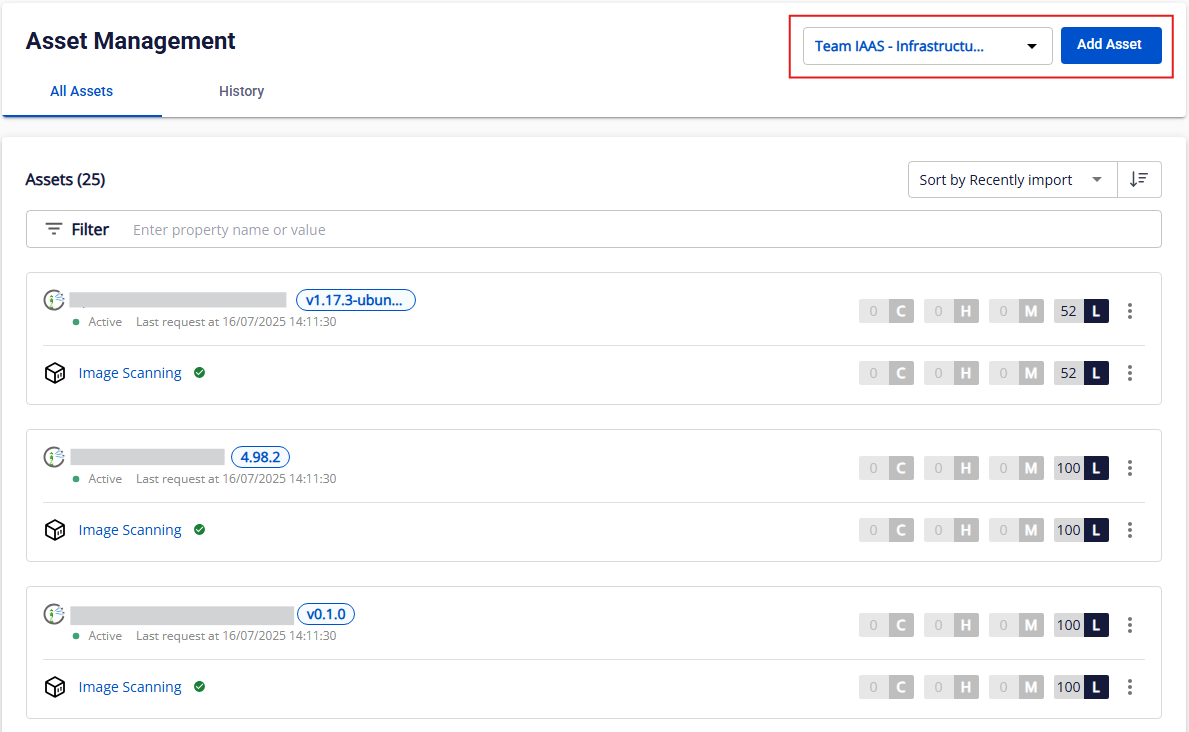
Step 1: After selecting a team, click Add Asset.
Step 2: Select GitHub/GitLab/GitLab Server.
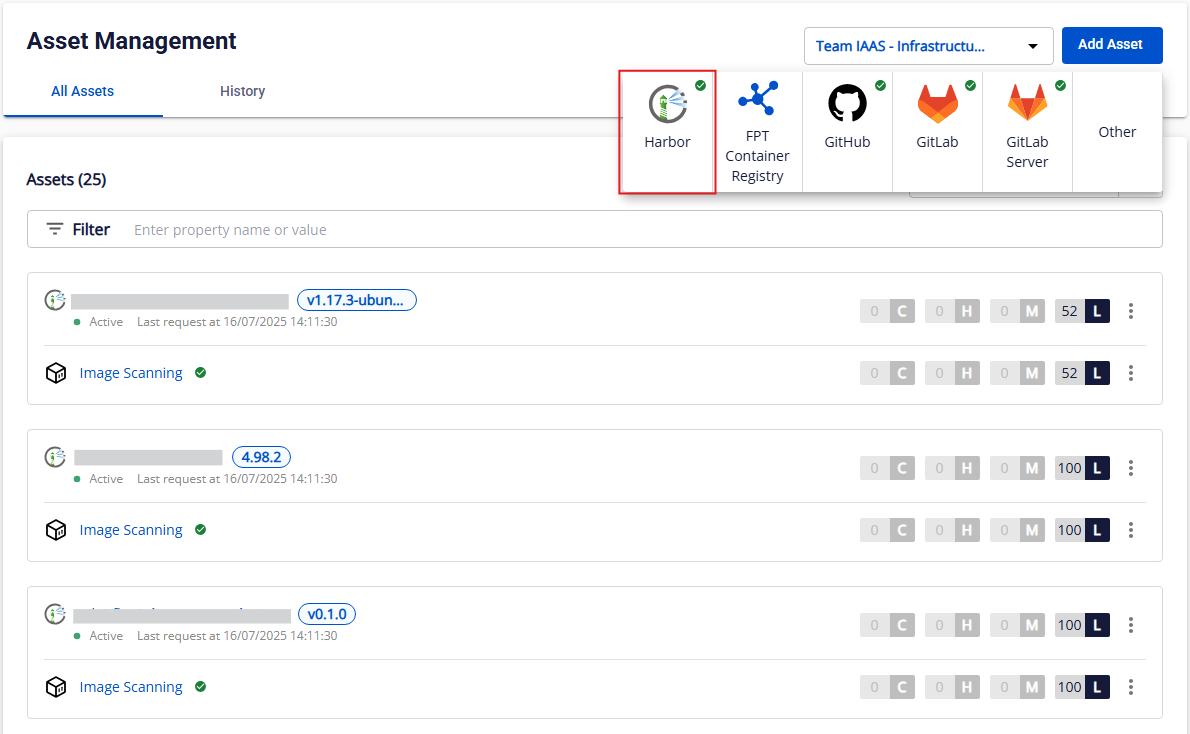
Note: The add asset popup only appears when the asset source (GitHub/GitLab/GitLab Server) has been integrated in the Integration screen. If you click a source that has not been integrated yet, the system redirects to the Integration tab for that source.
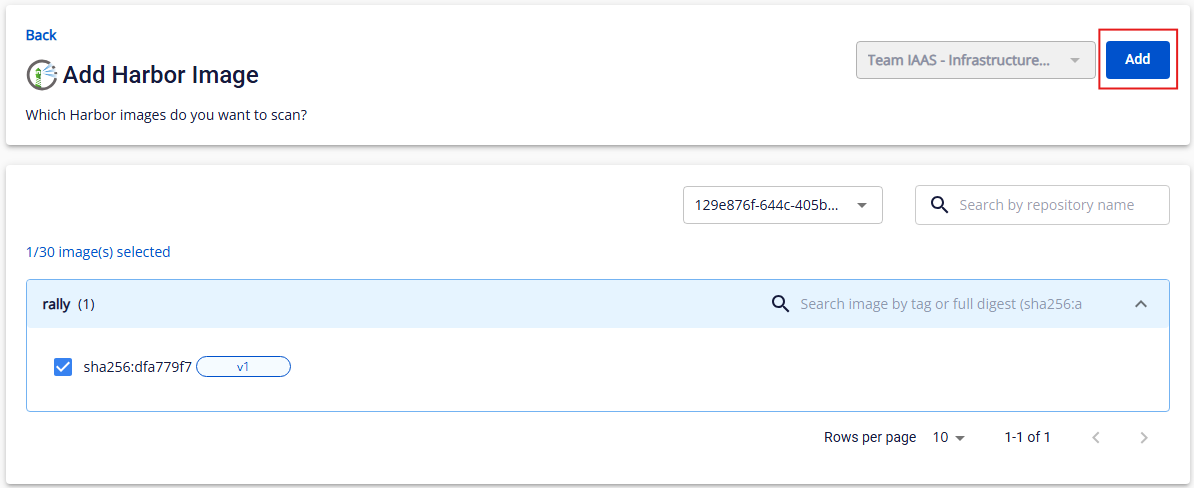
Step 3: Select the project/repo containing the source code to scan.

The screen shows a Repository group with repositories and their branches. You can search for a branch by name.
Step 4: Select the repo and branch, then click Add.
After successfully adding, the system automatically runs the first scan and displays results in the Asset Management All Assets tab. You can view the add history in the History tab.
View asset overview
Step 1: In Asset Management > All, click any asset's name link.
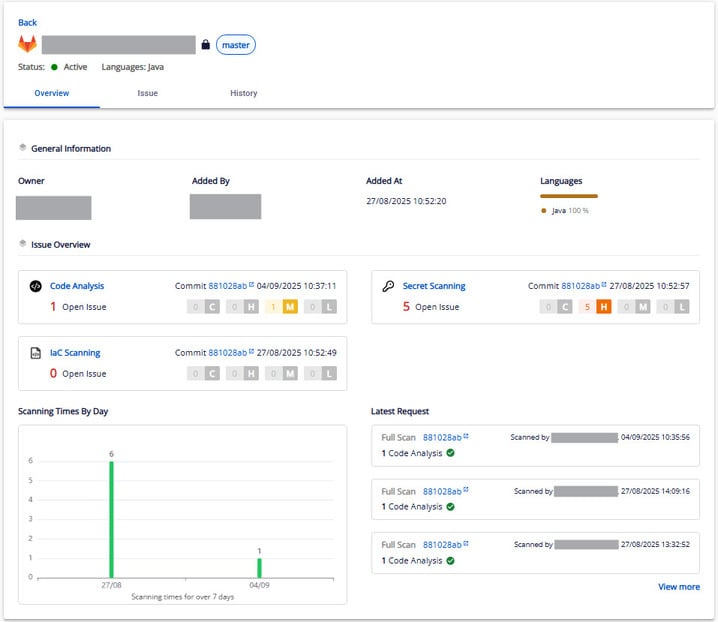
Step 2: On the Asset Overview screen, you can view:
- General information: Asset Status, Language, Owner, Added By, Added At
- Language chart: Horizontal bar showing language percentages in descending order; legend shows top 5 languages + "Other"
- Issue overview: Scan Type, Commit + Scan Time, Total Open Issues, Severity counts, Scanning Times By Day (last 7 days)
- Latest requests: Up to 3 most recent scan requests (Scanned By, Scanned At, scan result)
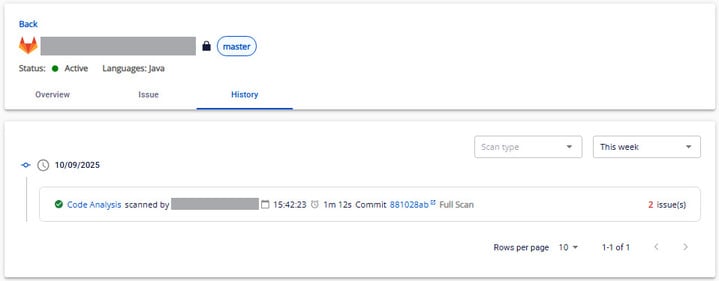
Step 3: In the History tab, you can track the asset's scan history and filter by Scan type and Time range.
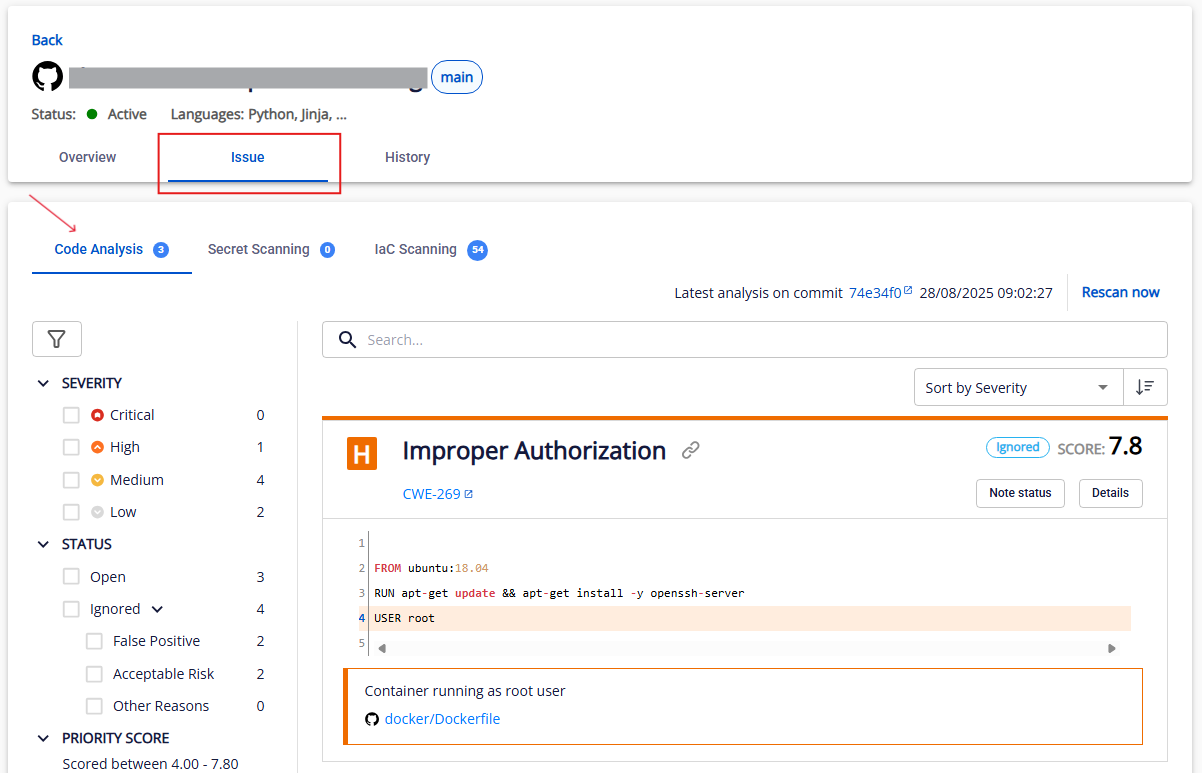
View issues
Access the Issue list
- In the Asset List, click any asset name. The system navigates to Asset Detail with the Overview tab open by default.
- Select the Issue tab to view the issue list.
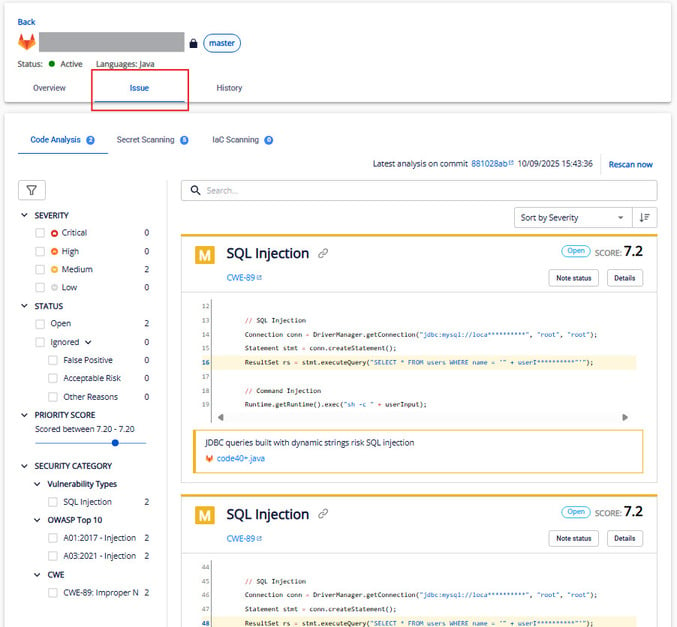
Note: The default sort is by Score descending; each page shows up to 10 issues.
Issue information
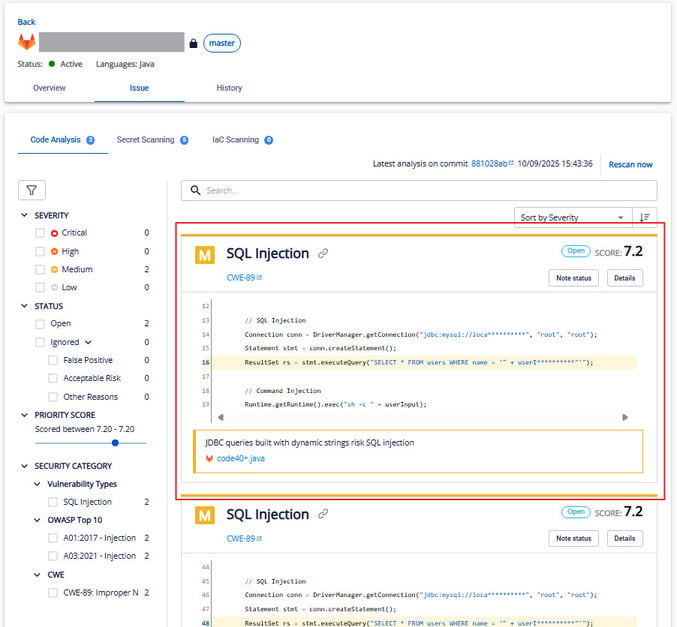
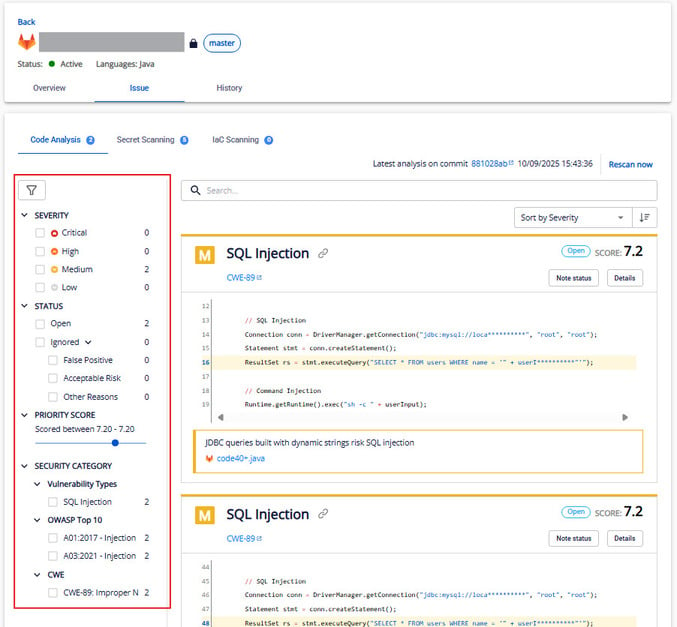
Each issue is displayed as an Issue Info Card with: Severity, Vulnerability Type, Issue ID + link copy, Vul References (CWE list), Score (0–10), Issue Status, Note Status button, Details button, Code Block, Issue Suggest Summary, and Project Link.
Filter, search, and sort issues
Filter by: Severity, Status, Priority Score (0–10), Security Category, Vulnerability Type, OWASP Top 10, CWE. Multiple conditions can be selected.
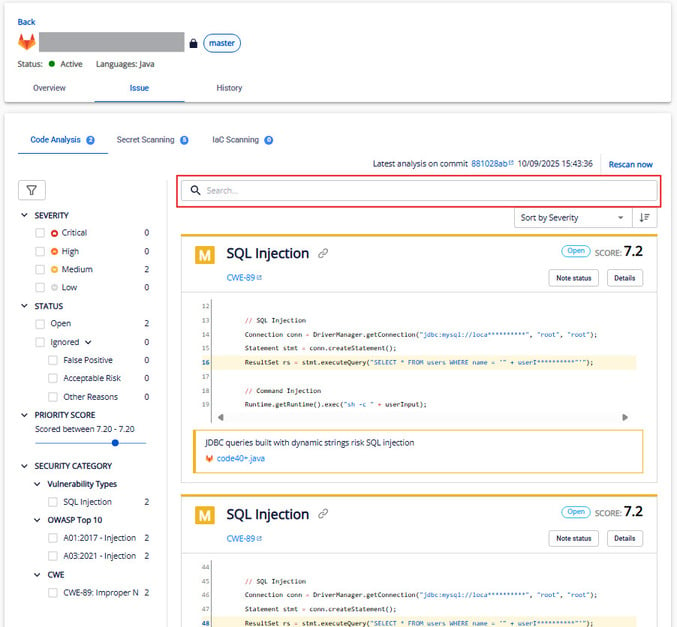
Search by: Issue ID, Issue Name, Issue Suggest Summary. Press Enter to search; Clear to reset.
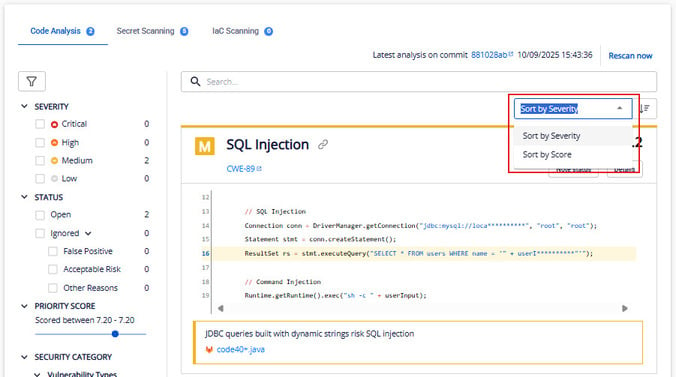
Sort by: Severity (C→H→M→L), Score, Created Time. Default: Score descending.
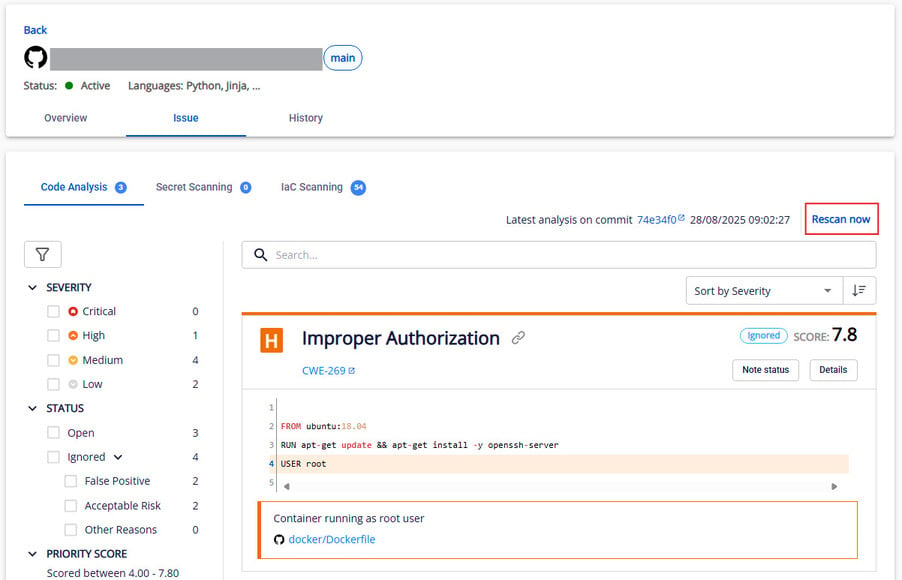
View issue details
Step 1: Click Details on any issue card (Code Analysis/Secret Scanning/IaC Scanning) to open the Issue Detail popup.
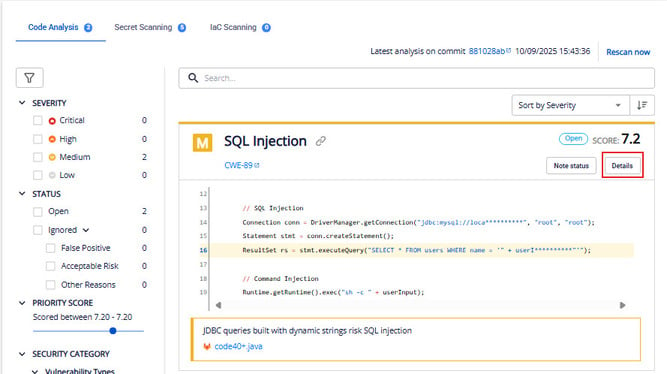
Step 2: The Issue Detail screen shows:
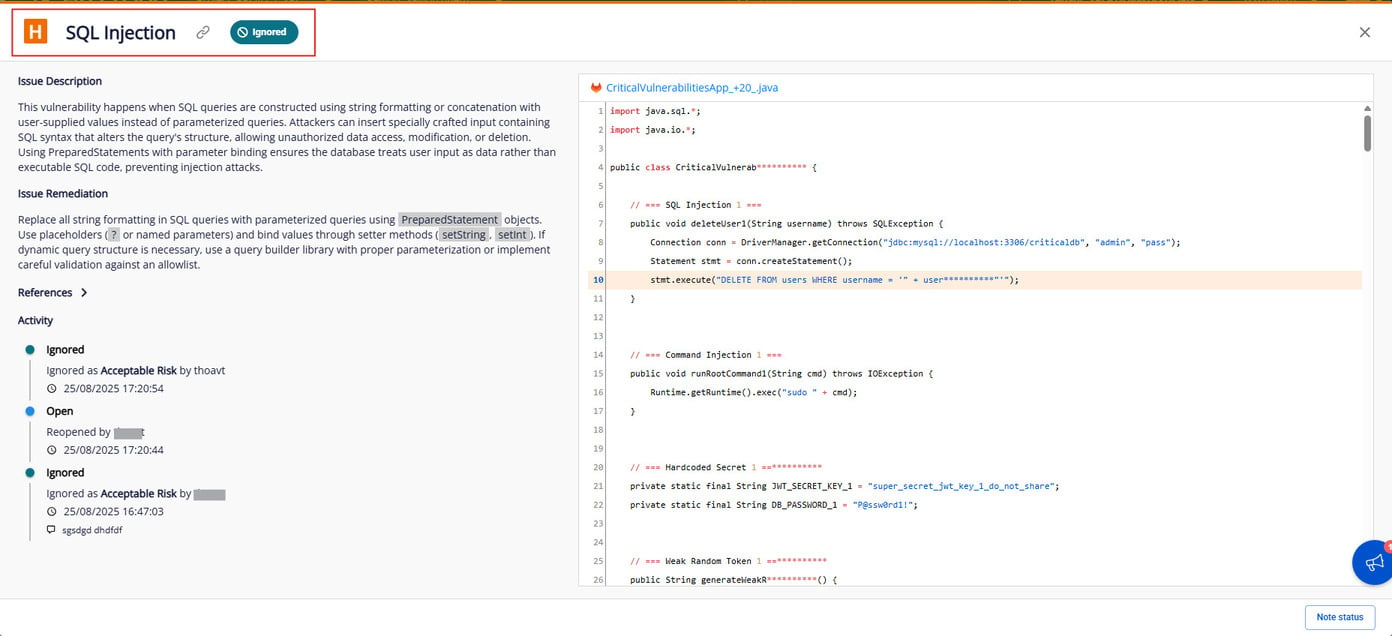
- Severity, Vulnerability Type, Link (copy icon), Issue Status
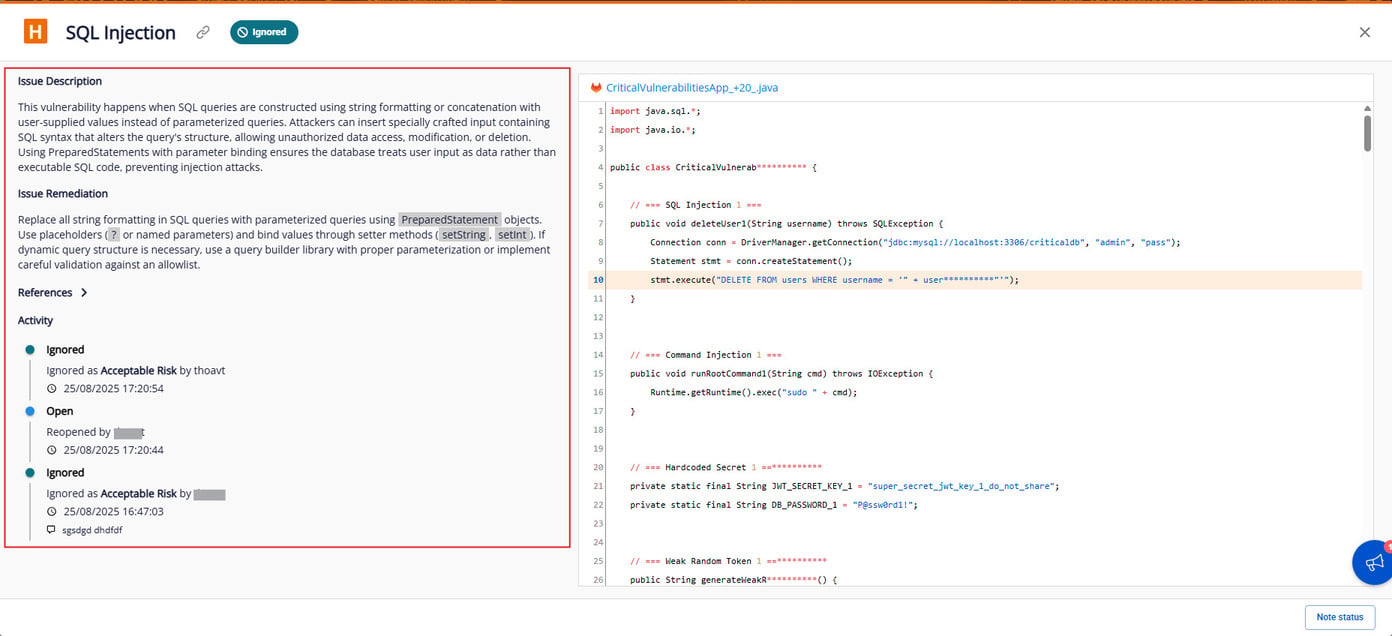
- Issue Description, Issue Remediation, References, Issue File, Code Block (with highlighted error line), Activity log
Rescan an asset
From the Asset List
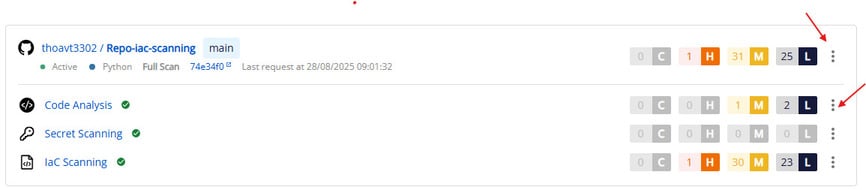
Step 1: In All Assets, click the ⋮ icon on an asset or scan type.
Step 2: Select Rescan. The system rescans and shows "Rescan requested successfully".

Note: The Rescan button is disabled until the scan completes.
From the Asset Detail
Step 1: Click an asset name to open the detail screen.
Step 2: Select the Issue tab, then choose a sub-tab (Code Analysis, Secret Scanning, IaC Scanning).
Step 3: Click Rescan now in the top right. On success: "Rescan requested successfully".
Disable/enable an asset
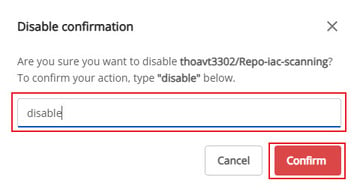
Disable
Step 1: Go to Workspace → All Assets.
Step 2: Click the ⋮ icon on the asset, then select Disable.

Step 3: Type disable in the confirmation box, then click Confirm.
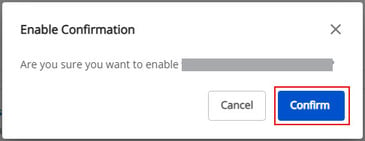
Enable
Step 1: Click the ⋮ icon on a disabled asset, then select Enable.

Step 2: Click Confirm.
Note: Only Admin, Team Manager, and Asset Owner can enable/disable assets.
Delete an asset
Step 1: Go to Workspace → All Assets.
Step 2: Click the ⋮ icon on the asset, then select Delete.

Note: Only Org Admin has permission to delete assets.
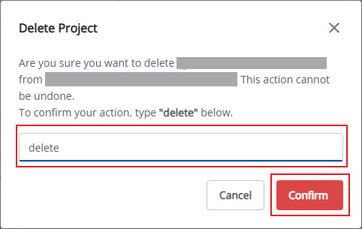
Step 3: Type delete in the confirmation box, then click Confirm.