File Storage High Performance integration
Prerequisites for using High Performance Storage:
- The mandatory conditions for initializing a Managed GPU cluster (active service, Metal Cloud quota, SSH key, Internal LB subnet, etc.) must be met. Refer to the Managed GPU Cluster initialization guide here/.
- The File Storage – High Performance service must be enabled and quota allocated in the tenant.
- A MountPoint belonging to the Metal Cloud network you want to use must exist. Go to the File Storage – High Performance tab to create a new MountPoint following the guide here/.
Enable File Storage – High Performance with Managed GPU Cluster on the FPTcloud Unify Portal.
1.1 Integrate with a new Managed GPU Cluster:
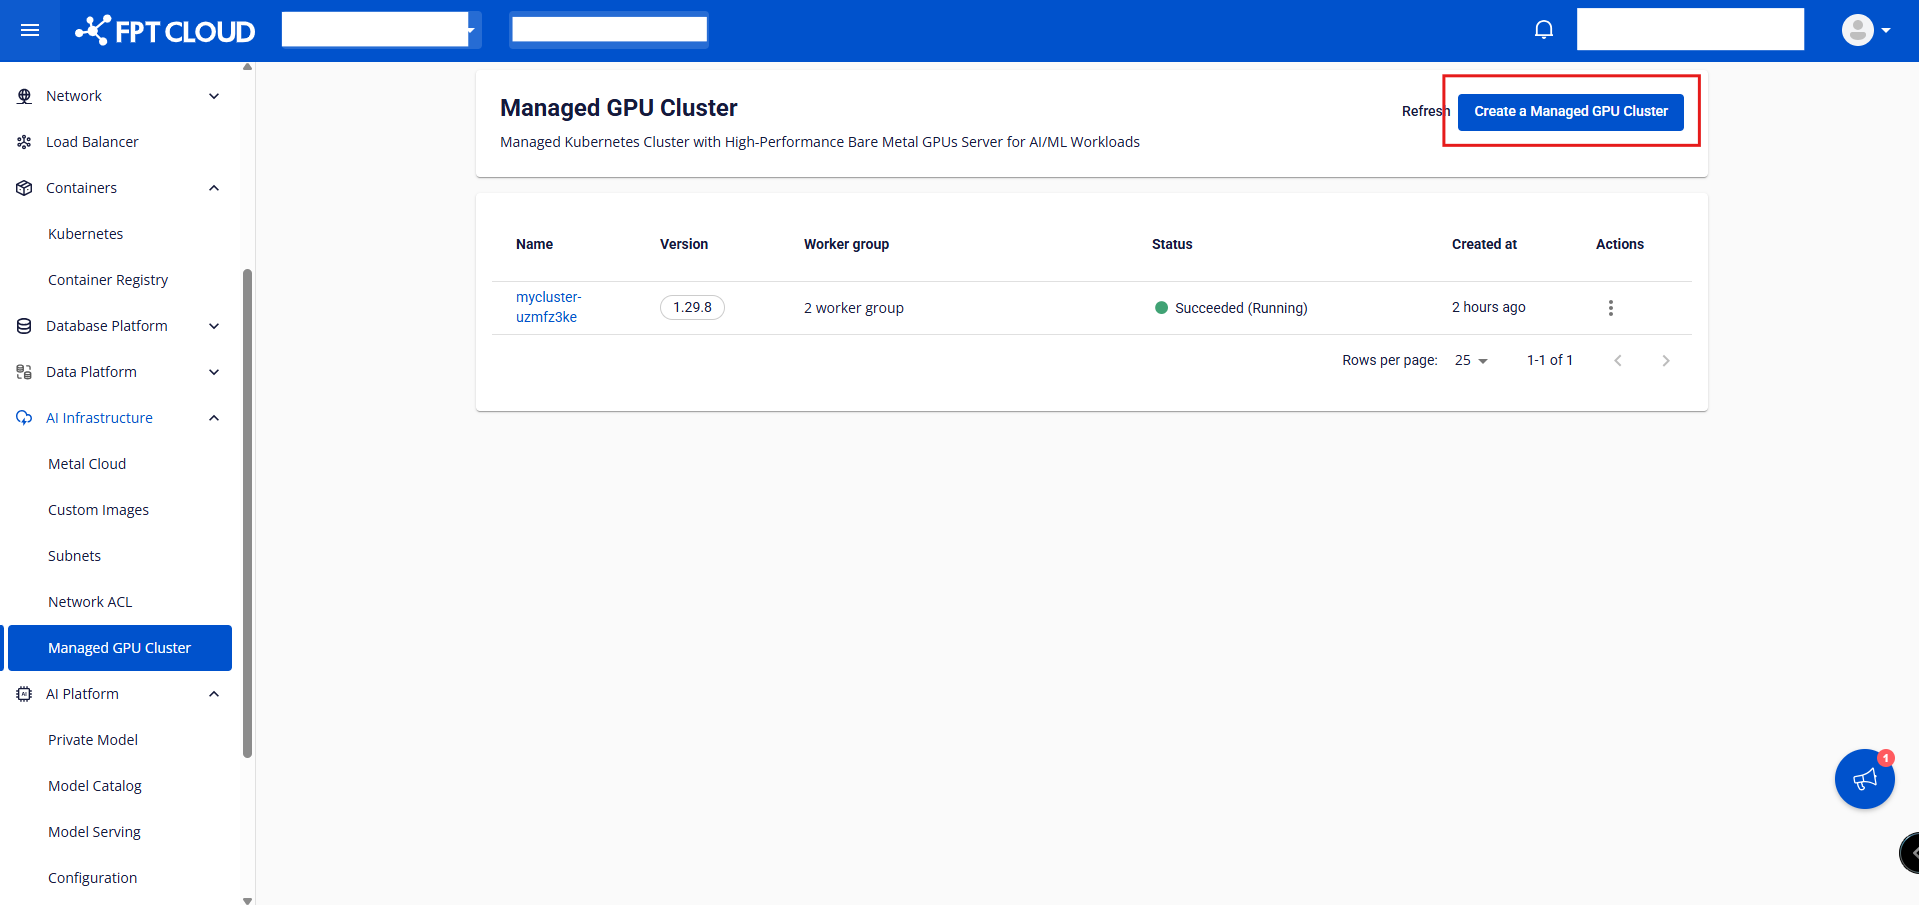
- Step 1: In the FPT Portal menu, select AI Infrastructure → Managed GPU Cluster → Create a Managed GPU Cluster.
Select the correct network of the Metal Cloud server acting as a worker node in the GPU cluster. The MountPoints for File Storage – High Performance will be displayed based on this network.
- Step 2: Once a MountPoint exists in the desired Metal Cloud network, enable File Storage – High Performance and select the desired MountPoint.
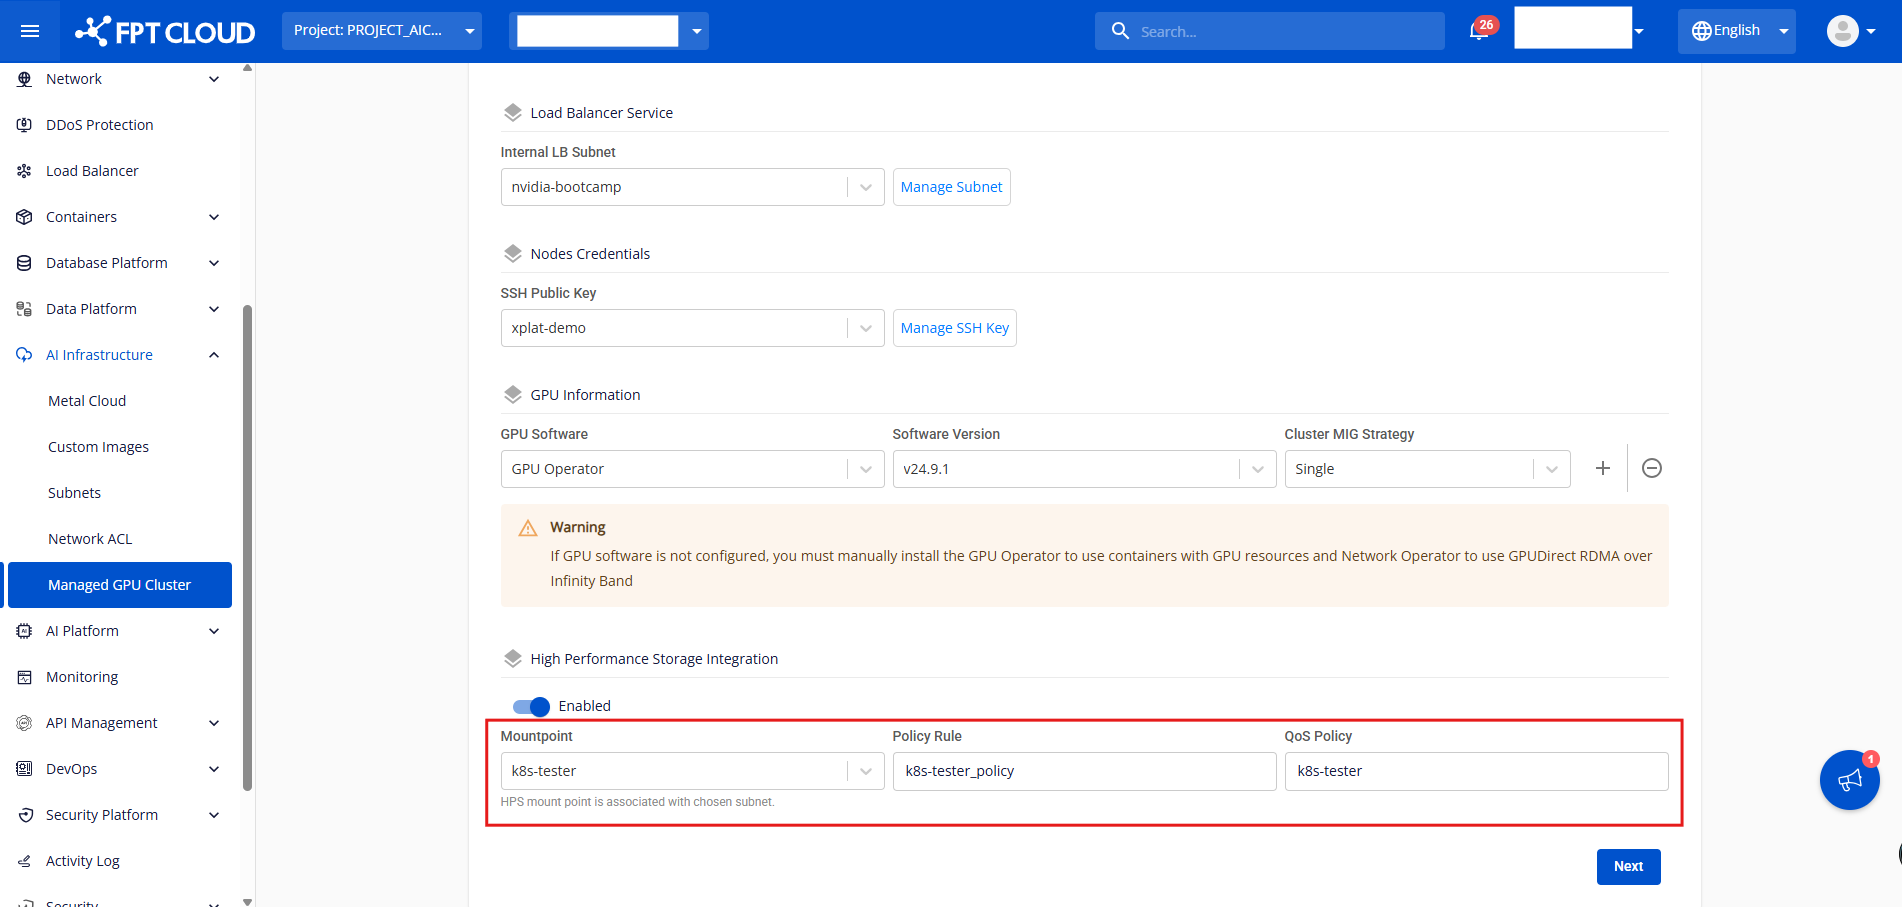
Note: If the File Storage – High Performance service has not been activated for the tenant, the following message will appear. You need to submit an activation request before integrating it with the Managed GPU Cluster.

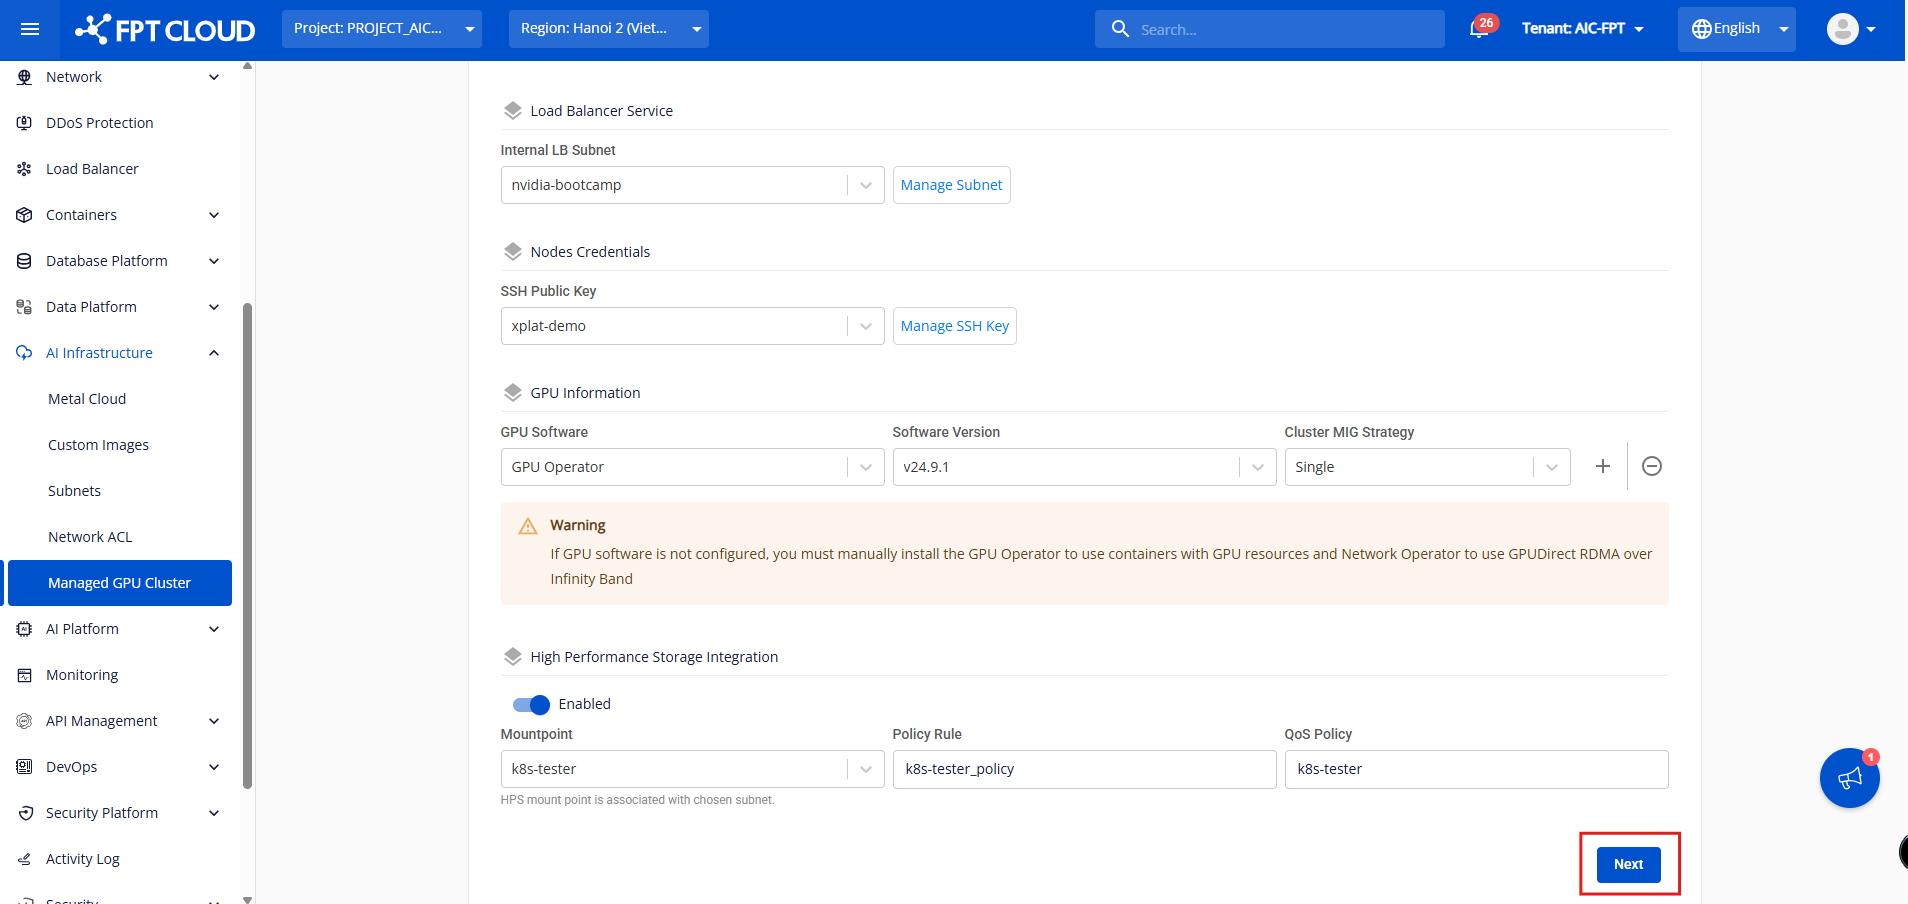
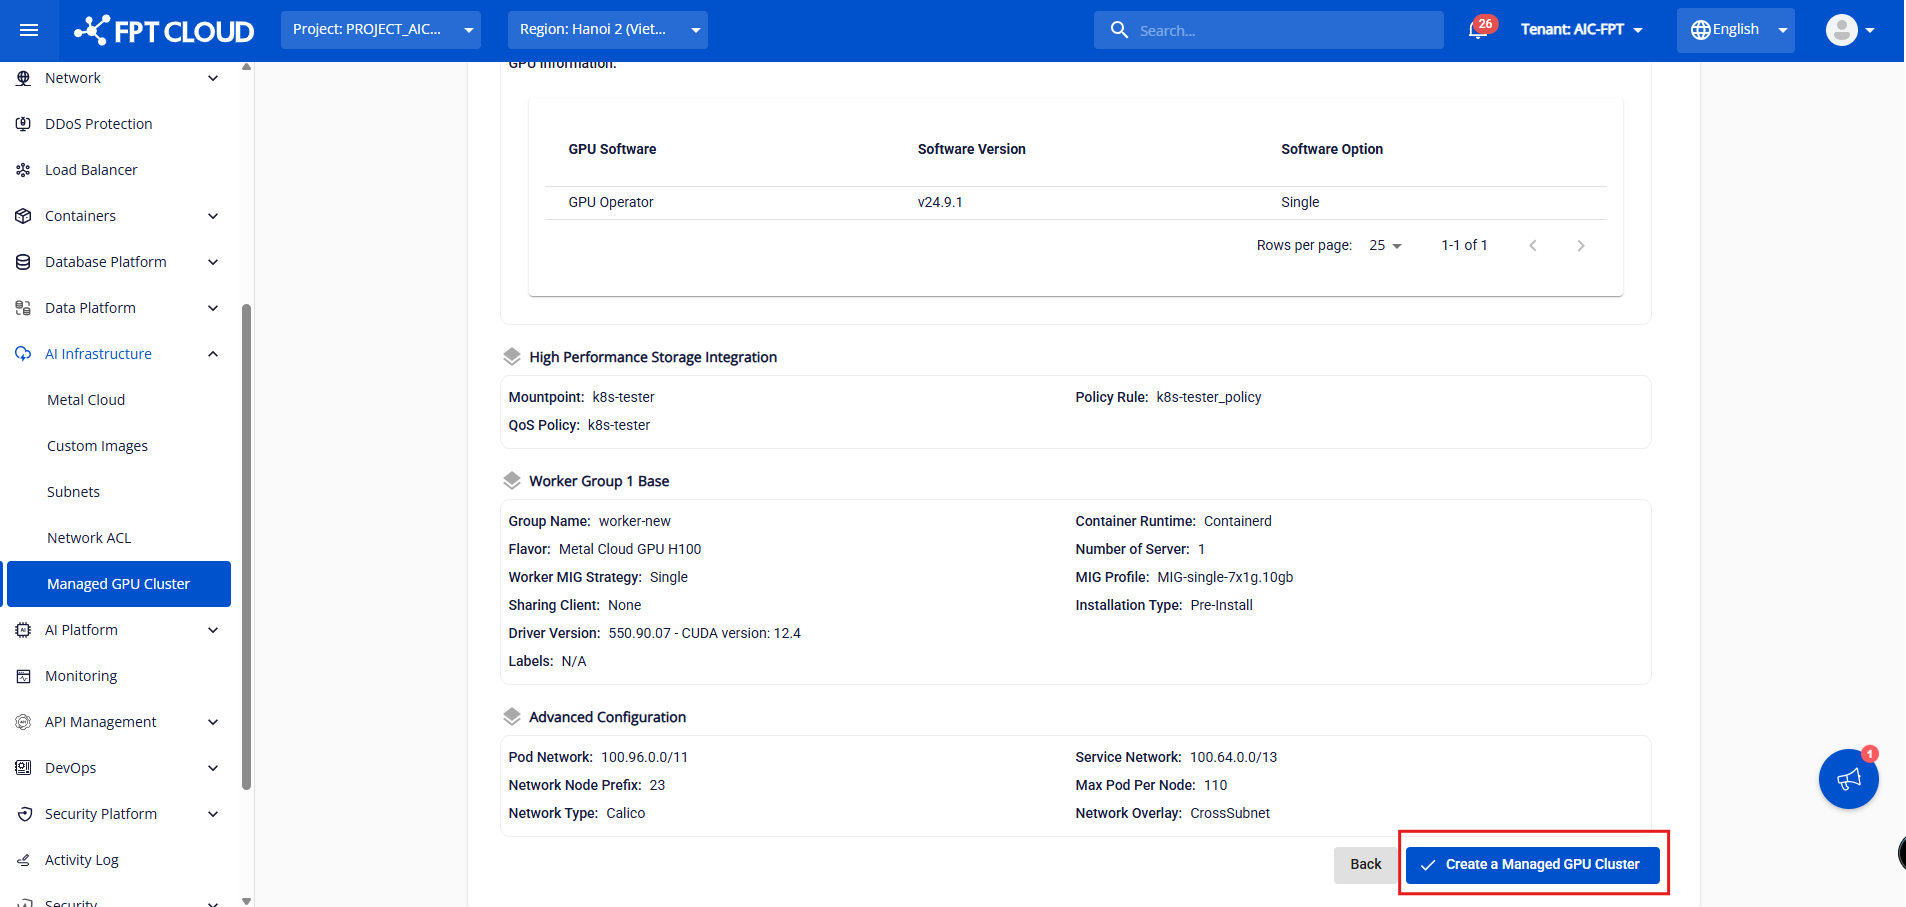
- Step 4: Review all High Performance Storage Integration information and proceed to create the Managed GPU Cluster.
1.2 Integrate with an existing Managed GPU Cluster:
- Step 1: In the FPT Portal menu, select AI Infrastructure → Managed GPU Cluster → select an existing cluster to integrate File Storage – High Performance with.
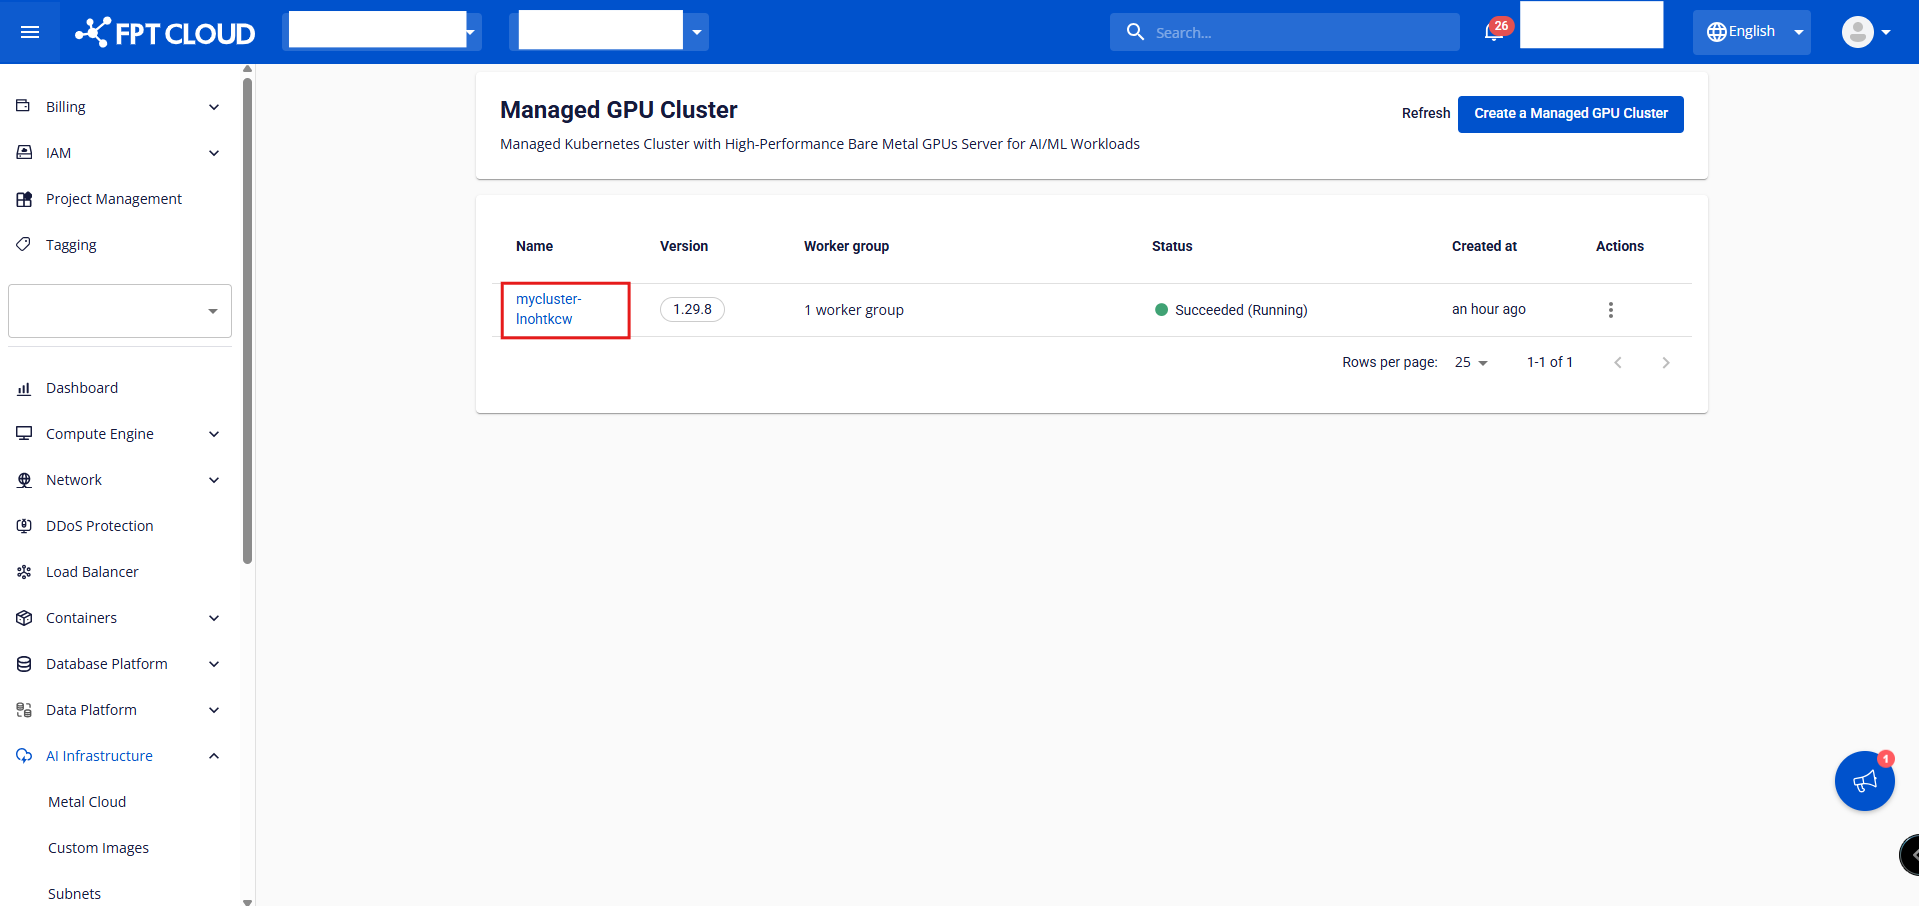
Note: The Managed GPU cluster must be in Succeeded (Running) status before File Storage – High Performance integration can be performed.
- Step 2: In the Essential Properties tab → High Performance Storage Integration, click Enable High Performance Storage → select the MountPoint from the list, then click Confirm.

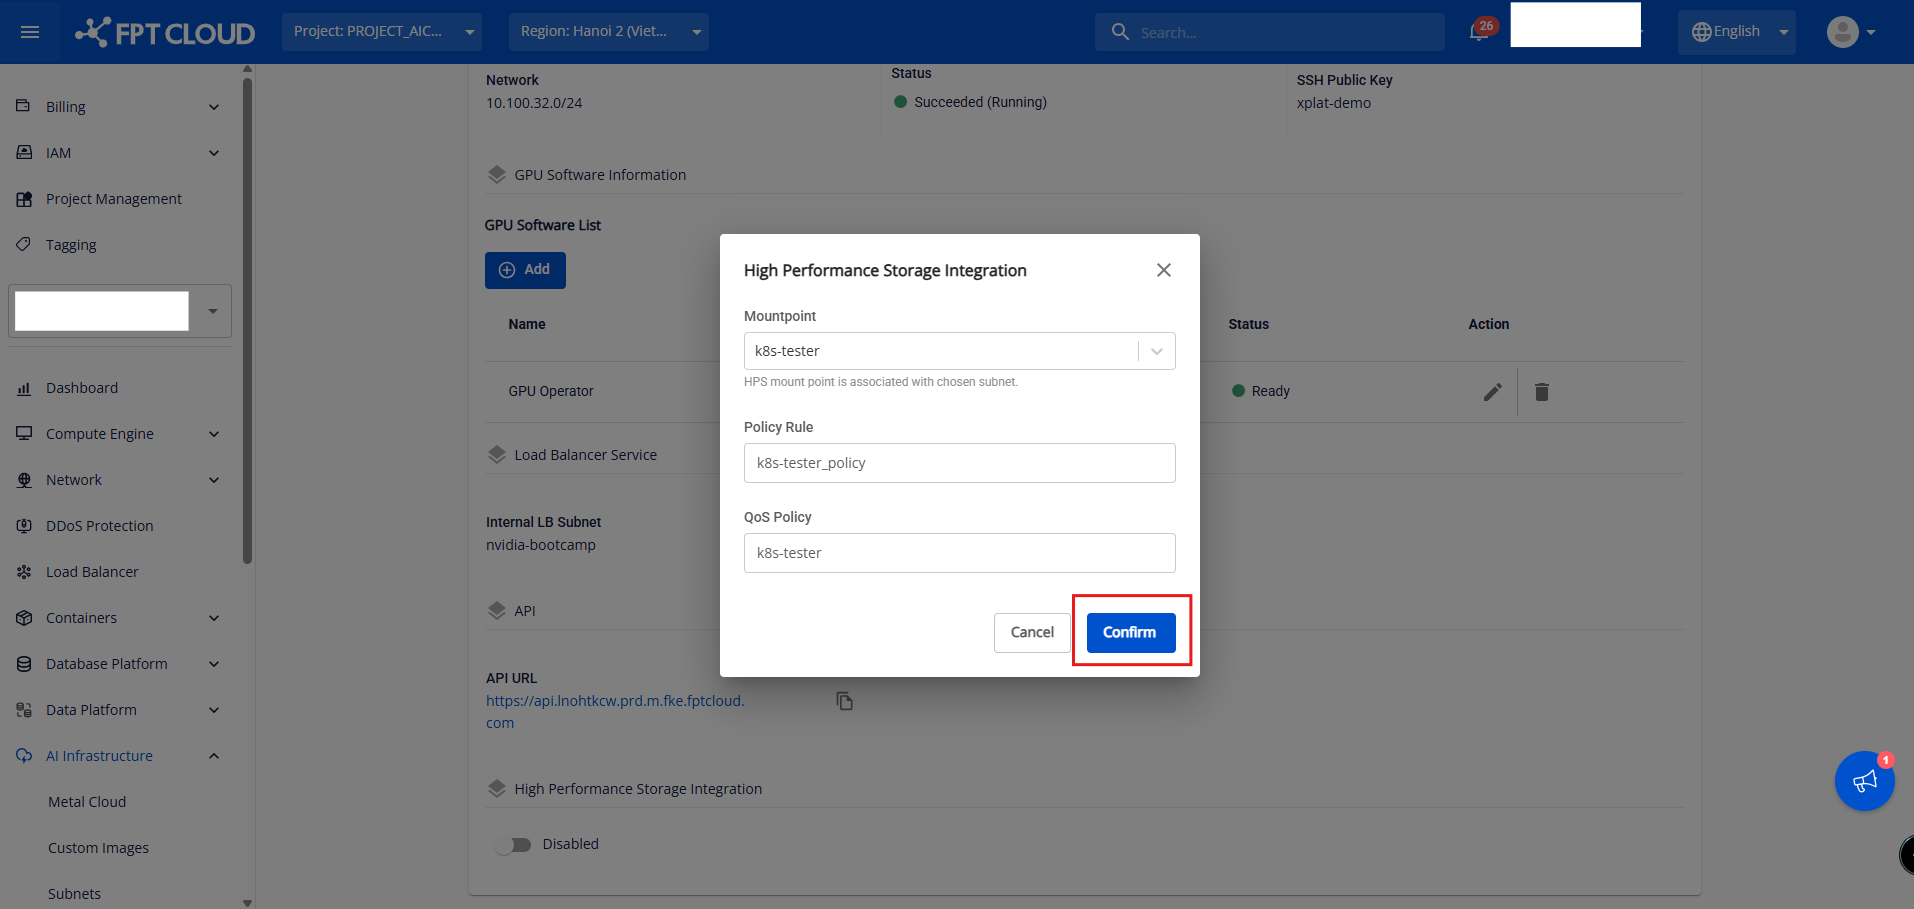
The High Performance Storage integration process will take a few minutes. The cluster status will change to Processing until integration is complete. The cluster continues to operate normally during integration.
1.3 Disable File Storage – High Performance integration
Only disable File Storage – High Performance integration when the cluster status is Succeeded (Running). Before disabling, delete all PVCs in the cluster that use the selected MountPoint. Disabling the integration does not automatically delete data written by Kubernetes in the MountPoint directory.
- Step 1: In the FPT Portal menu, select AI Infrastructure → Managed GPU Cluster → select the cluster that has File Storage – High Performance integrated.
- Step 2: In the Essential Properties tab → High Performance Storage Integration → Disintegrate → Confirm.
1.4 Change the MountPoint for File Storage – High Performance in Managed GPU Cluster
Only one MountPoint can be used in a Managed GPU cluster at a time. To change the MountPoint, first disable the old MountPoint integration (section 1.3), then integrate the new MountPoint (section 1.2).
Using the MountPoint of File Storage – High Performance in Managed GPU Cluster
After successful integration, a StorageClass will be available in the cluster for creating Persistent Volumes (PVs) in the directory assigned the MountPoint path. The StorageClass name is the QoS Policy name of the integrated MountPoint.
For example, if the MountPoint path is /k8s-cluster1, PVs created by the CSI in Kubernetes will have paths such as /k8s-cluster1/PV1, /k8s-cluster1/PV2, etc.

Create a PersistentVolumeClaim (PVC) using the StorageClass provided by the system for the integrated MountPoint. Because the VOLUMEBINDINGMODE of the StorageClass is WaitForFirstConsumer, a Pod must use this PVC for the CSI to create the PV and bind it to the PVC.
Note: Do not edit the default StorageClass configuration of the cluster. If a user changes that configuration, it will be automatically rolled back to the system's original configuration.
Example PVC manifest:
apiVersion: v1
kind: PersistentVolumeClaim
metadata:
  name: csi-pvc-dynamic-1
  namespace: default
spec:
  accessModes:
    - ReadWriteMany
  resources:
    requests:
      storage: 15Gi
  storageClassName: k8s-tester
  volumeMode: Filesystem
To resize a PVC, edit the PVC resource directly at the spec.resources.requests.storage field.
Note: You cannot reduce the capacity (only increase it). If the PVC is in use by a Pod, the system will automatically resize the mountPath volume in the Pod (online volume resize).