Add Users
Guide to accessing JupyterHub and creating the first account
(When JupyterHub is created with Basic authentication)
-
Open a browser and navigate to the provided JupyterHub URL.
-
On the displayed screen, click the Create User button.
-
Enter a Username and Password.
Note: The first account created must have the username set to admin to serve as the system administrator account.
-
Confirm the information and complete the account creation.
-
Log in with the admin account just created to perform administrative functions.
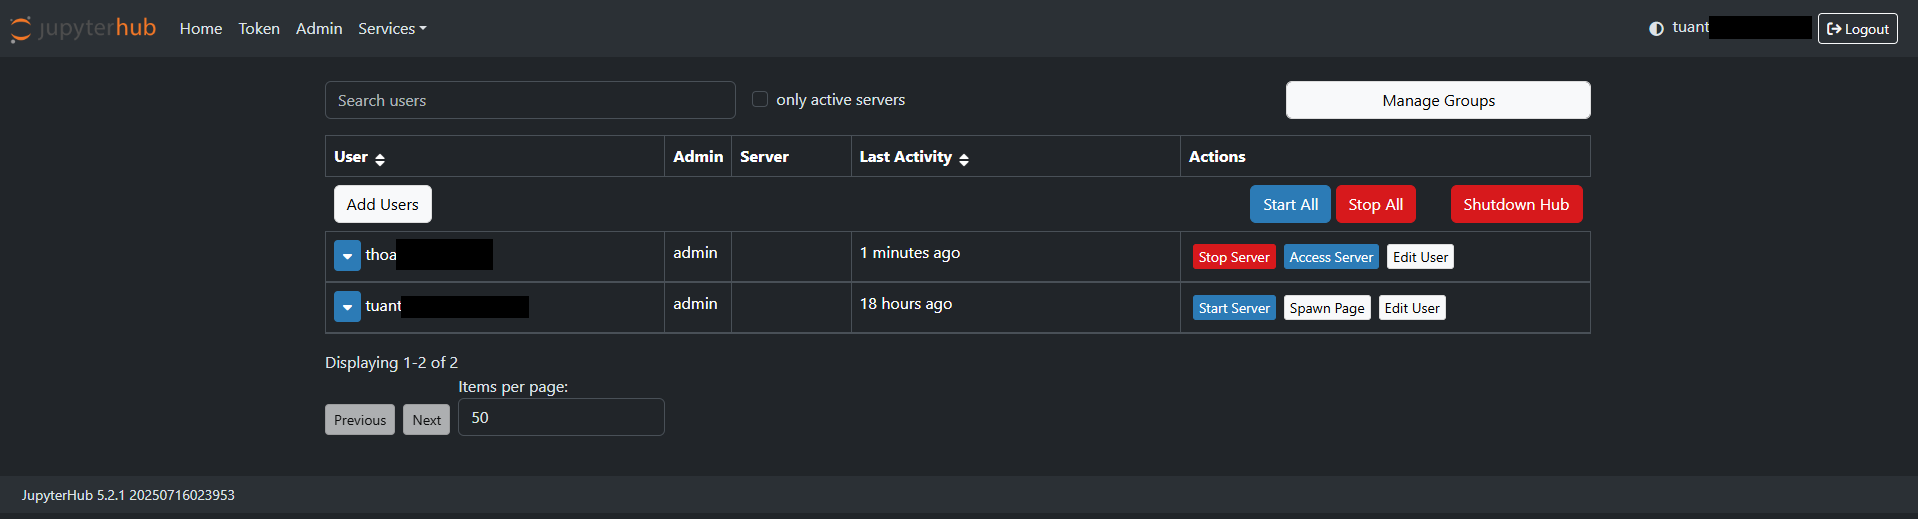
Adding users to the system
- After logging into JupyterHub, a user with the Admin role selects the Admin menu and clicks Add Users to add new users to the system.
-
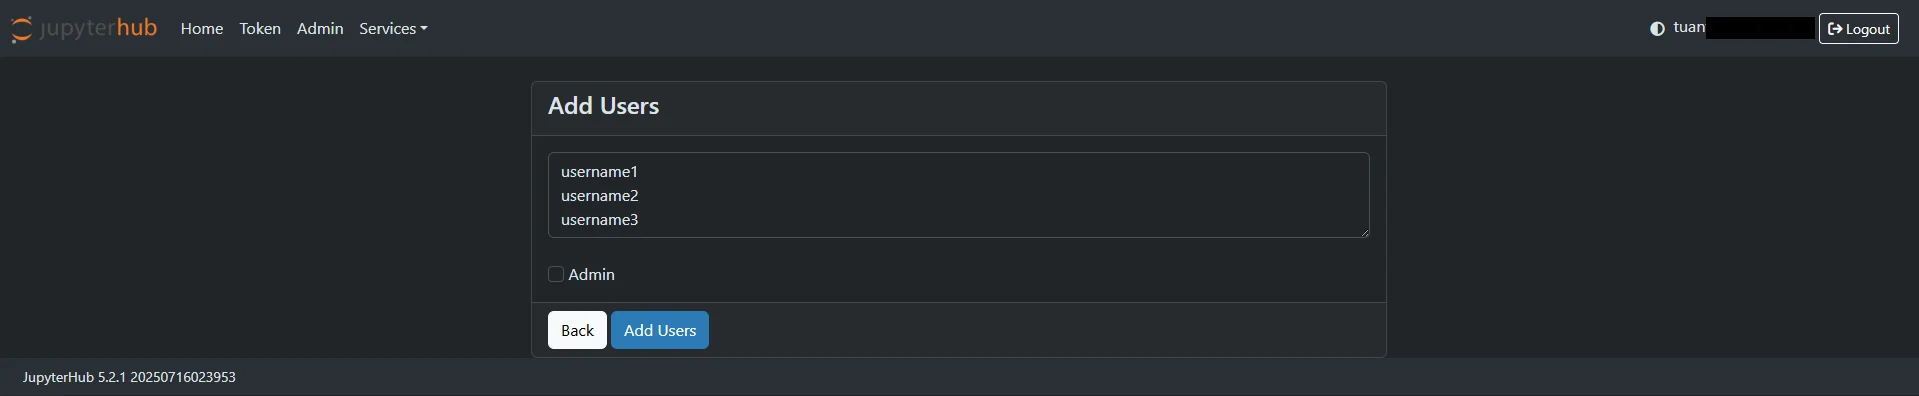
In the Add Users interface, enter the username (the system supports adding multiple users by entering one username per line).
-
Check Admin to assign the Admin role to the user. If unchecked, the user defaults to the User role.
When JupyterHub is created with Basic authentication — user self-registration — Admin grants access
In some cases, users click Create User themselves to create an account first.

In this case, the account is created but does not have access to JupyterHub until the admin approves it.
To grant access, the admin proceeds as follows:
-
Log in with the admin account.
-
Navigate to the path: /hub/authorize
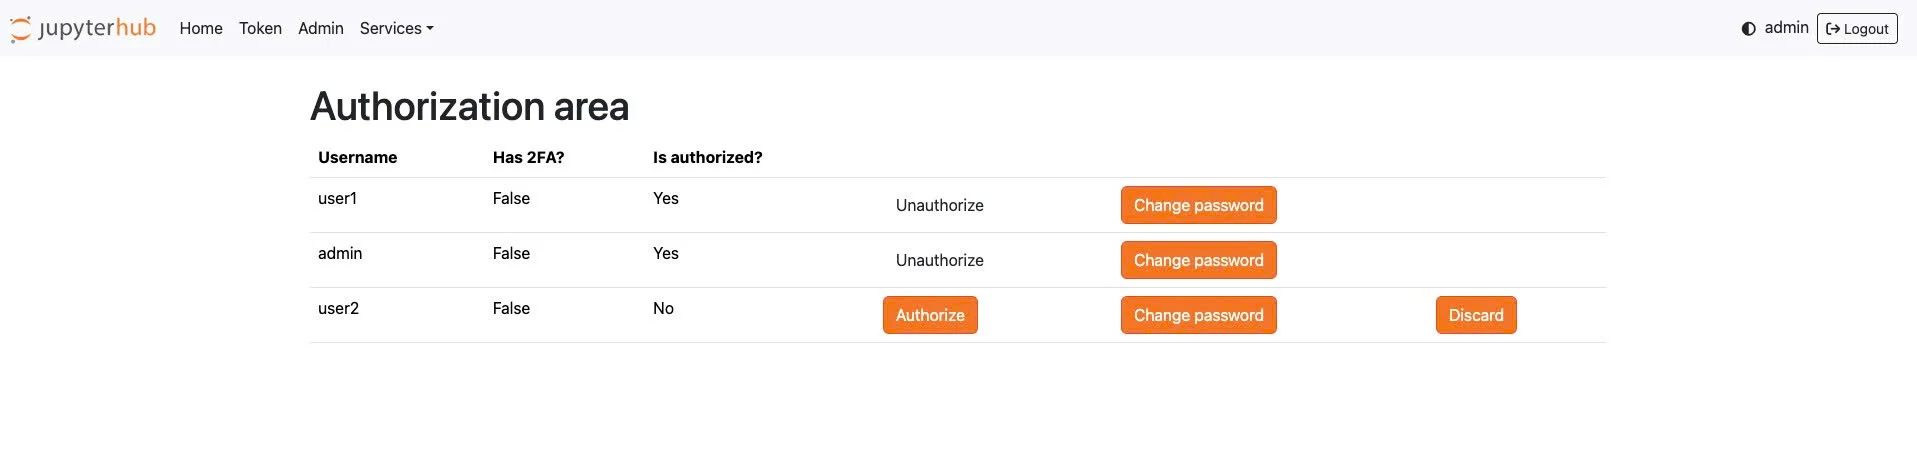
- This screen displays a list of all created users along with management actions:
-
Authorize
-
Allows the user to access JupyterHub.
-
If not yet Authorized, the user will not be able to log in to the interface.
-
-
Unauthorize
-
Revokes previously granted access.
-
The user still exists in the system but cannot log in.
-
-
Change password
-
Allows the admin to reset the user's password.
-
Used when the user forgets their password or a reset is required.
-
-
Discard
-
Removes the user from the management list.
-
After Discard, the user must recreate their account or be re-added by the admin if they wish to continue using the system.
-