Restore a Linux VM from cloud repository
-
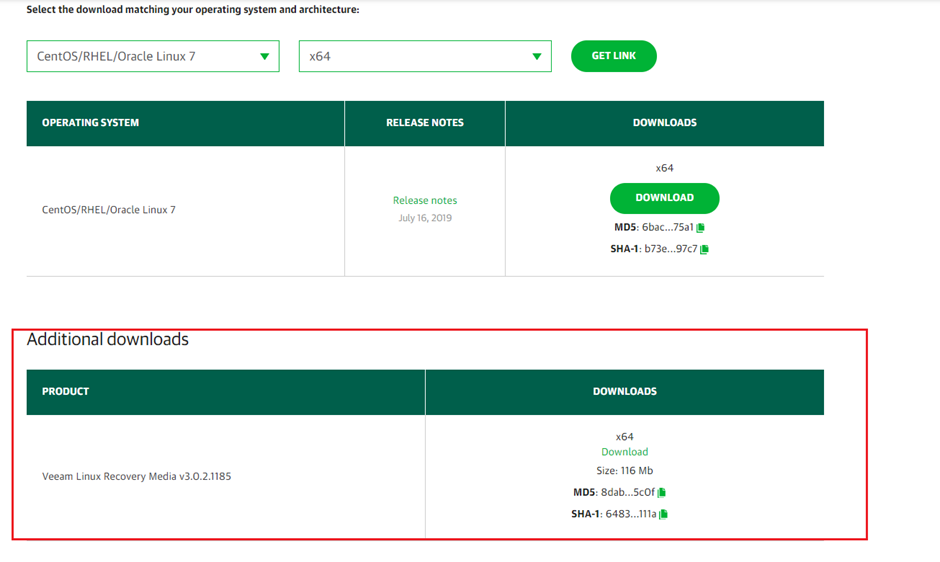
Download the Veeam Recovery Media ISO from the Veeam website. Choose the ISO that matches the OS of the VM you are restoring.

-
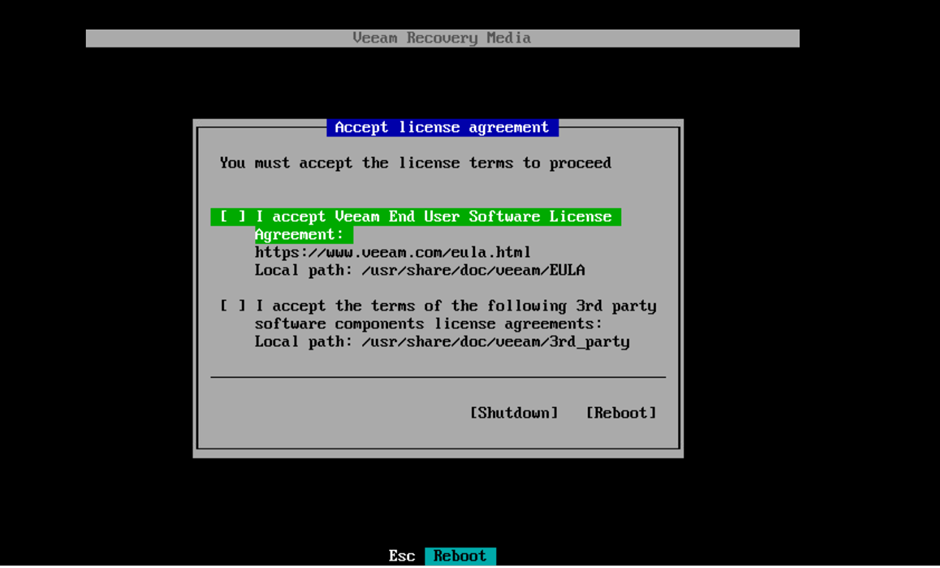
Reboot the VM and boot from the Veeam Recovery Media ISO. Accept the license terms and continue.

-
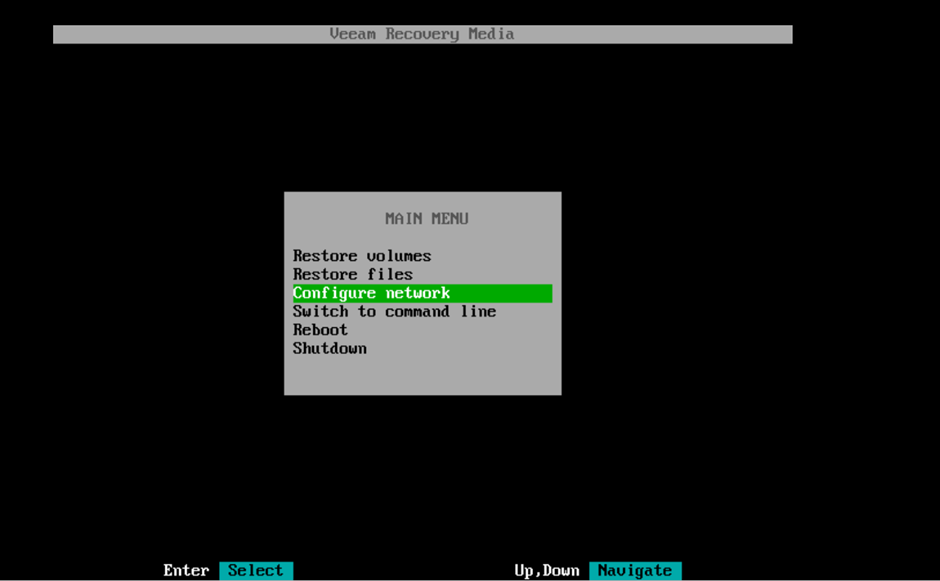
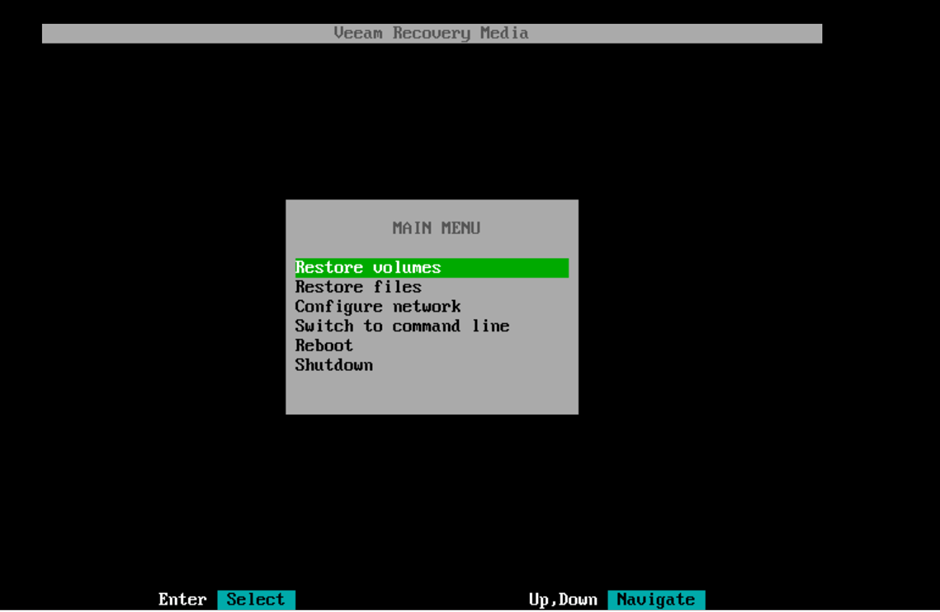
Configure the network if needed.
If the restore VM uses DHCP, skip this step. Otherwise, click Configure network to set a static IP.
noteThe VM IP must have internet access or connectivity to
baas-sgn-gw.fptcloud.com(Ho Chi Minh City) orbaas-han-gw.fptcloud.com(Hanoi) on port 6180.
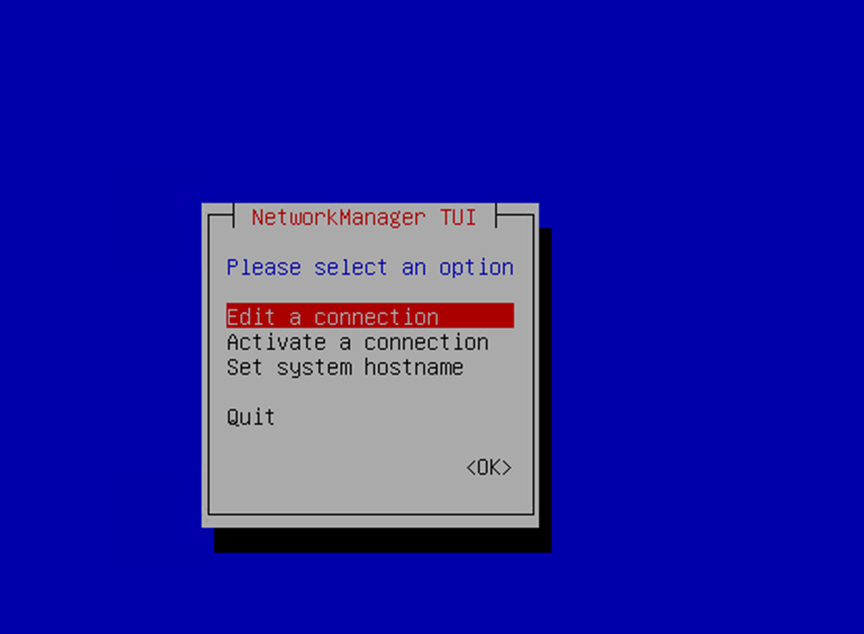
Select Edit a connection to set a manual IP:
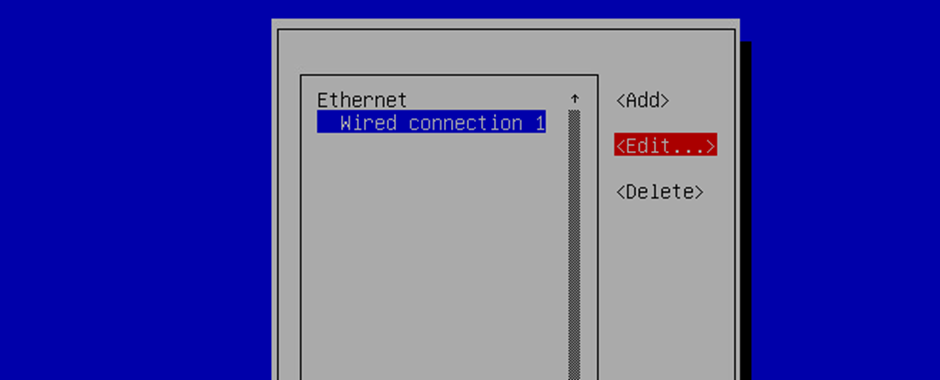
Select Edit to set the IP:
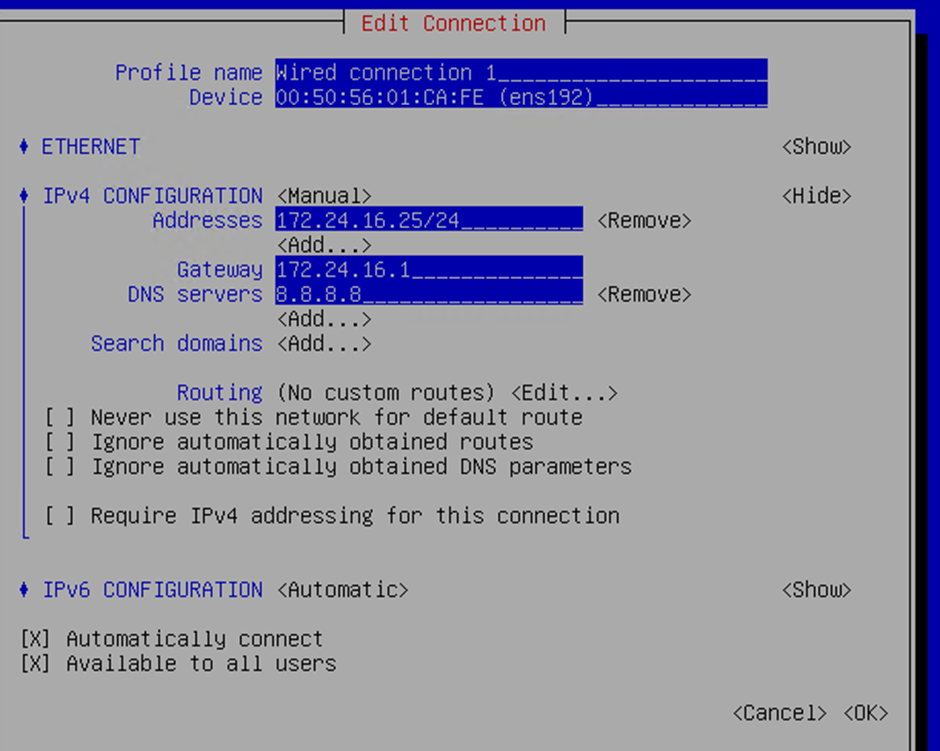
Select IPv4 Configuration, set mode to Manual, then click Show:

After setting the IP, select OK and press Esc to return to the main screen:
-
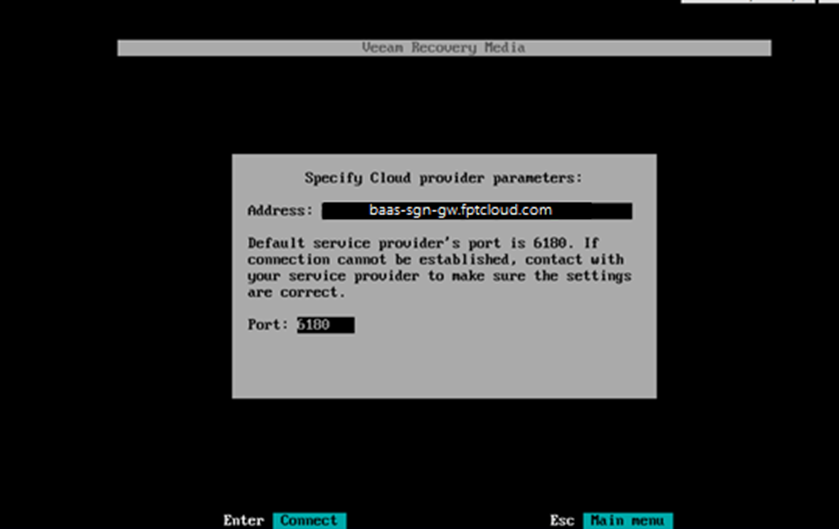
Select Add Cloud provider.

-
Enter the BaaS gateway URL:
- Ho Chi Minh City:
baas-sgn-gw.fptcloud.com - Hanoi:
baas-han-gw.fptcloud.com

- Ho Chi Minh City:
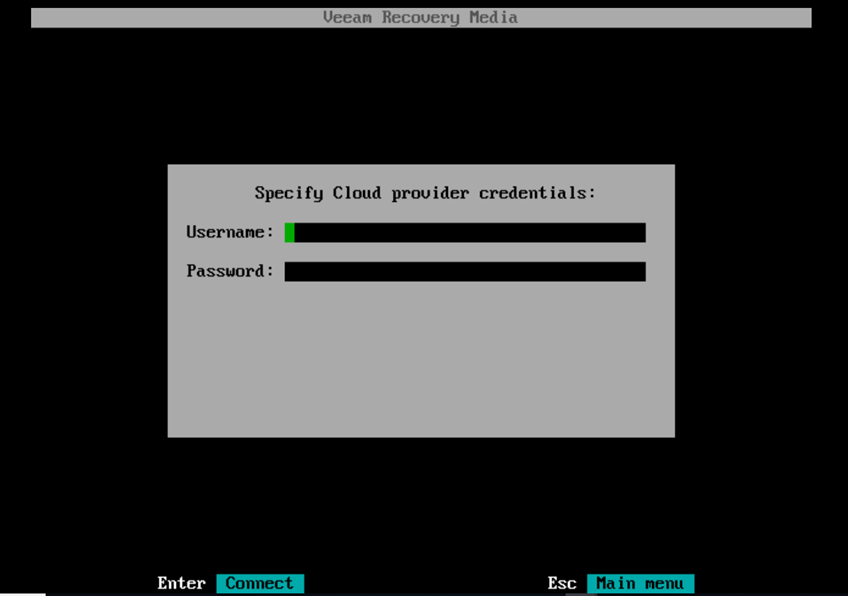
-
Enter your username and password, then press Enter to continue.

-
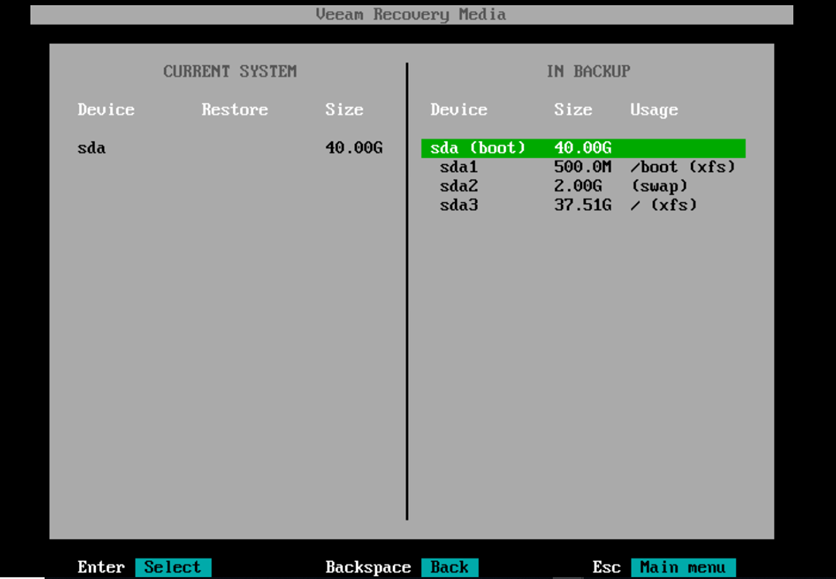
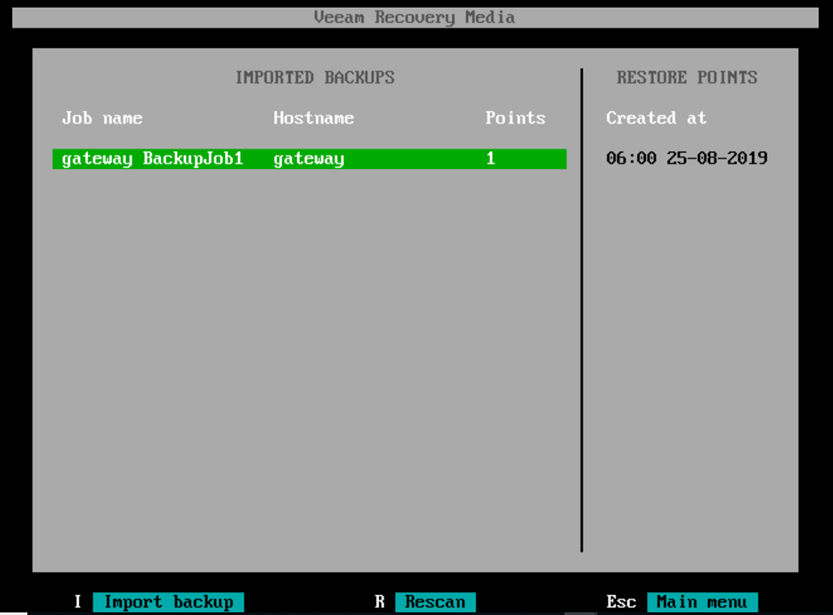
Select the backup job name and the desired restore point.
-
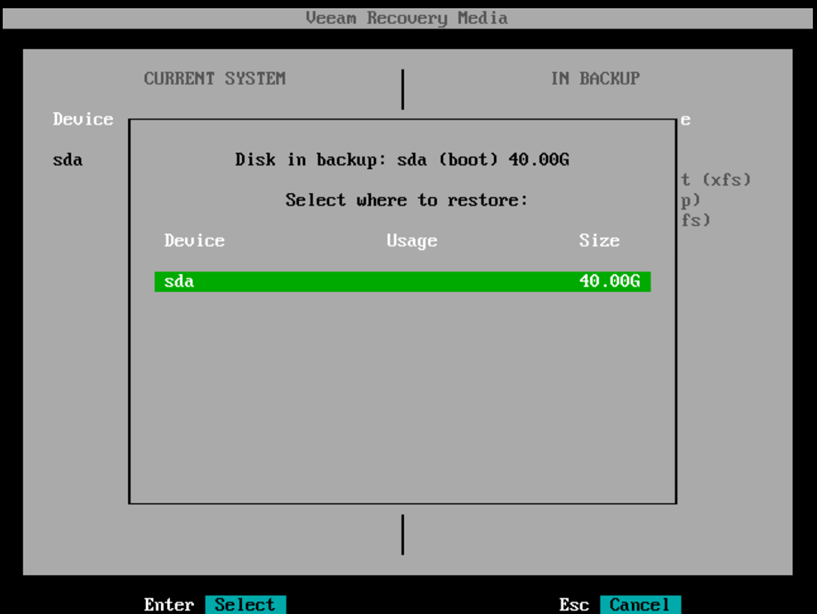
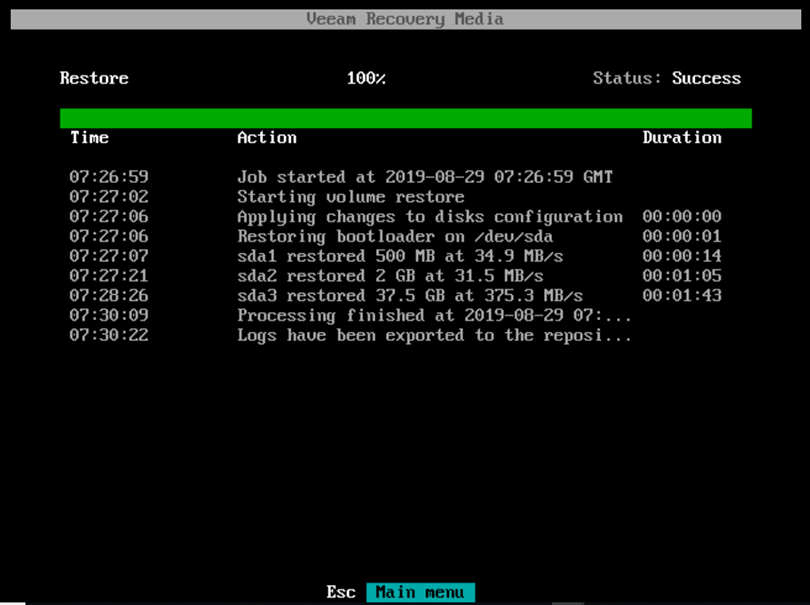
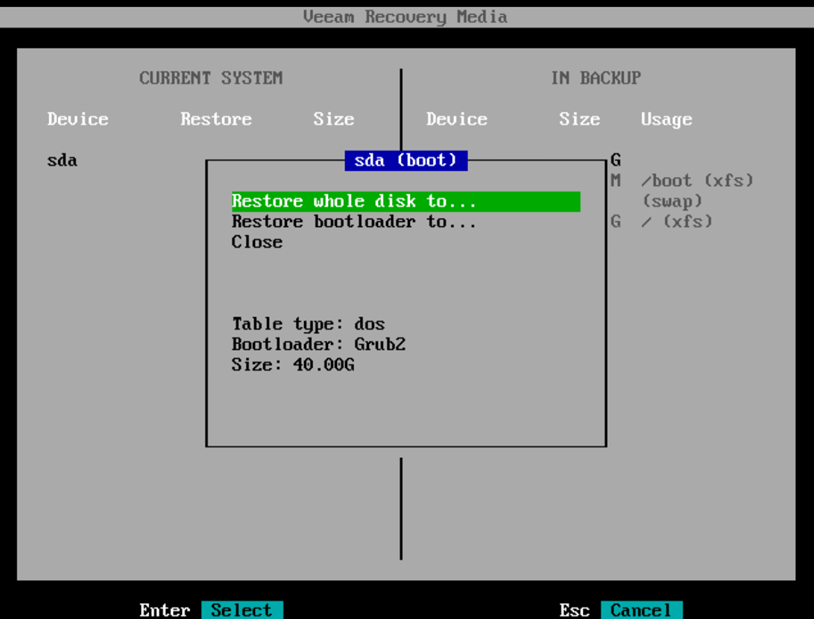
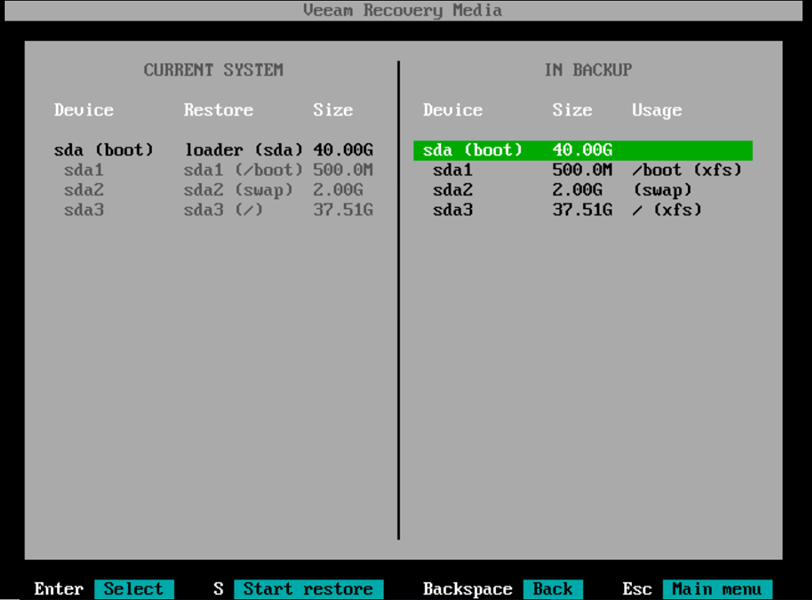
Map the corresponding disks and restore them.


-
Press S to start the restore.