Manage Blades
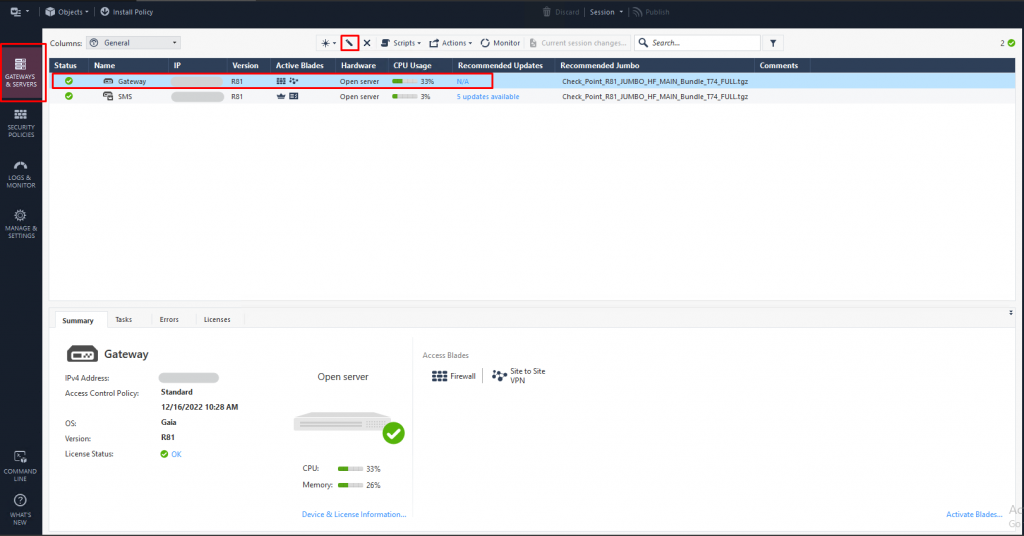
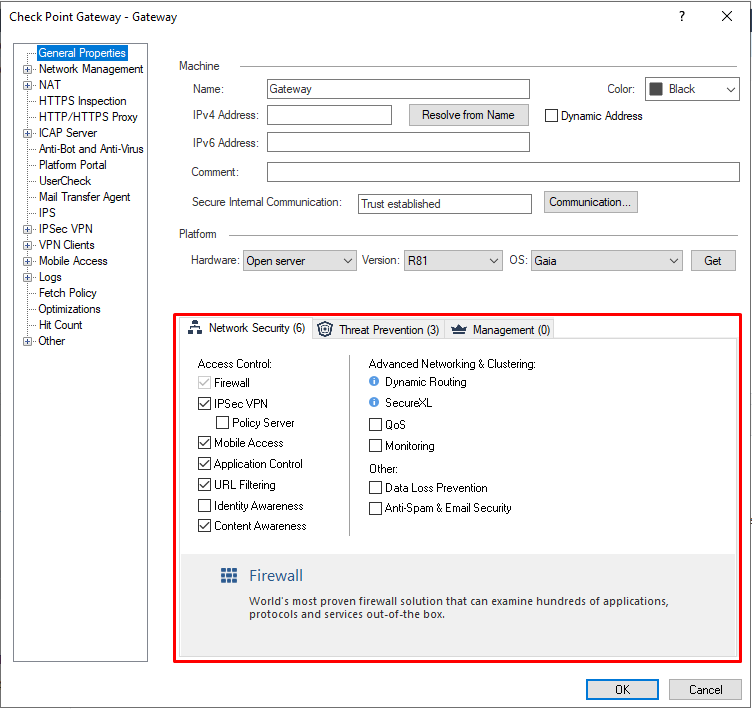
Step 1: In the Menu, select Gateway and Servers (Ctrl + 1) > select Gateway > click Edit.
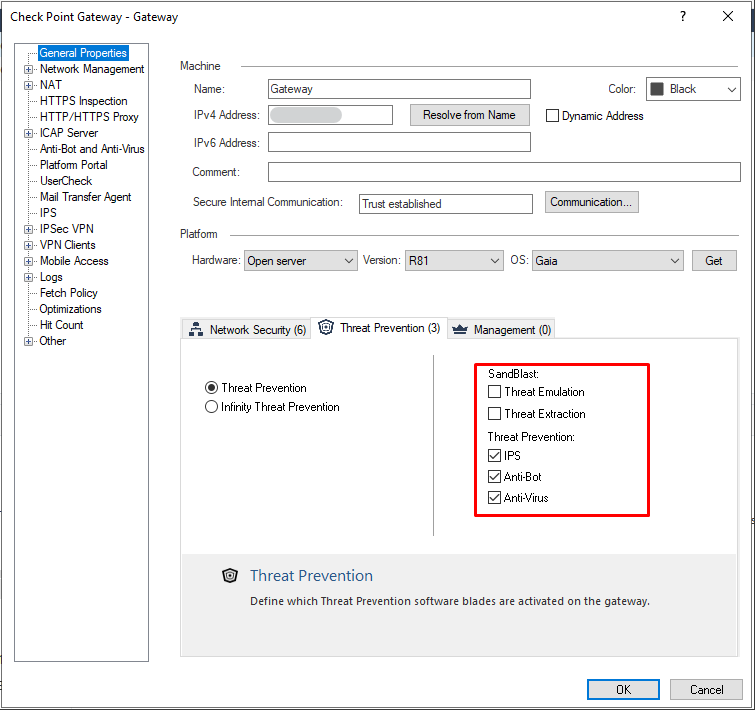
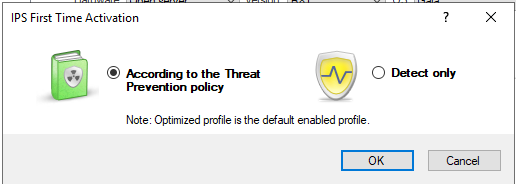
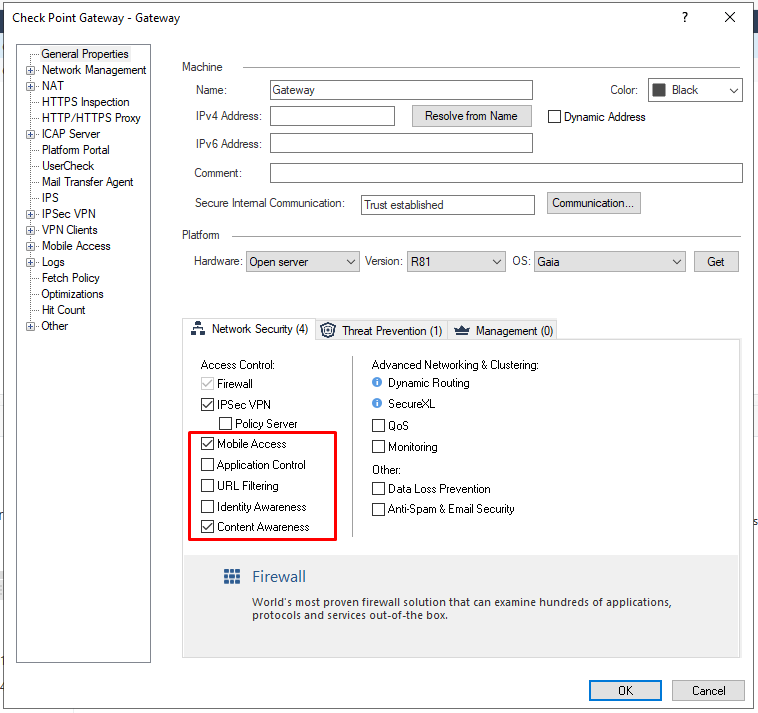
Step 2: In the Menu, select General Properties > check the Blades to enable > click OK.
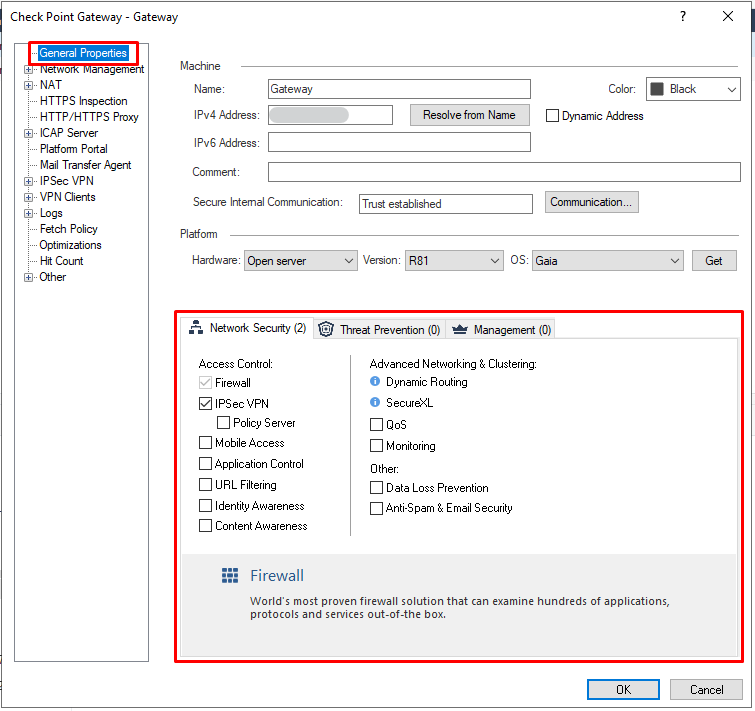
Step 1: Blades under Network Security (Mobile Access, Application Control, URL Filtering, Monitoring, ...)
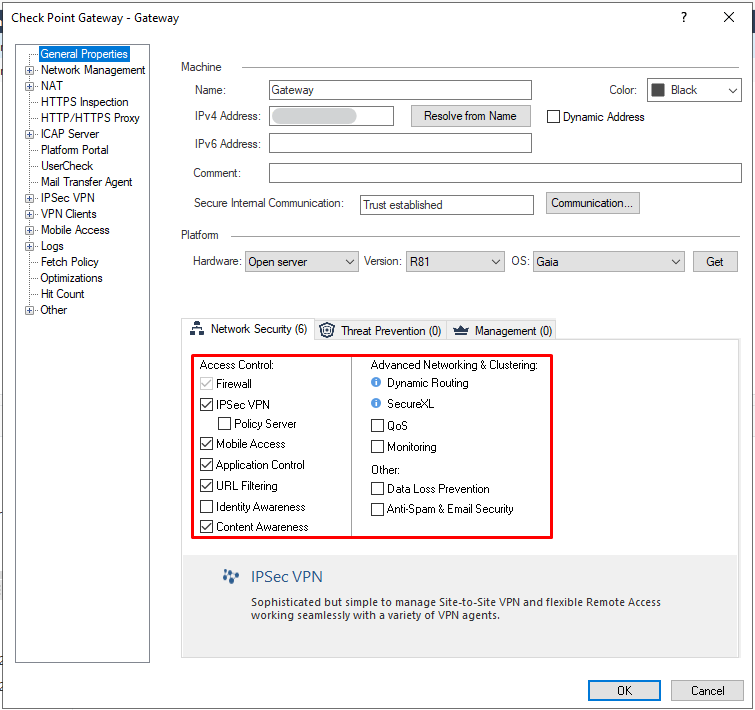
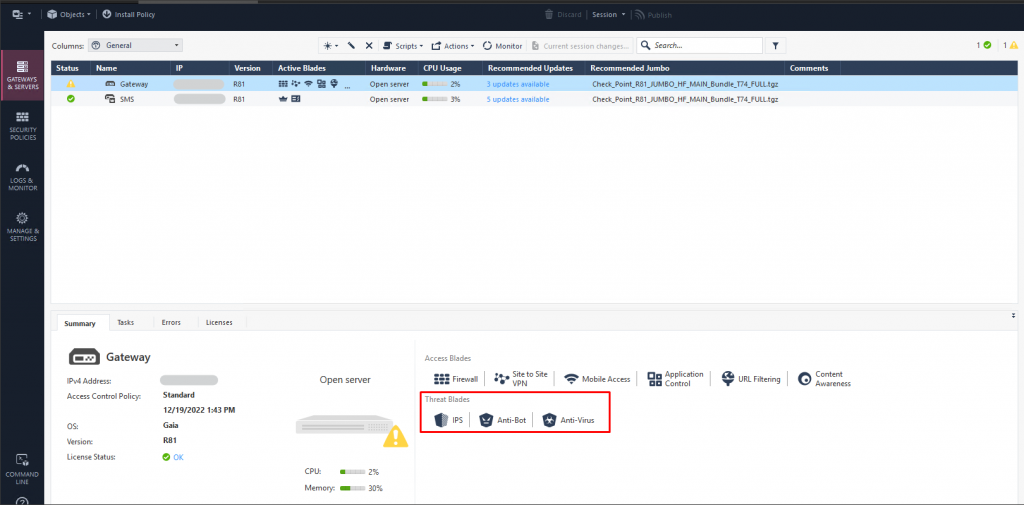
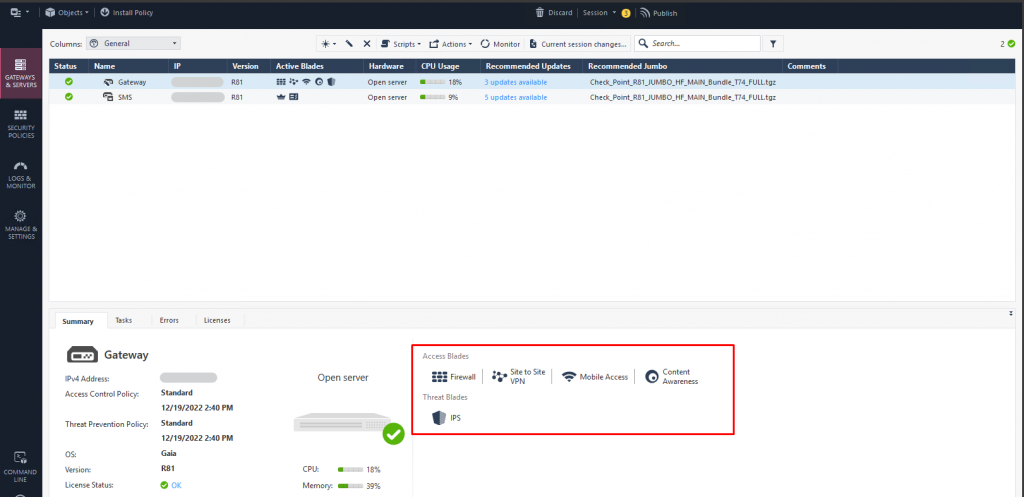
List of enabled Blades:
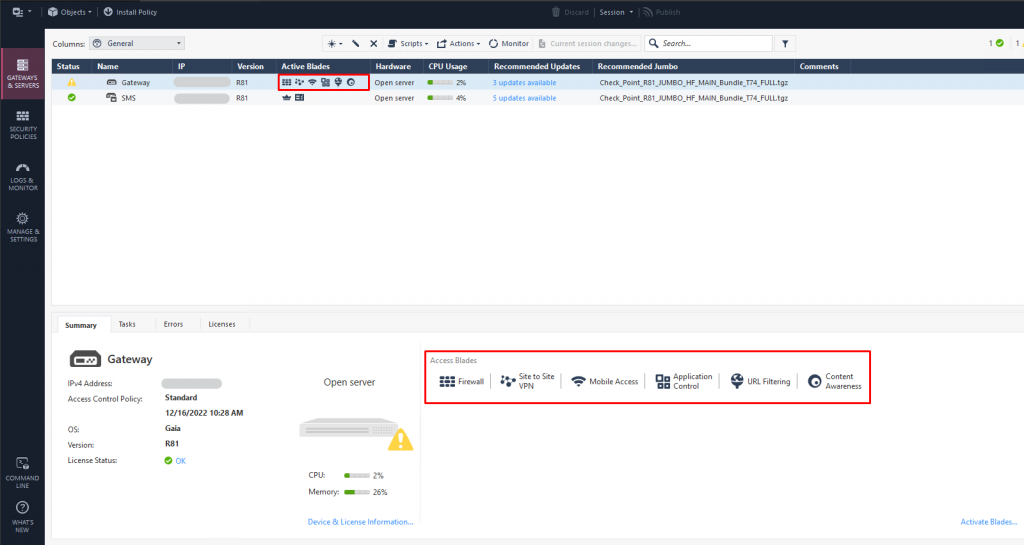
Some Blades require additional integration configuration before they can be used after being enabled, for example Mobile Access.
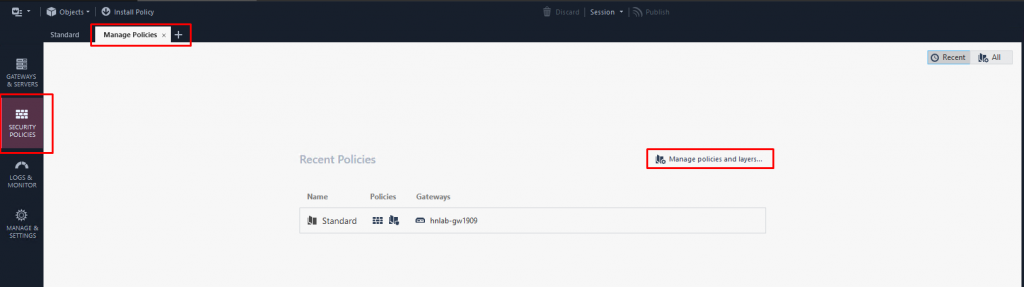
Step 2: In the Menu, select Security Policies (Ctrl + 2) > select New Tab > select Manage policies and layers.
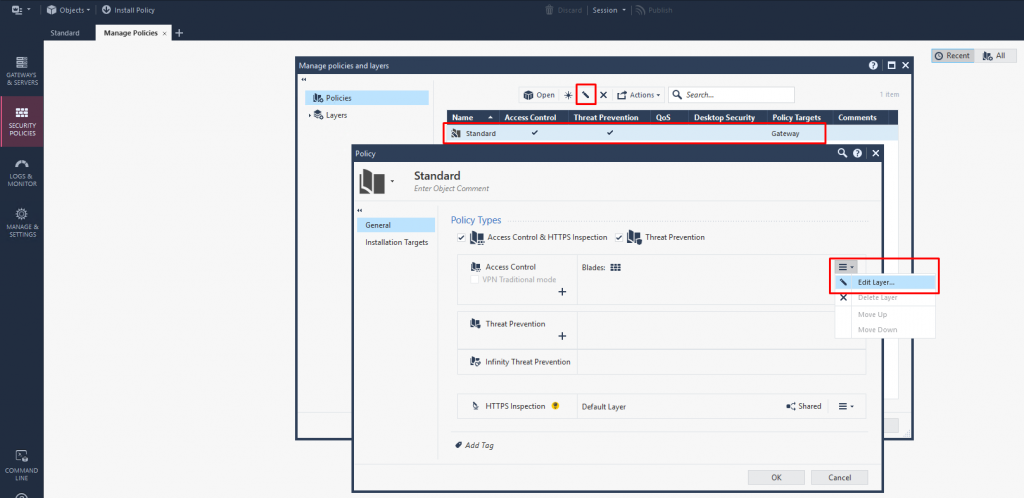
Step 3: Select the active Policy > click Edit > under the Access Control layer > click Edit Layer.
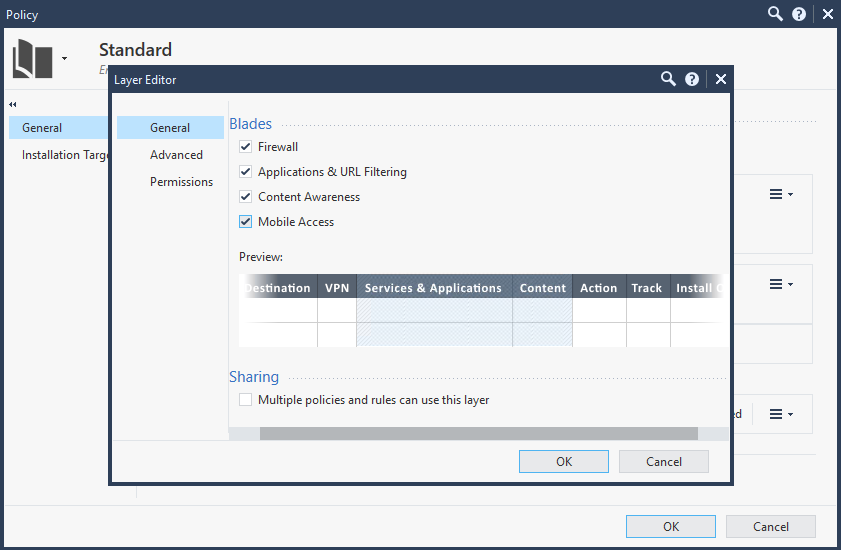
Step 4: Check the Blades enabled in Step 1 > click OK.
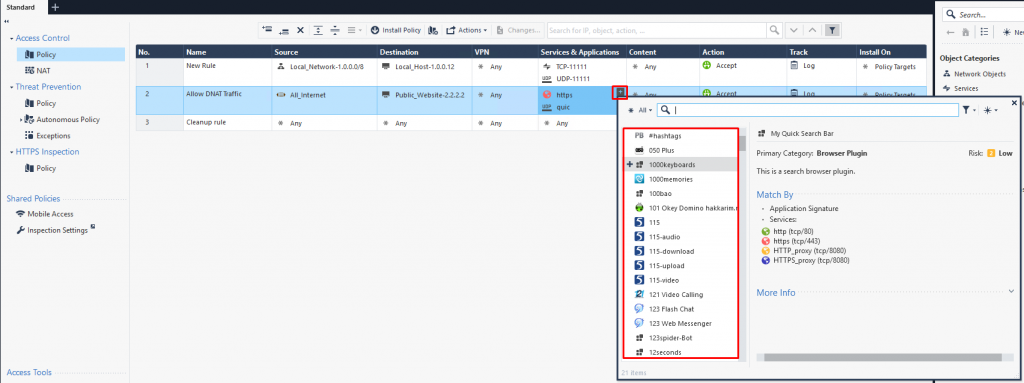
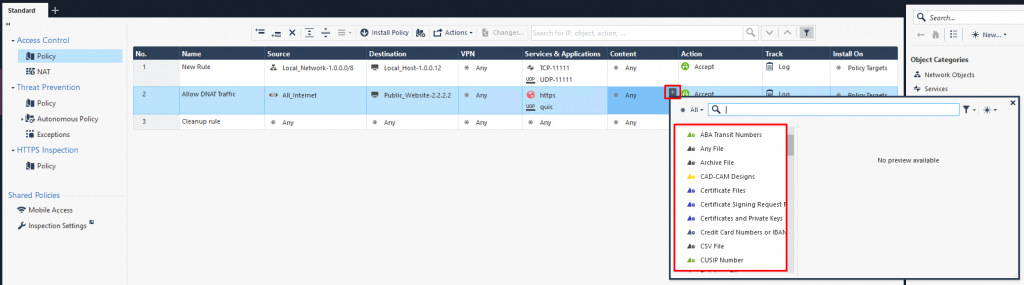
Step 5: Create Rule/Access using the new Blades:
Step 6: Install Policy.
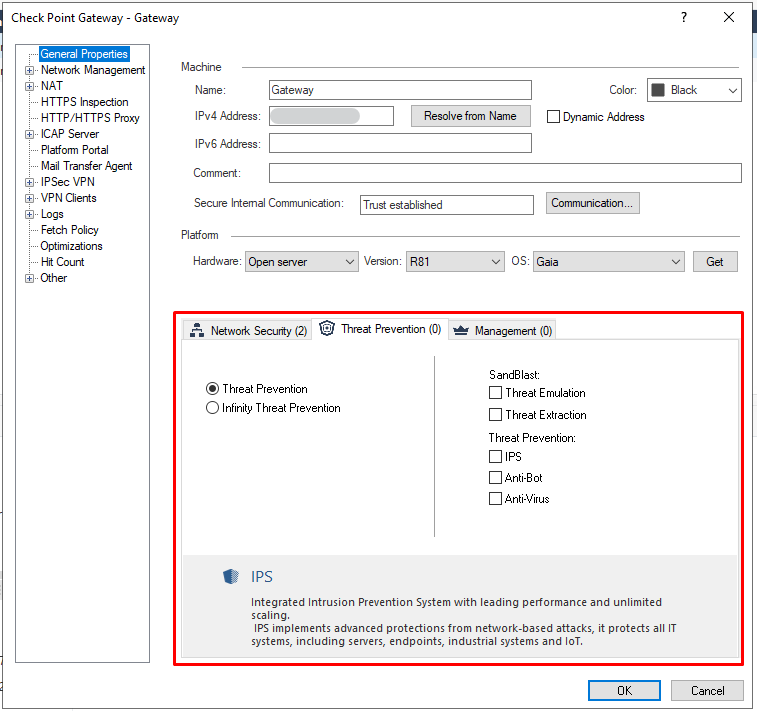
Step 1: Blades under Threat Prevention (IPS, Anti-Bot, Anti-Virus, Threat Emulation, Threat Extraction)
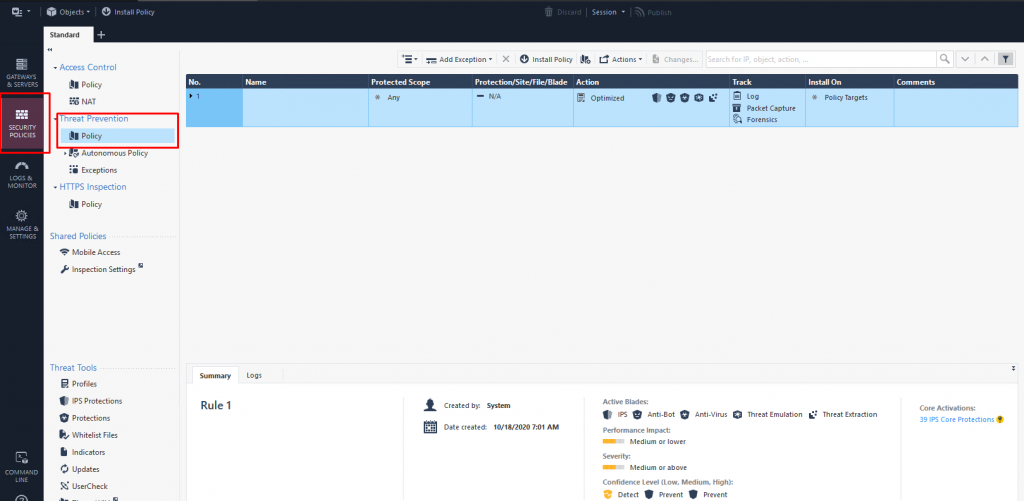
Step 2: In the menu, select Security Policies (Ctrl + 2) > select Threat Prevention > select Policy. You can use the default configuration or modify as needed.
Step 3: Install Policy.
Step 1: In the Menu, select Gateway and Servers (Ctrl + 1) > select Gateway > click Edit.
Step 2: Uncheck the Blades you no longer need.
Step 3: Install Policy.