Automated report scheduling
The Automated Report Scheduling feature allows users to create, manage, and track automated schedules for sending reports about database cluster backup activities over selected time periods. Instead of accessing the system to manually export reports, users can set up a schedule for the system to automatically send periodic reports to predefined email addresses. Reports are sent as CSV files.
To create a report schedule, follow these steps:
Step 1: Access the schedule management page
From the menu bar, select Database Platform > select the Advanced Features menu to open the Advanced Features screen.
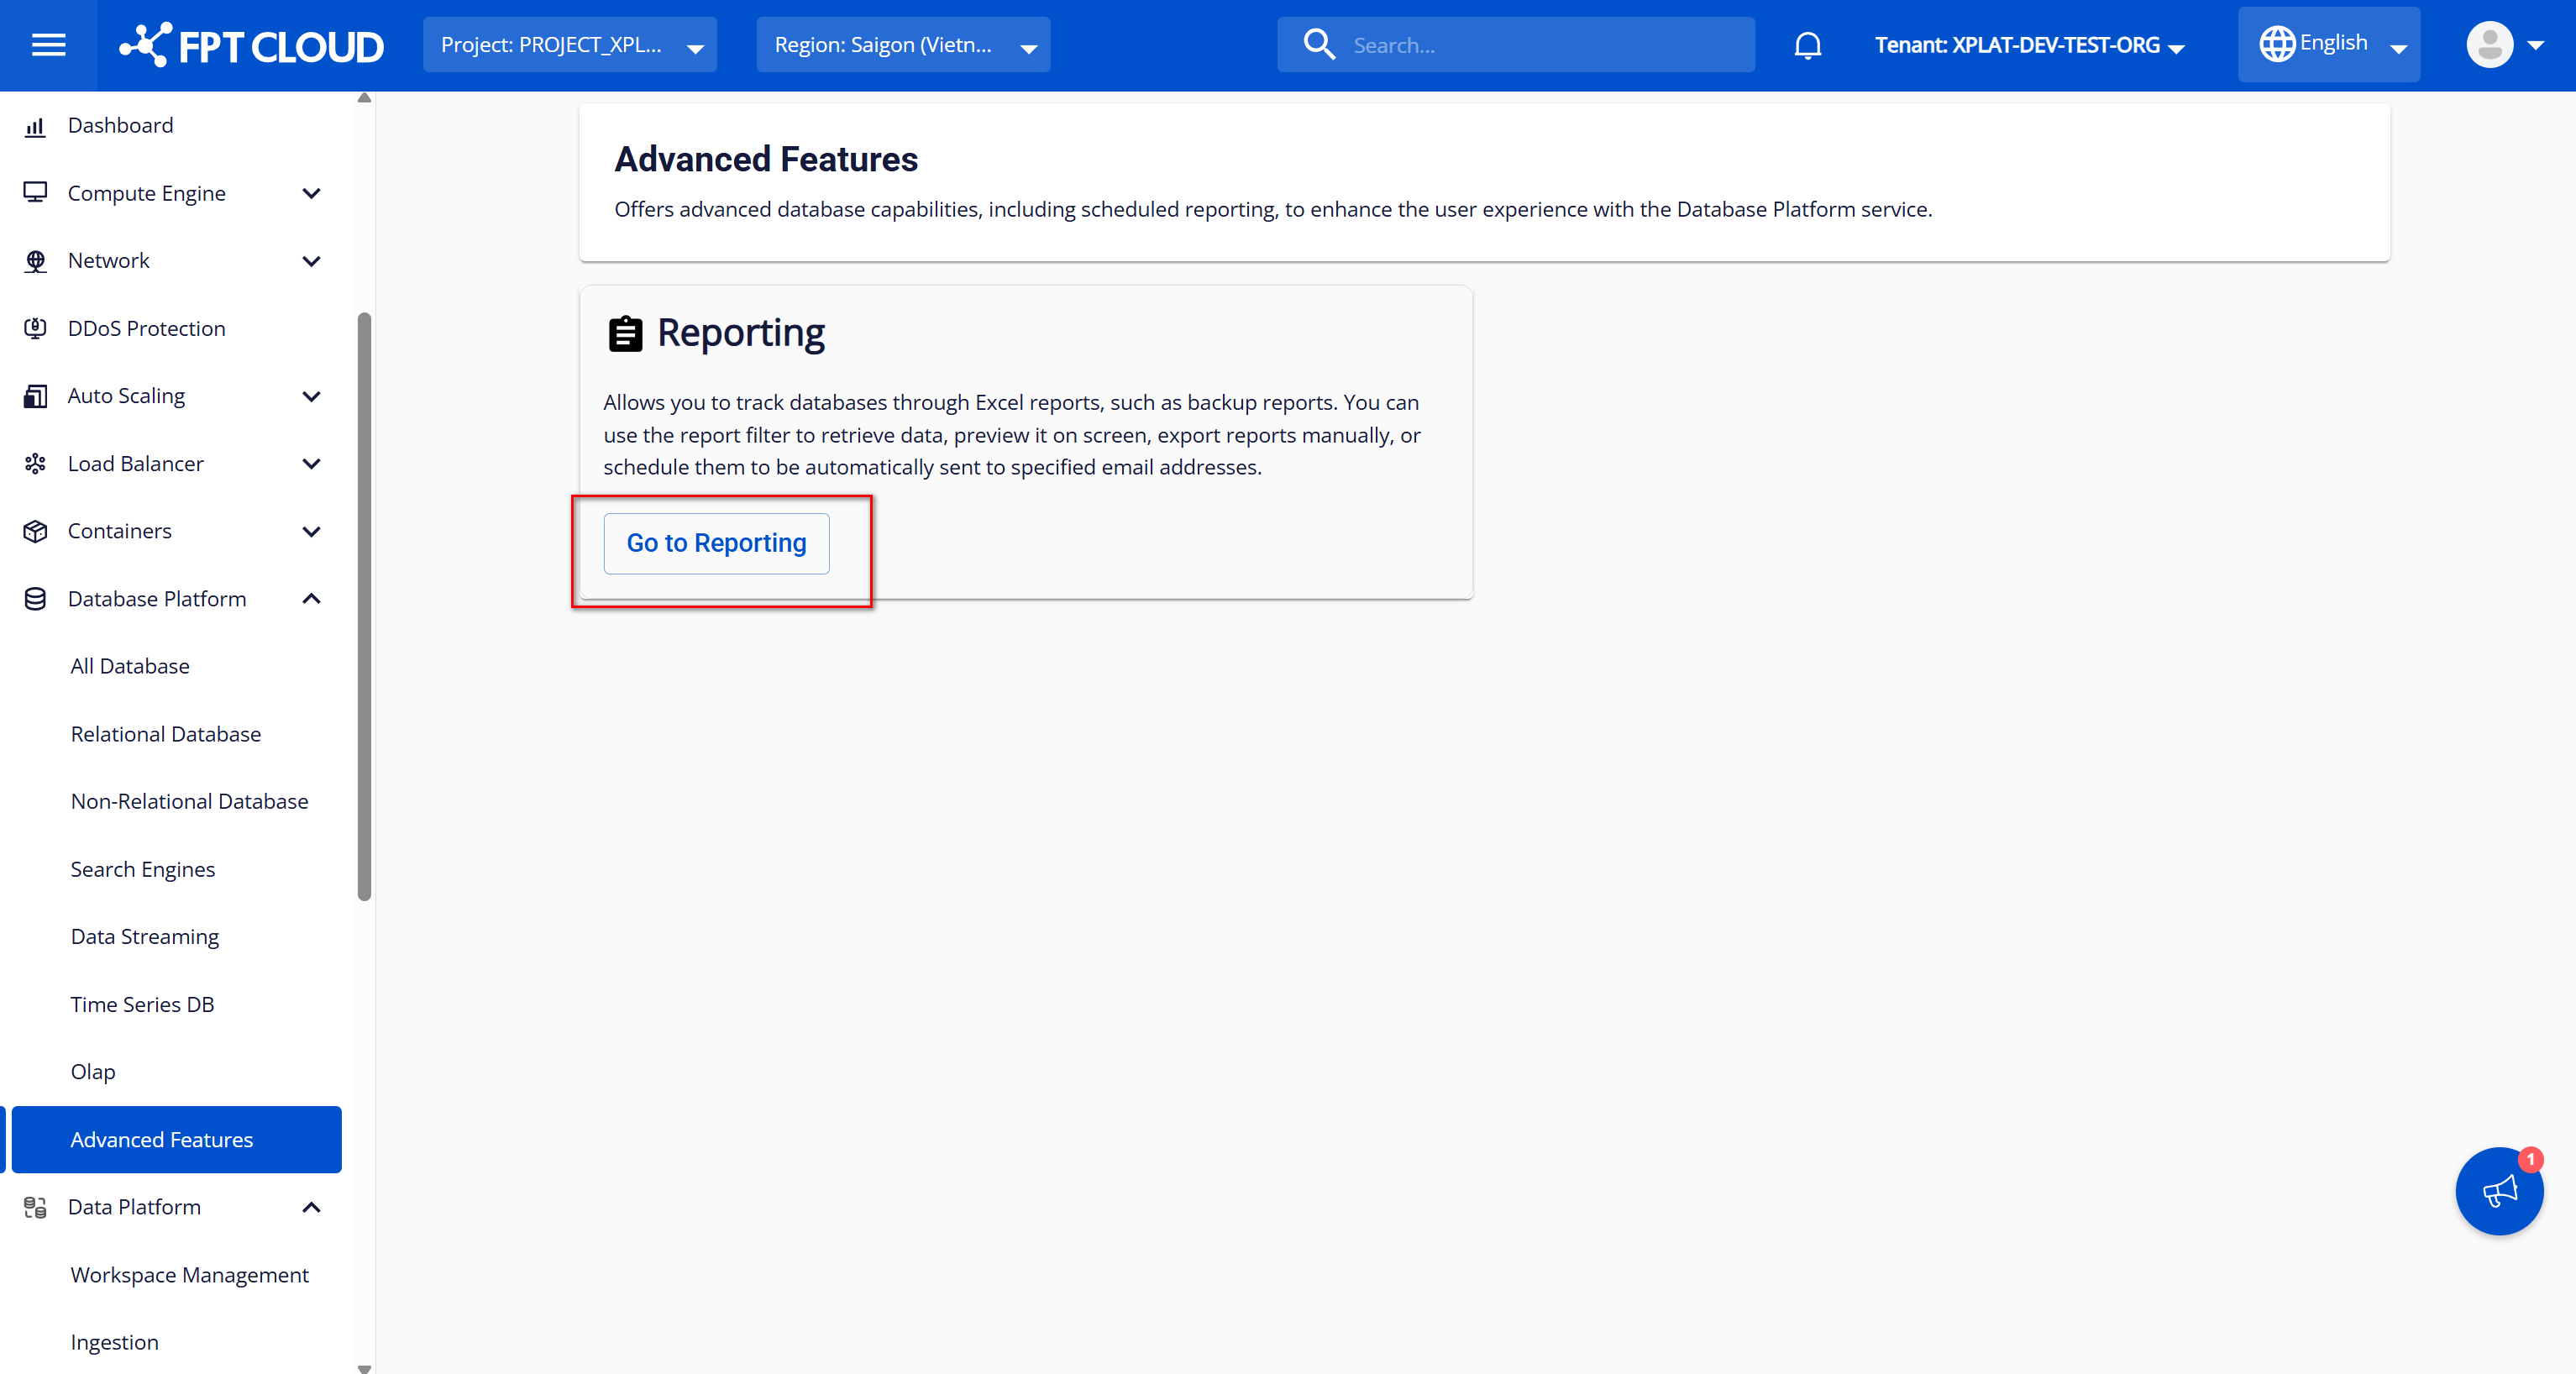
On the Advanced Features screen, click the Go to Reporting button to open the Reporting screen. When the Reporting interface appears, select the Report Schedules tab to view the list of existing report schedules. If no schedules have been created, the list will display Nothing Found.
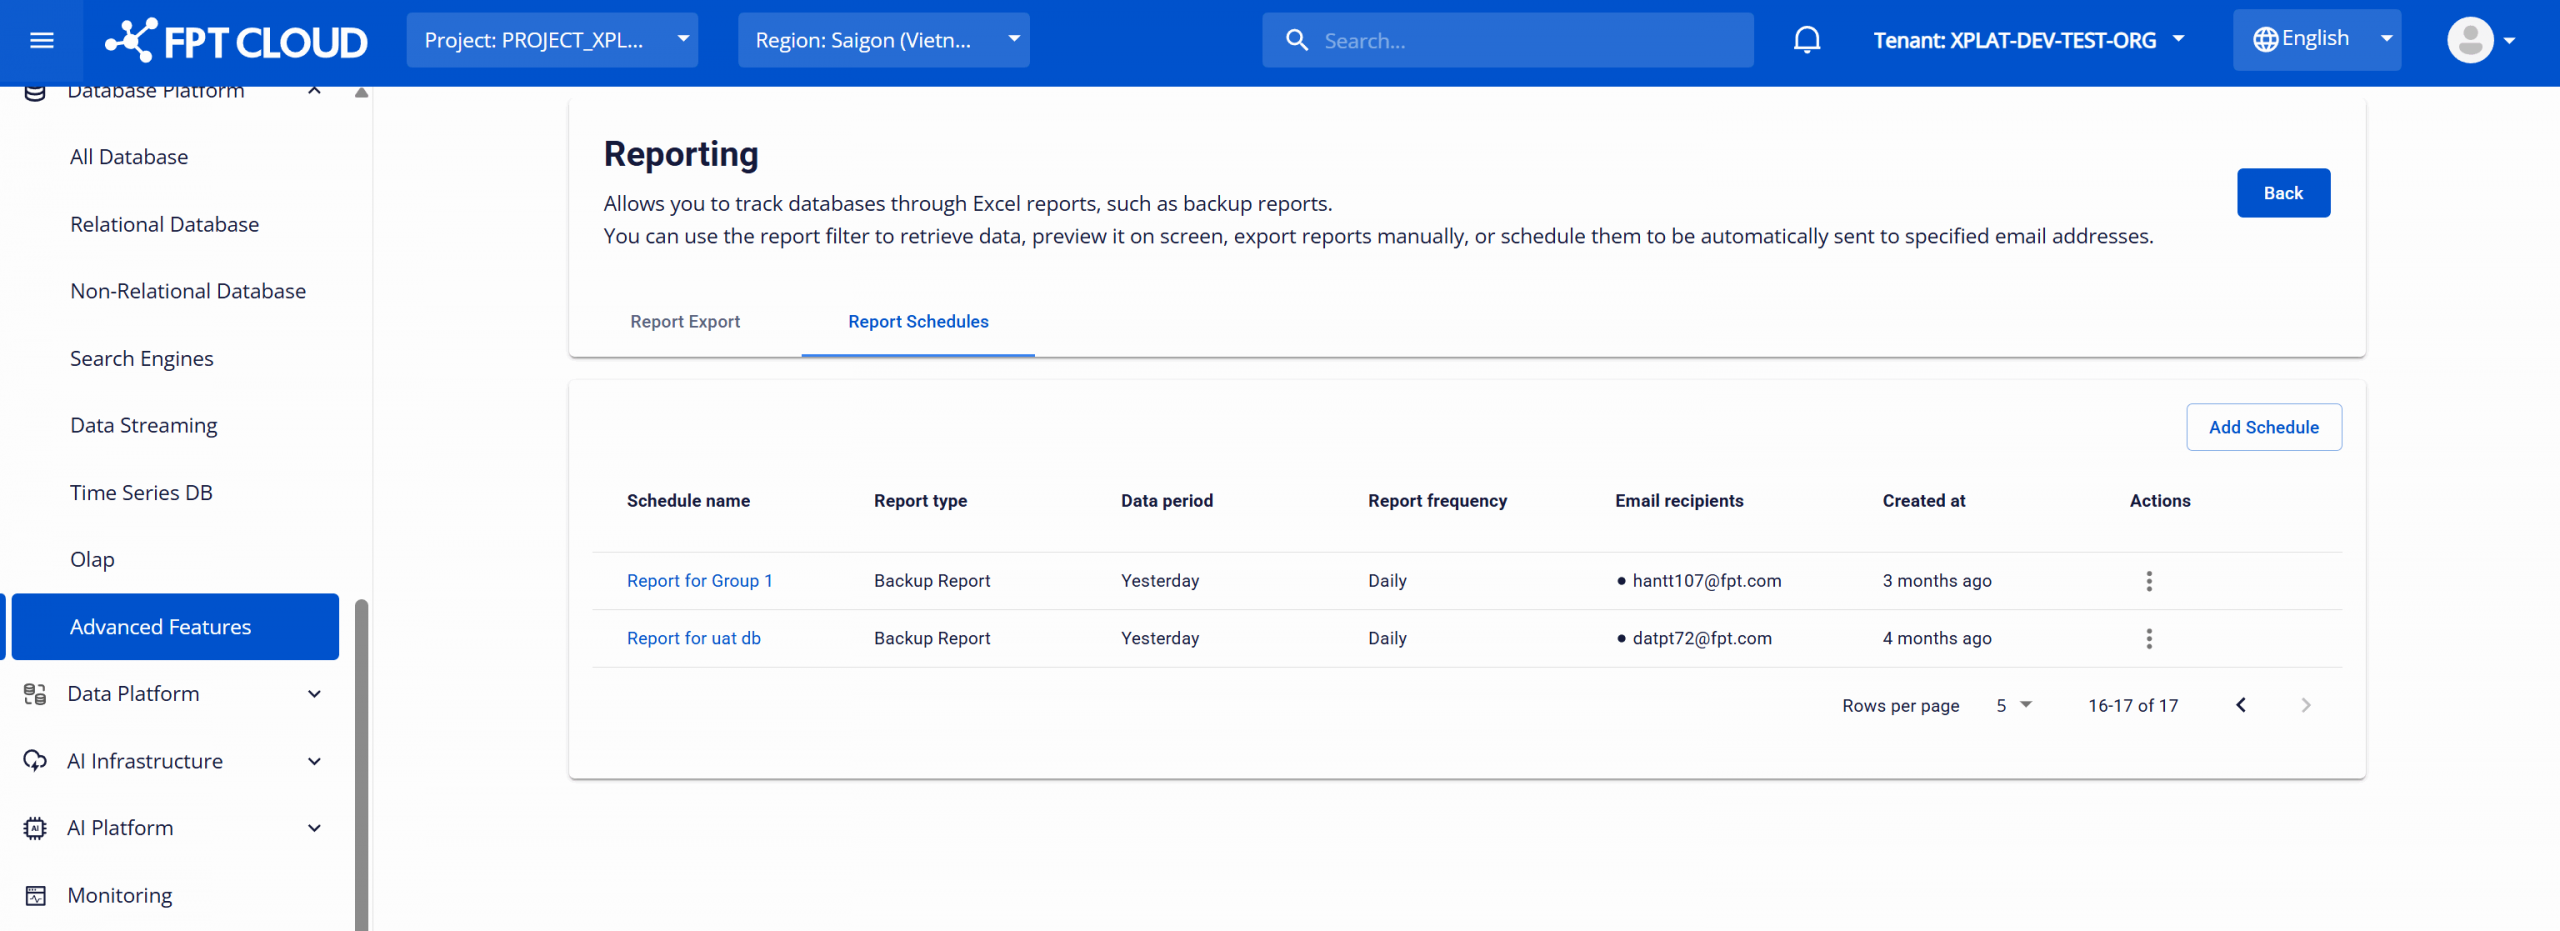
Information for each schedule includes:
| Column name | Description |
|---|---|
| Schedule name | The schedule name |
| Report type | The report type (e.g., Backup Report) |
| Data period | The data time period retrieved for each report (e.g., Yesterday, Last 7 Days, Last 30 Days, Last Month) |
| Report frequency | The report sending frequency (e.g., Daily, Weekly, Monthly) |
| Email recipients | The list of email addresses that will receive the report |
| Created at | The time the schedule was created |
| Action | Options to edit (Edit) or delete (Delete) the schedule |
Step 2: Create a new report schedule
On the Report Schedules screen, click the Add Schedule button in the top right corner to open the Add a Report Schedule screen.
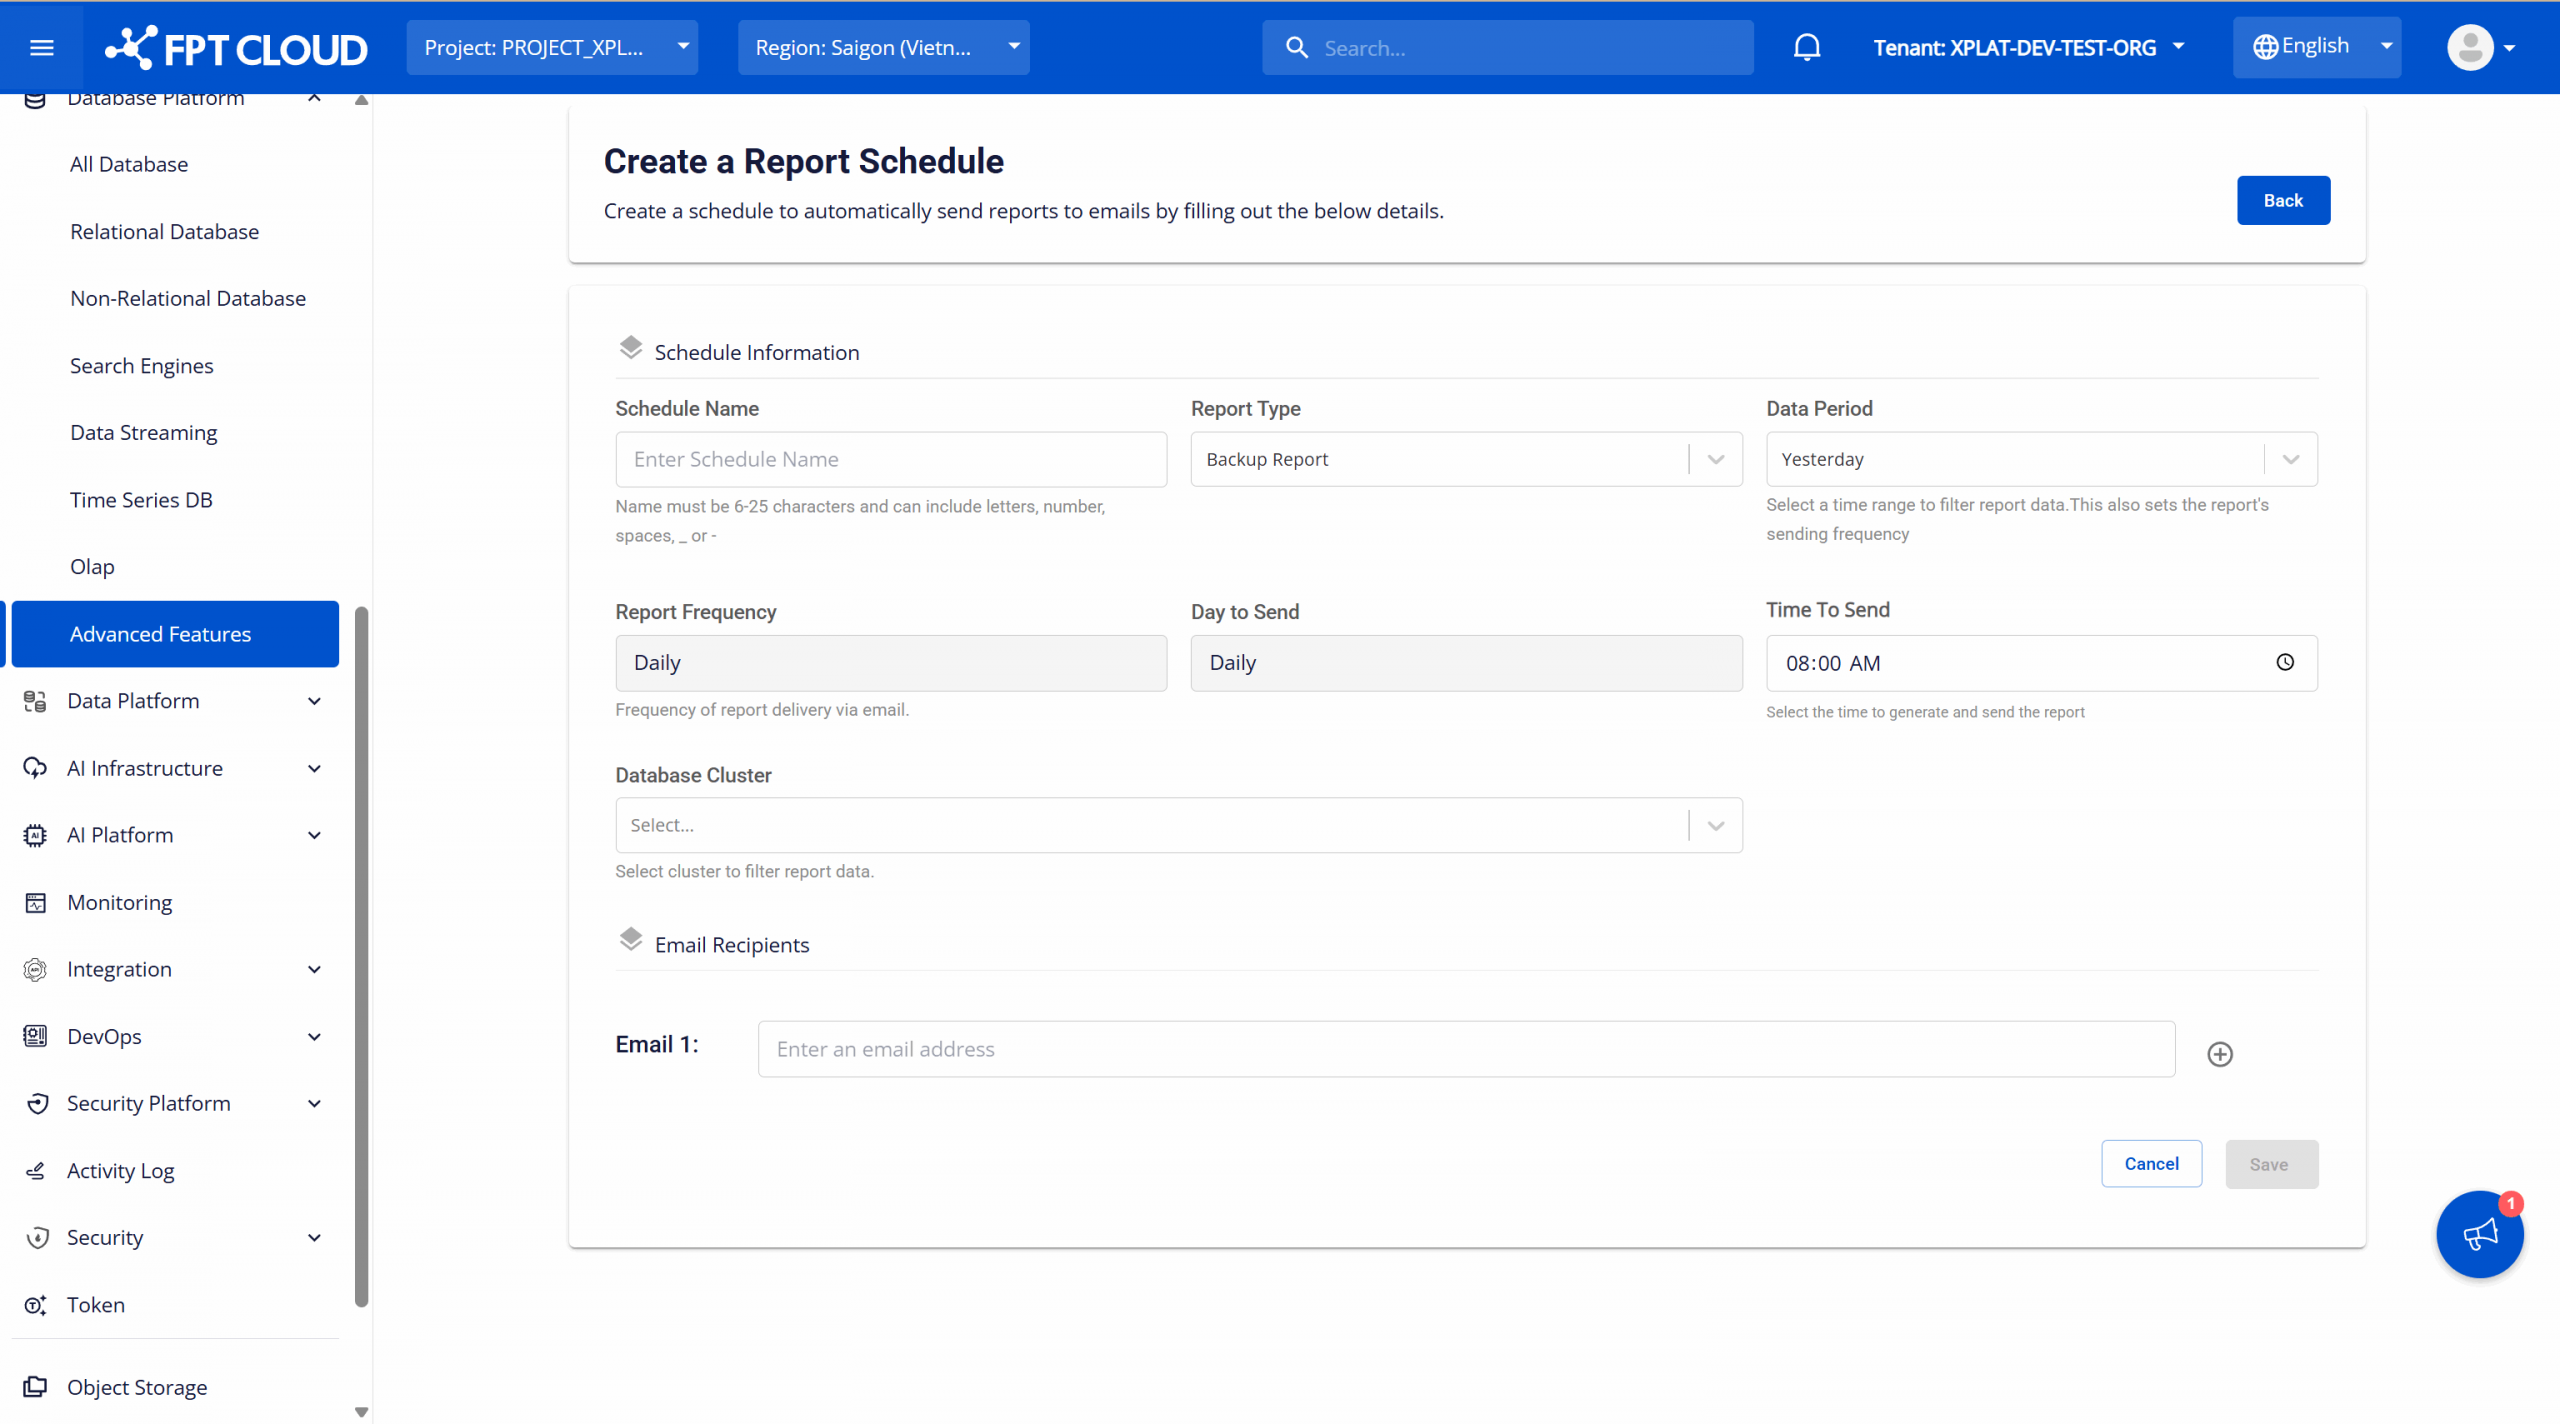
Enter the schedule configuration information:
- Schedule Name: Enter a name for the schedule. This name should clearly describe the purpose of the schedule, maximum 25 characters, minimum 6 characters, and may only include English letters, numbers, spaces, underscores (_), and hyphens (-). E.g., Report_for_group1, Report for group 2.
- Report Type: Select the report type to use from the available list. Currently only backup reports are provided, so the selection list only has one value — Backup Report — which is selected by default.
- Data Period: Select the time period from which data will be retrieved for each report generation. Changing Data Period automatically changes the Report Frequency and Day To Send field values. Options:
- Yesterday: Data from 00:00:00 of yesterday to the current time.
- Last 7 days: Data from the 7 consecutive days before the current time.
- Last 30 days: Data from the 30 consecutive days before the current time.
- Last month: Data from the previous full month (from day 1 to the last day of the month). E.g., if export date is 17/04/2025, report data is from 01/03/2025 to 31/03/2025.
- Report Frequency: The schedule run frequency. Values include Daily, Weekly, and Monthly. This field's value changes according to the data period selected in Data Period:
- If Data Period = "Yesterday": Report Frequency shows "Daily".
- If Data Period = "Last 7 days": Report Frequency shows "Weekly".
- If Data Period = "Last 30 days" or "Last Month": Report Frequency shows "Monthly".
- Day To Send: Select the day to run the schedule. The value changes according to the data period:
- If Data Period = "Yesterday": Day To Send shows "Daily" and cannot be changed.
- If Data Period = "Last 7 days": Options include days of the week: Monday, Tuesday, Wednesday, Thursday, Friday, Saturday, Sunday.
- If Data Period = "Last 30 days" or "Last Month": Options include days of the month from 1 to 31. If a month does not have the selected day (e.g., selecting "31" but February has only 28 days), the schedule runs on the last day of that month.
- Time To Send: Select the time of day to run the schedule.
- Database Cluster: Select the databases to retrieve data for the report; multiple databases can be selected at once. Options:
- Select All: Select all databases in the list.
- Individual databases within the user's selected VPC.
- Email Recipients: Enter the list of email addresses to receive the report. Ensure emails are entered correctly to avoid missing information. Use the (+) button to add and the (–) button to remove emails from the list.
- Each email must follow the standard email format: username, "@" sign, and domain name.
- Emails in the list must be unique.
After filling in all information, click the Save button to create the schedule. The system will return to the list screen with the newly created schedule displayed at the top.
When the configured run time arrives, the schedule will run, retrieve data for the specified time period and database clusters, and export a CSV file to send to the registered email list.
When needed, you can perform the following operations on a created schedule:
- View schedule details: On the Report Schedules screen, click the schedule name to view its configuration information and the action log for that schedule.
- Edit schedule: On the Report Schedules screen, select the Edit action in the action column for the schedule to edit. Update the information as needed and click the Edit button to save changes. The system will return to the list screen with updated information.
- Delete schedule: On the Report Schedules screen, select the Delete action. The system will display a confirmation dialog. Enter the deletion confirmation and click the Confirm button to permanently delete the schedule. After successful deletion, the system will stop sending reports to the configured email addresses.