Managing the backup service
This section guides users through the detailed steps for managing the Backup service, including enabling, adjusting, and canceling the service.
1. Enable the backup service
To enable the Backup service, you can do so directly during the Additional Service configuration step when initializing the database (see Creating a database/ for details), or enable it after the database has been initialized by following the instructions below.
Prerequisites
The prerequisite for enabling the Backup service is that the Notification service must be enabled and the configuration of email addresses or Telegram for receiving backup-related alerts must be completed first. If Notification has not been configured, the following dialog will appear:
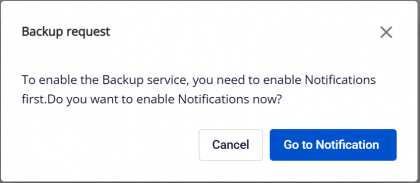
Click Go to Notification to navigate to the Notification tab. Follow the instructions in the Notification section to complete the alert configuration.
Step 1: Access the backup screen
From the menu bar, select Database Platform > select the All Database menu or the menu corresponding to the appropriate database group > click the Cluster ID > select the Backup tab to open the backup service management screen.
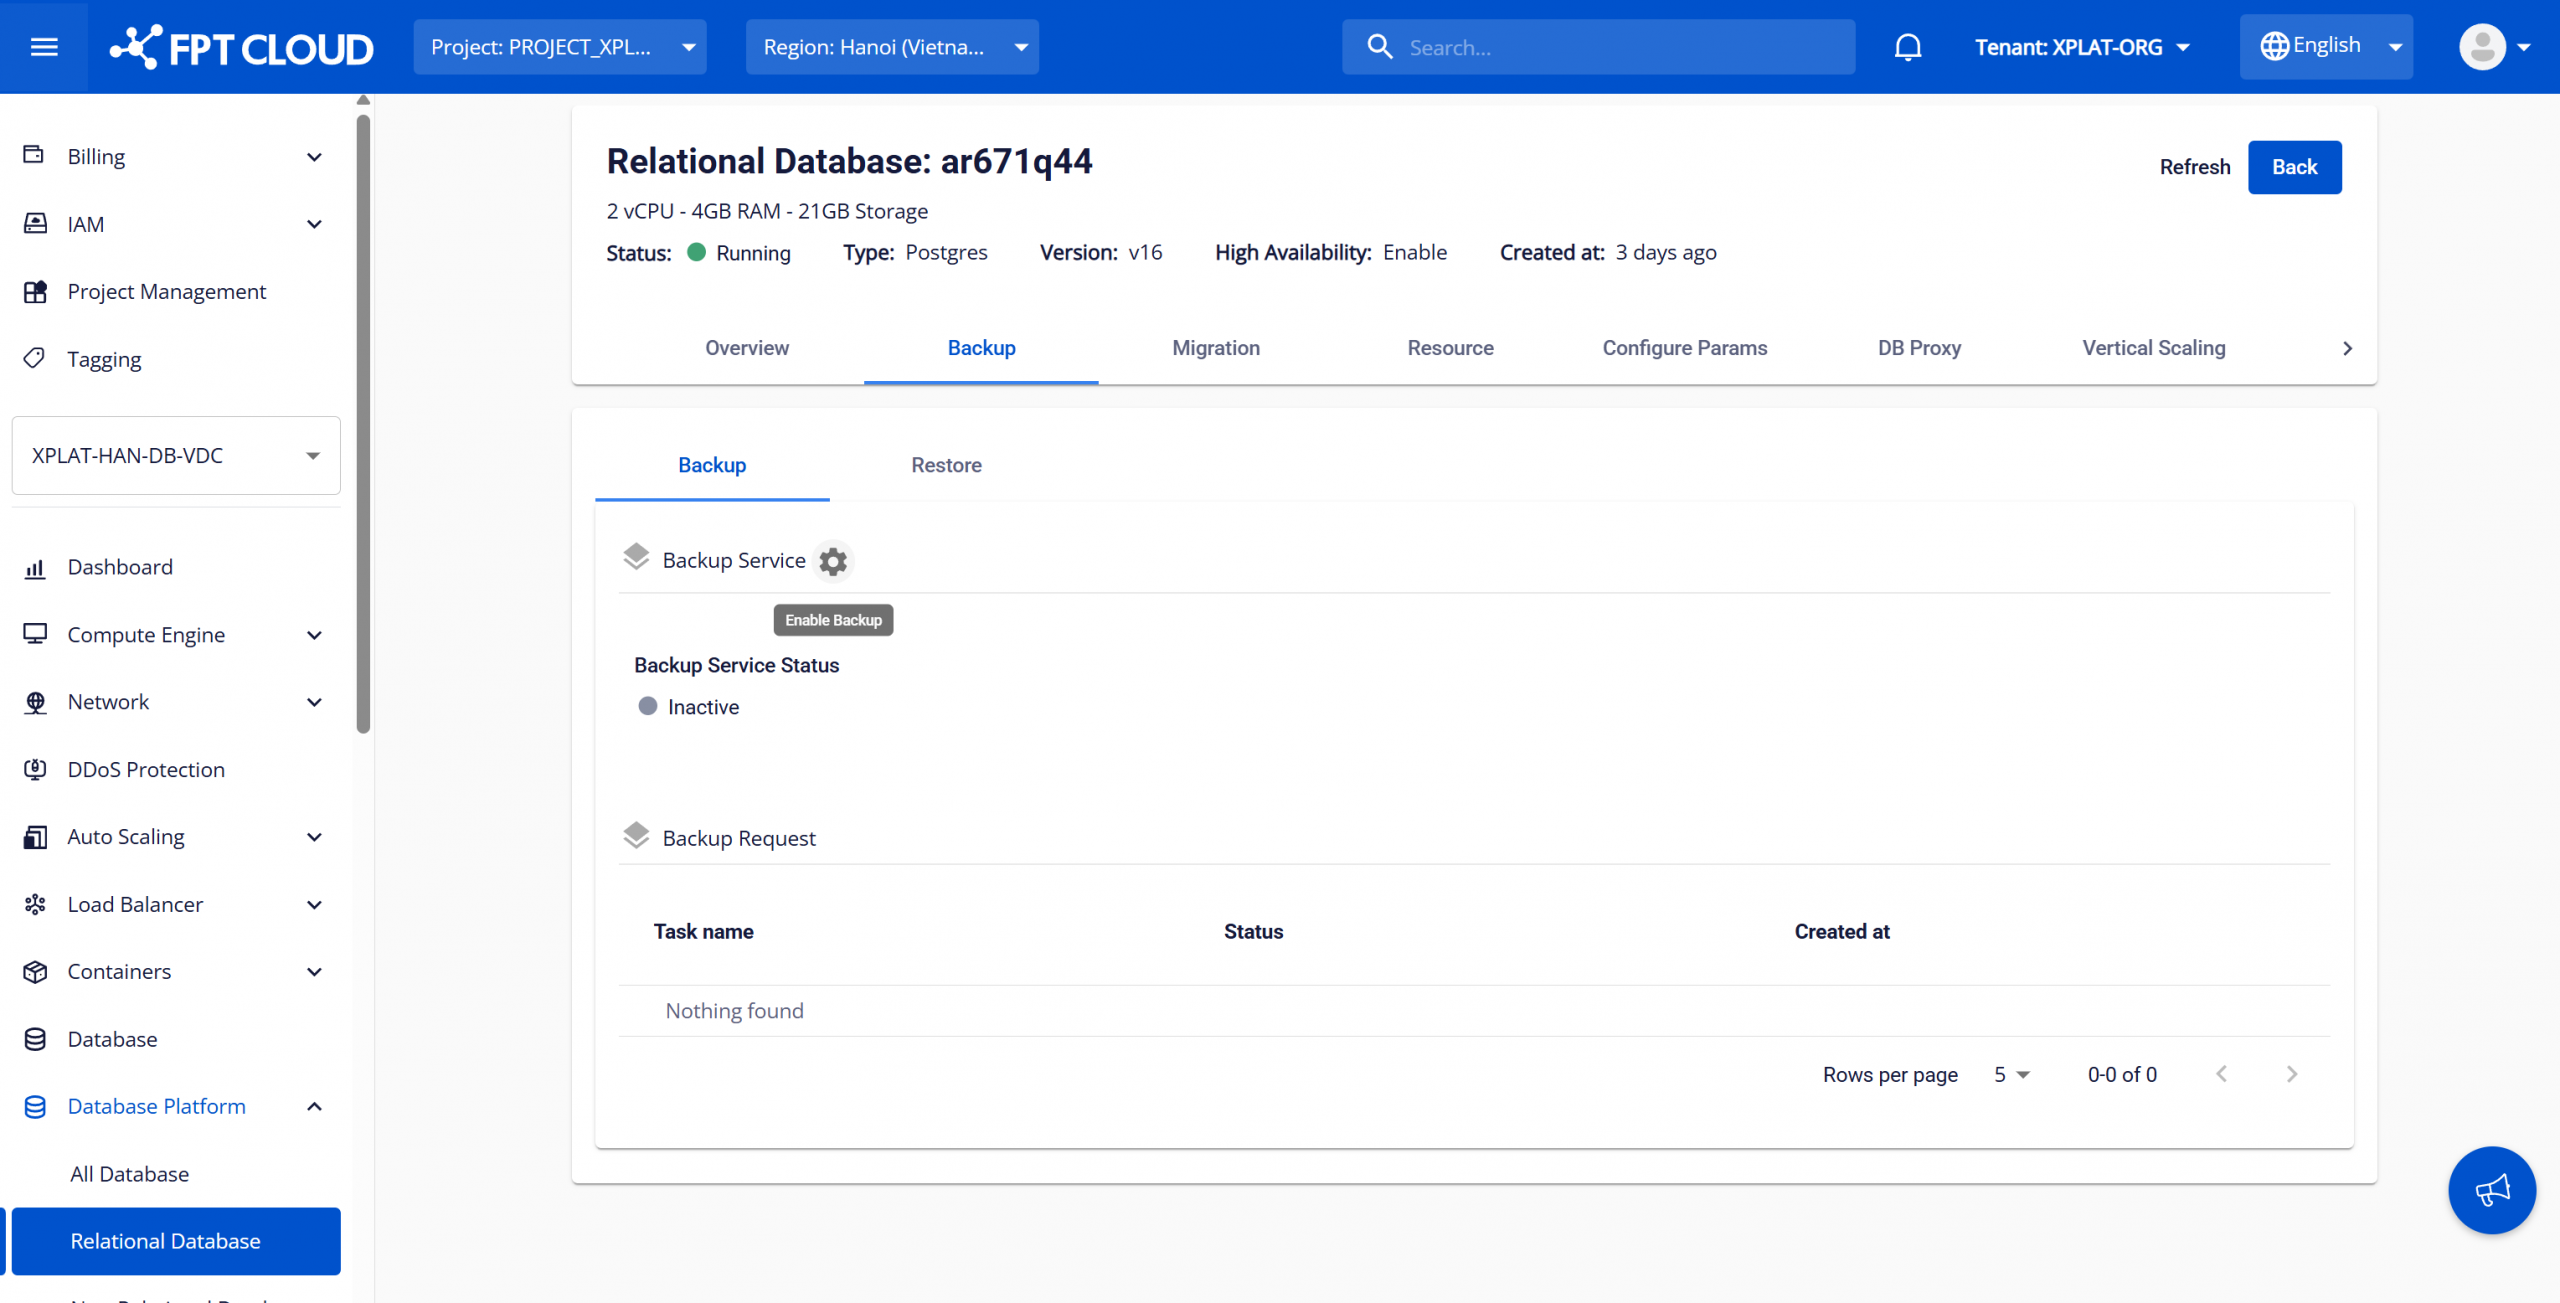
Step 2: Enable the backup service
After the database cluster is created successfully and the Backup service has not yet been activated, the service status will default to Inactive. Click the Enable Backup icon (gear icon) to open the dialog and proceed with enabling the service. Depending on the database engine type and whether the VPC runs on VMware or OpenStack, some fields may display differently.
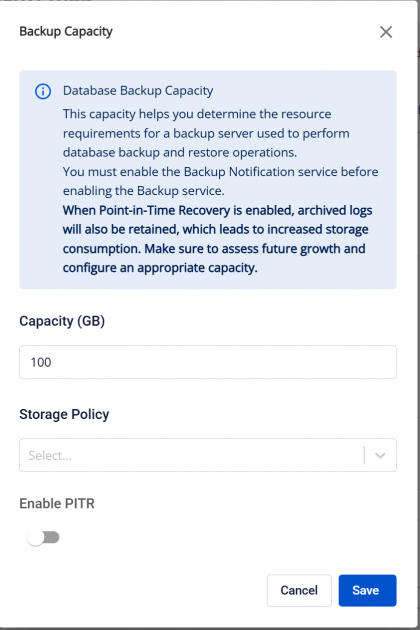
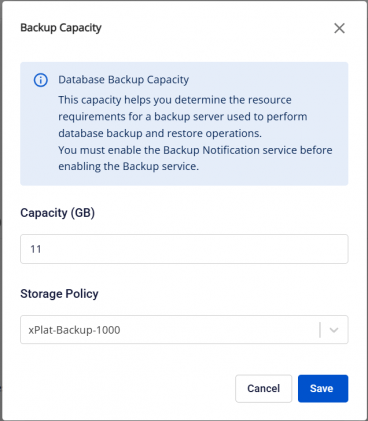
Field descriptions:
- Capacity (GB): Enter the backup storage capacity for the database, in GB, with a minimum of 10 GB.
- Storage Policy: Select the storage policy (Storage Class) for the backup service. This field is only displayed if the VPC runs on the VMware platform.
- Enable PITR: Select whether to enable the PITR feature for the backup service. This feature is currently only supported for the PostgreSQL engine type.
After entering all information, click Save to confirm enabling the backup service.
The Backup service activation process may take 5–10 minutes and will display a Processing progress bar. After successful activation, the Backup service will transition to Active status with the configured parameters.
To back up data for the database, you need to create backup jobs including Full Backup and Differential Backup to set up periodic backup schedules. See the backup job management section for detailed instructions.
2. Adjust the backup service
During use, if you want to adjust the settings configured for the Backup service:
On the Backup service management screen, click the Update Backup button (pencil icon) next to the Backup Service section to open the backup service configuration update dialog.
Enter the information to change and click Save to confirm. The update process may take approximately 5–10 minutes; during this time, the Backup service will display Updating status. After successful update, the service will return to Active status with the adjusted configuration values.
3. Cancel the backup service
Warning: Canceling the Backup service will delete all backed-up data and cancel all existing backup jobs. After deletion, you cannot perform restore or Point-in-Time Recovery (PITR).
To cancel the Backup service, on the Backup service management screen, click the Delete Backup button (trash icon) next to the Backup Service section to open the deletion confirmation dialog. Enter "delete" and click Confirm to confirm canceling the backup service. This process may take 5–10 minutes; during this time the Backup service will display Deleting status. After successful processing, the service will return to Inactive status.